
NOTE: The new Online Bookings and Client Portal are being rolled out to clinics in phases. If Setup → Online Bookings does not show the Overview, Share and Add to website tabs described here, your account is still on the classic version — see Online Bookings and Client Portal instead.
Step 1: Copy Your Booking Link
Go to Setup → Online Bookings and open the Share tab. Your booking link is at the top — click Copy link. Underneath you will find quick ways to use it:
- Copy bio link — for your Instagram bio.
- Download QR code — print it for reception or your shop window.
- Copy email signature — a booking link for your email signature.
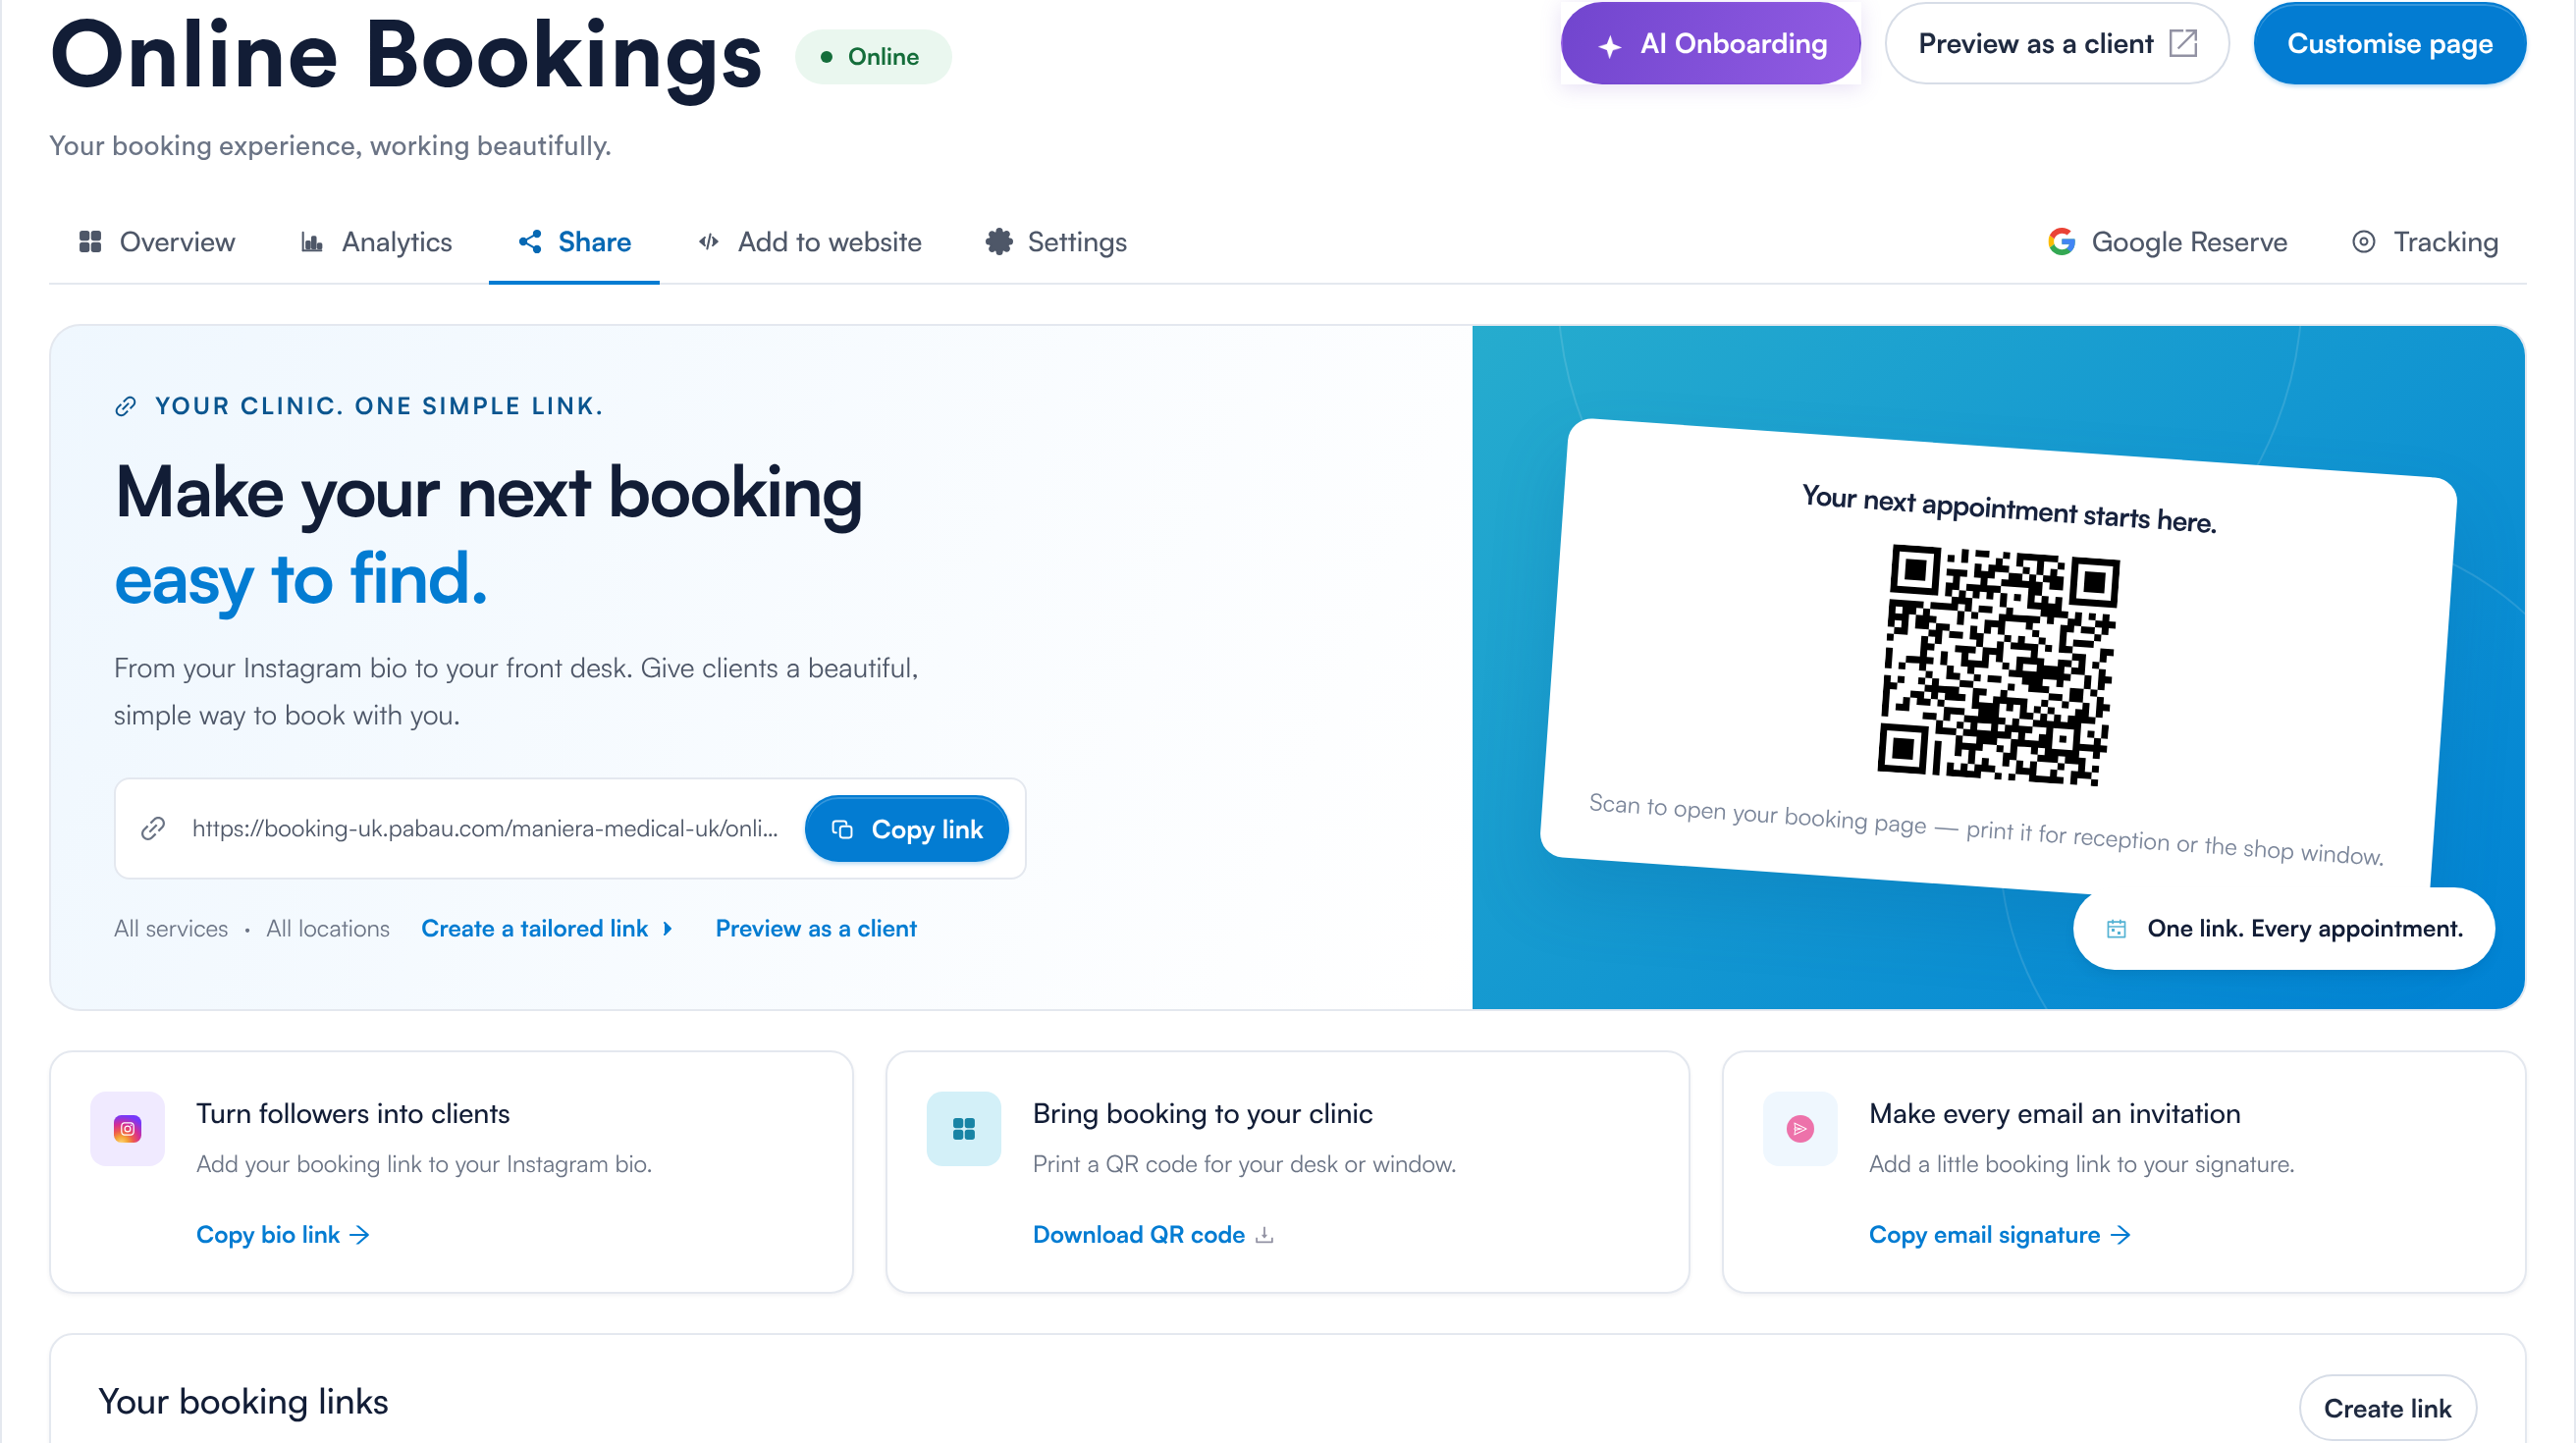
The Share tab, with your booking link and QR code
Step 2: Create Tailored Links
Click Create a tailored link (or Create link in Your booking links) to make a link that opens on a particular service or location, and is tagged with the channel it is for. The Your booking links table shows each link’s channel, destination and bookings over the last 30 days, so you can see which campaigns bring clients in.
NOTE: Links from the classic online bookings still work — they take clients to your new booking page.
Step 3: Add Booking to Your Website
Open the Add to website tab and, under Choose your booking experience, pick one:
- Floating book button — always there, never in the way.
- Embedded booking — the full booking journey inside your page.
- Booking link button — a simple button wherever it fits.
- Pop-up book button — opens booking over your page.
Set the Button text, Colour, size and corner. Under Where it lands you can send clients straight to a Location, Services, a Category or a Provider — leave them blank to let clients choose.
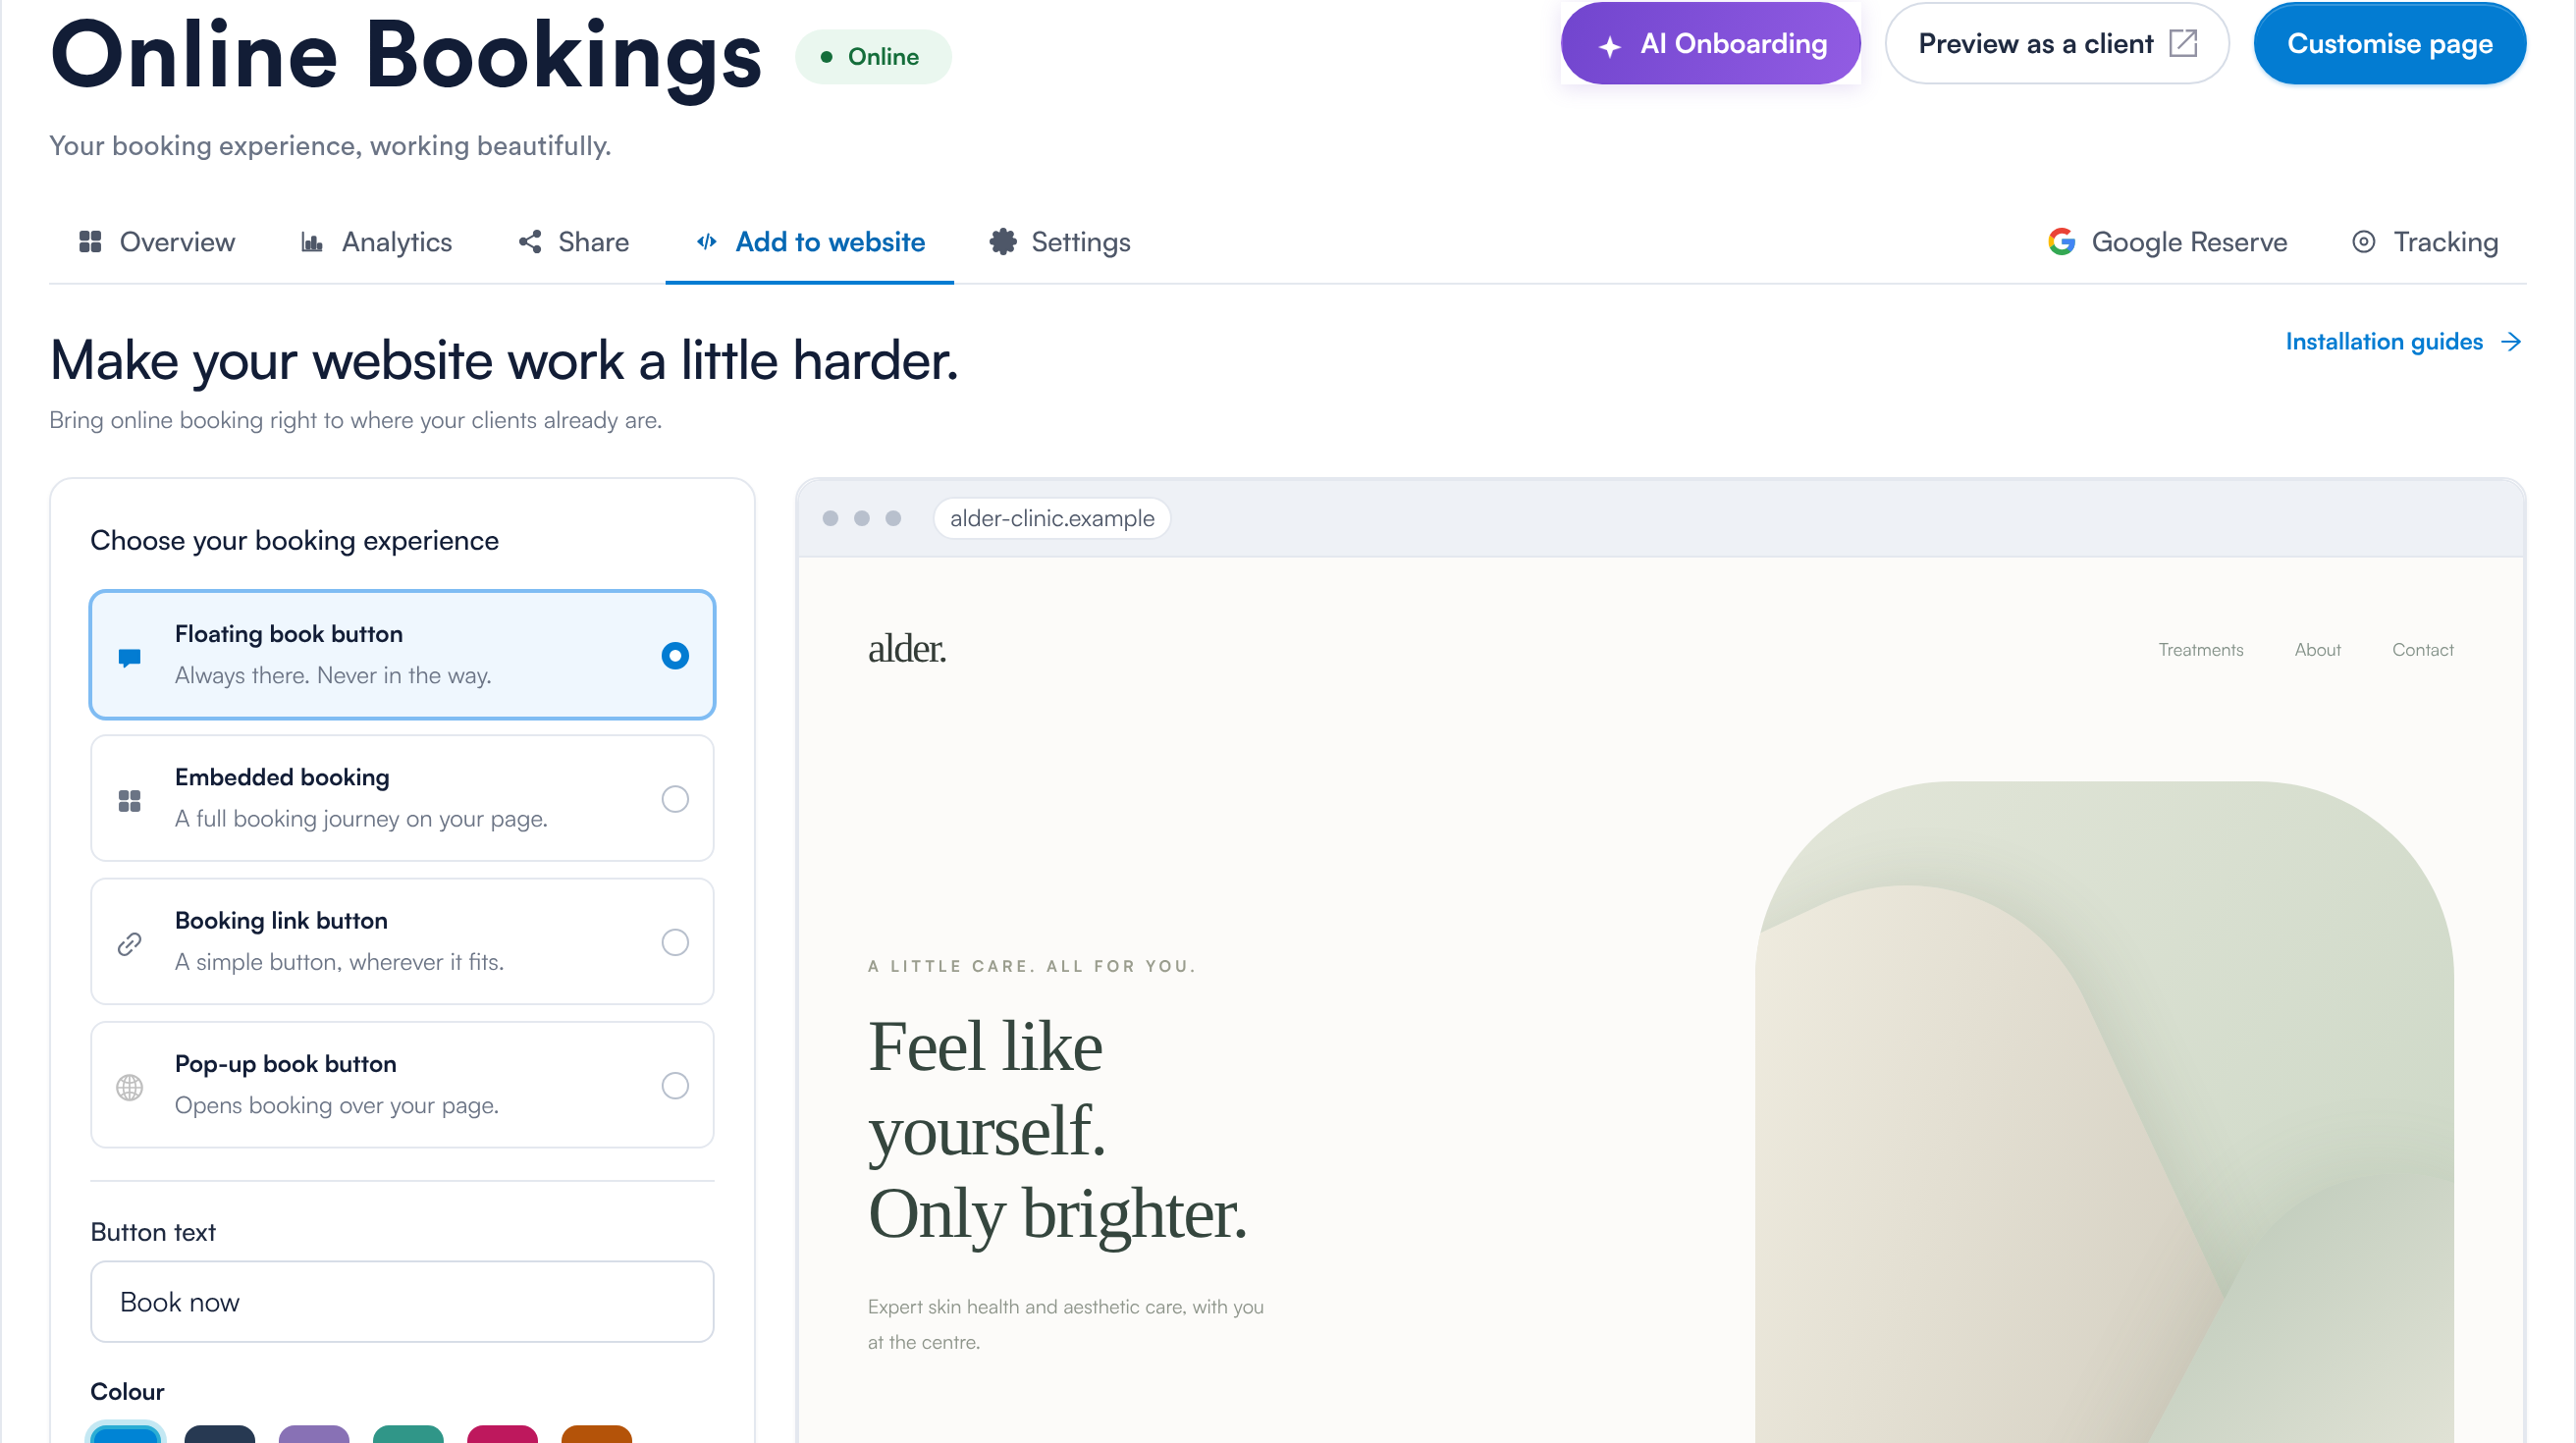
Add to website: choose a booking experience and see it on a sample website
Click Copy next to Your installation code and add it once to your website’s footer, before the closing </body> tag. Under Putting it on your site, choose your website builder — WordPress, Wix, Squarespace, Shopify, Google Tag Manager or any other website — for step-by-step help.
TIP: If your website does not allow embedded content, use the Booking link button — it always works.
Step 4: Track Bookings in Your Analytics Tools
Open the Tracking tab. Under Your tracking tools, click Set up next to Google Analytics, Google Tag Manager or Meta Pixel and enter your ID. Each step of the booking journey is sent to the tool, so you can see which campaigns turn visitors into bookings. Use the switch to pause a tool — your ID stays saved.
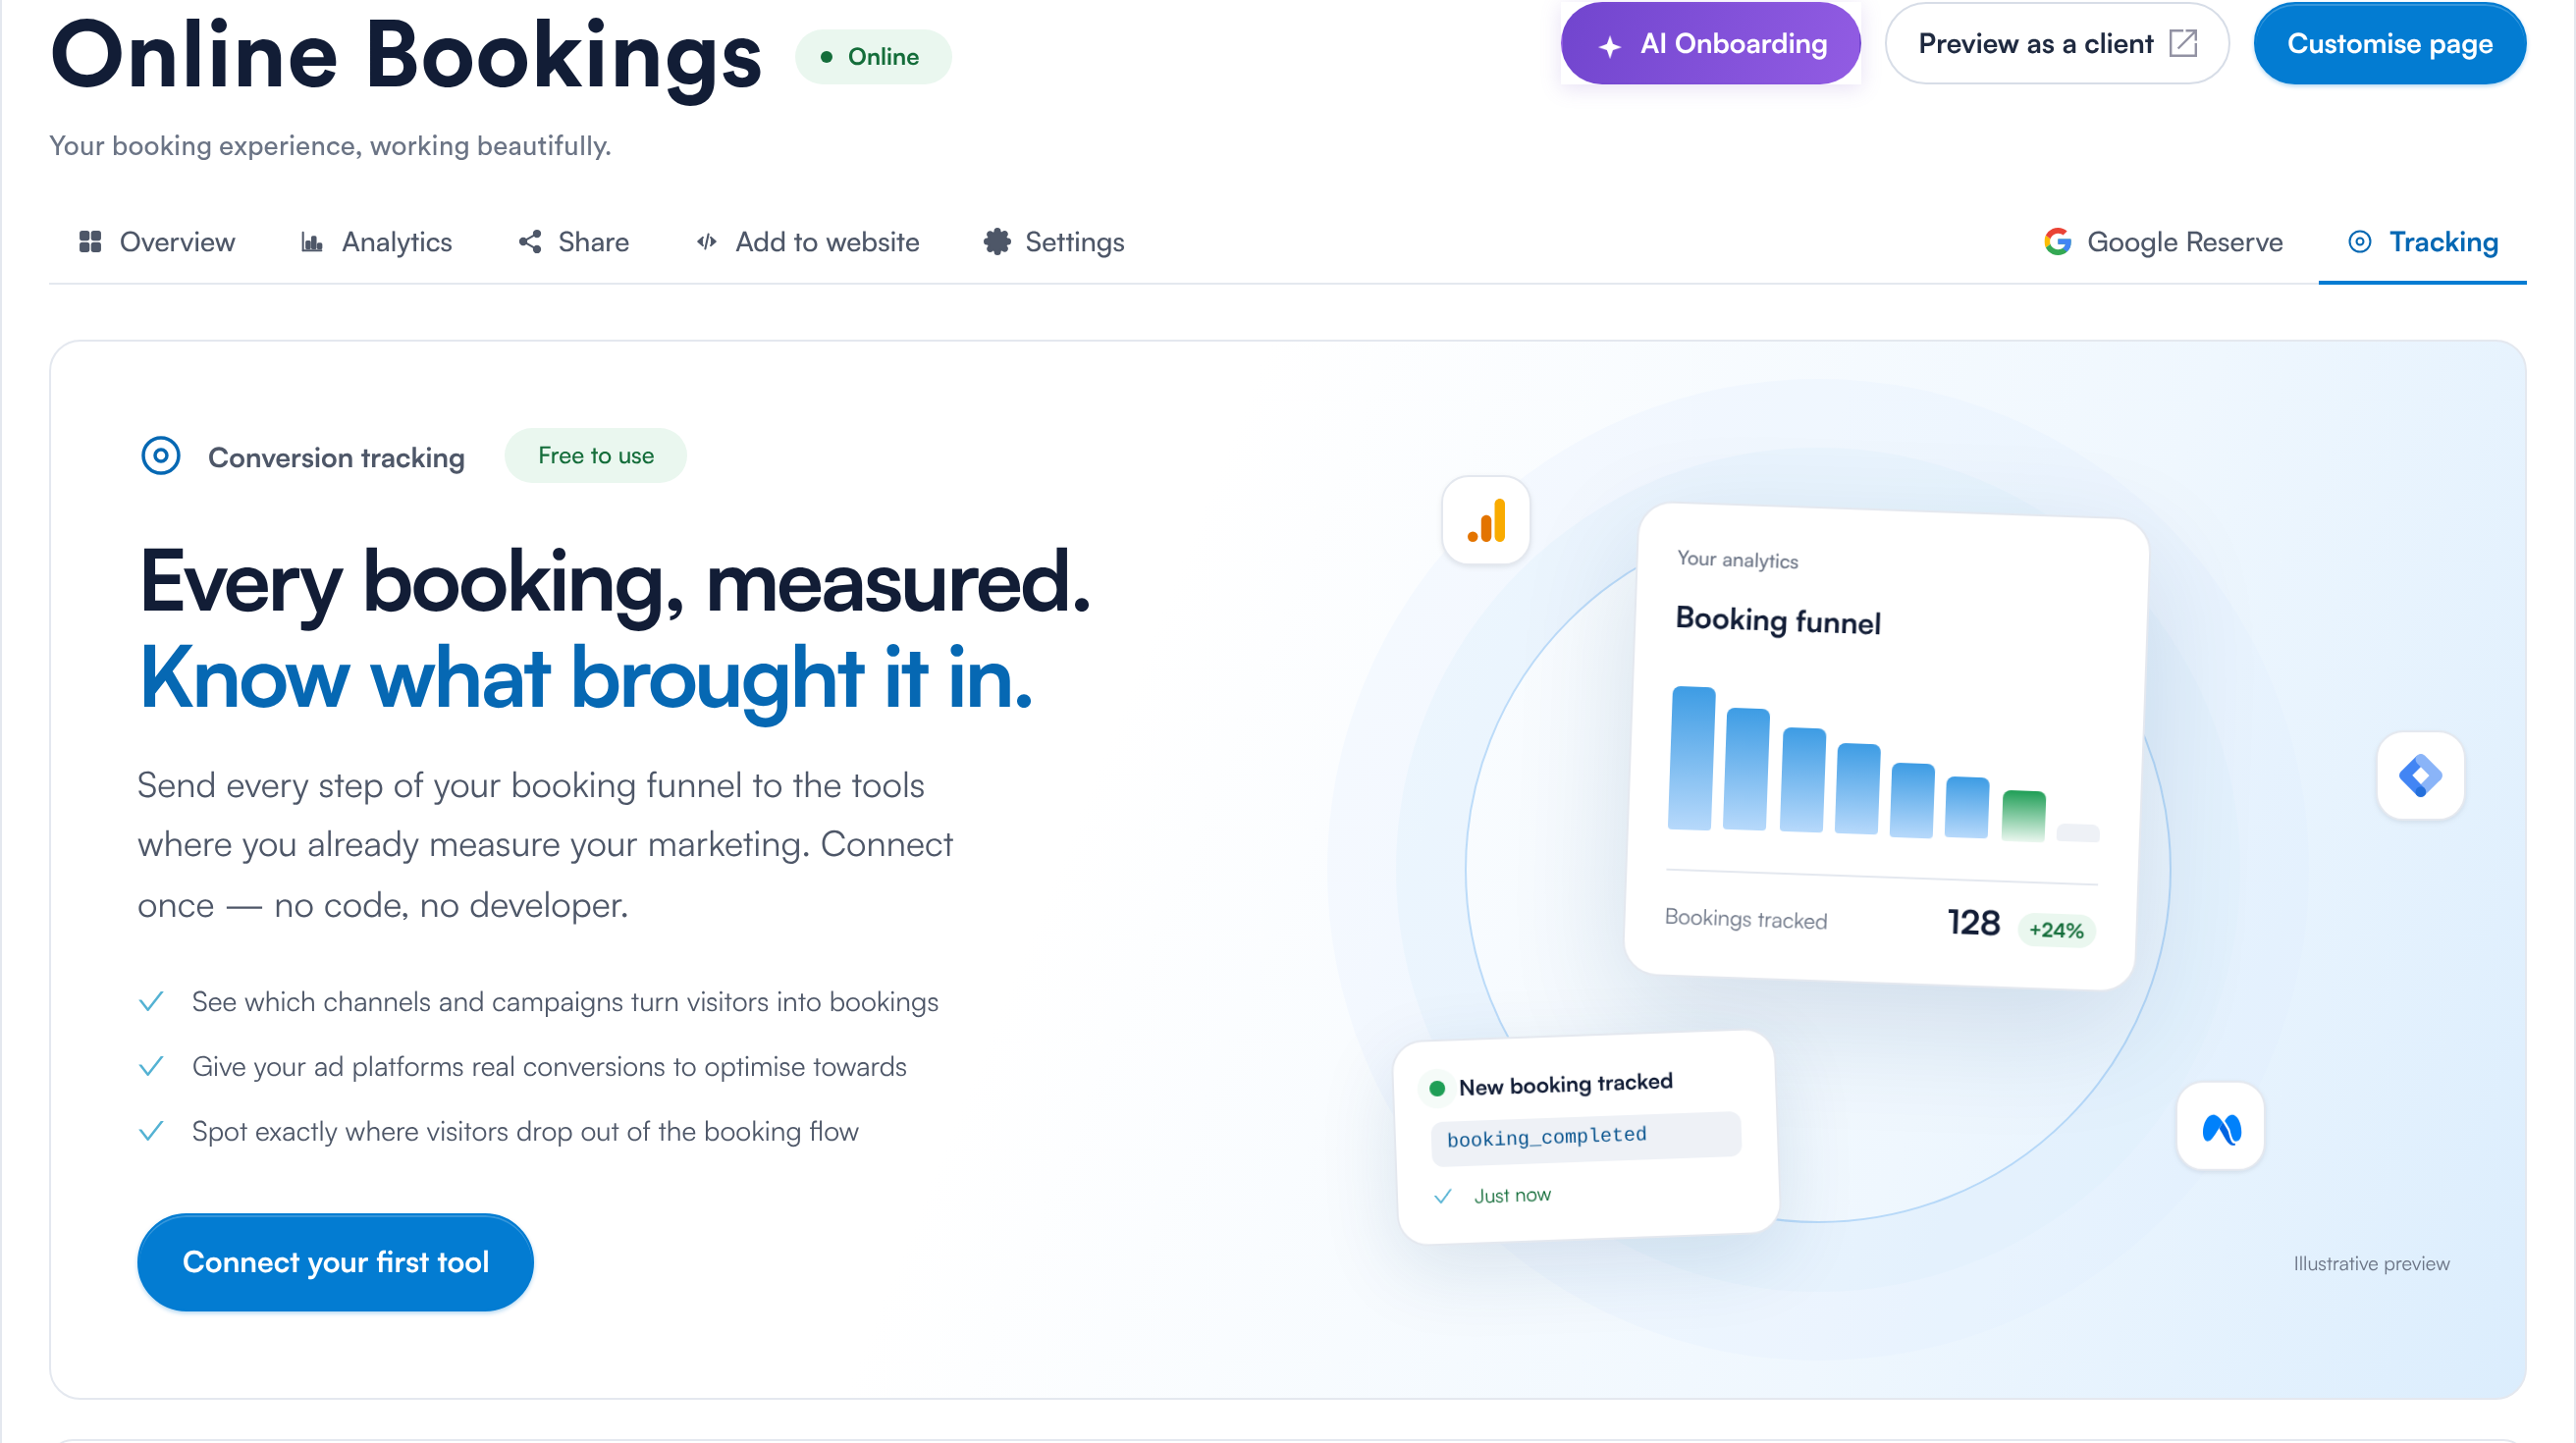
The Tracking tab, with Google Analytics, Google Tag Manager and Meta Pixel
IMPORTANT: If you run Google Analytics both directly and inside your Tag Manager container, each booking is counted twice. Connect one or the other, and test your set-up before running campaigns against these events.
Step 5: Take Bookings from Google
Open the Google Reserve tab and switch on Activate Google Reserve. Under Your locations, choose which locations can receive bookings from Google Search and Maps.
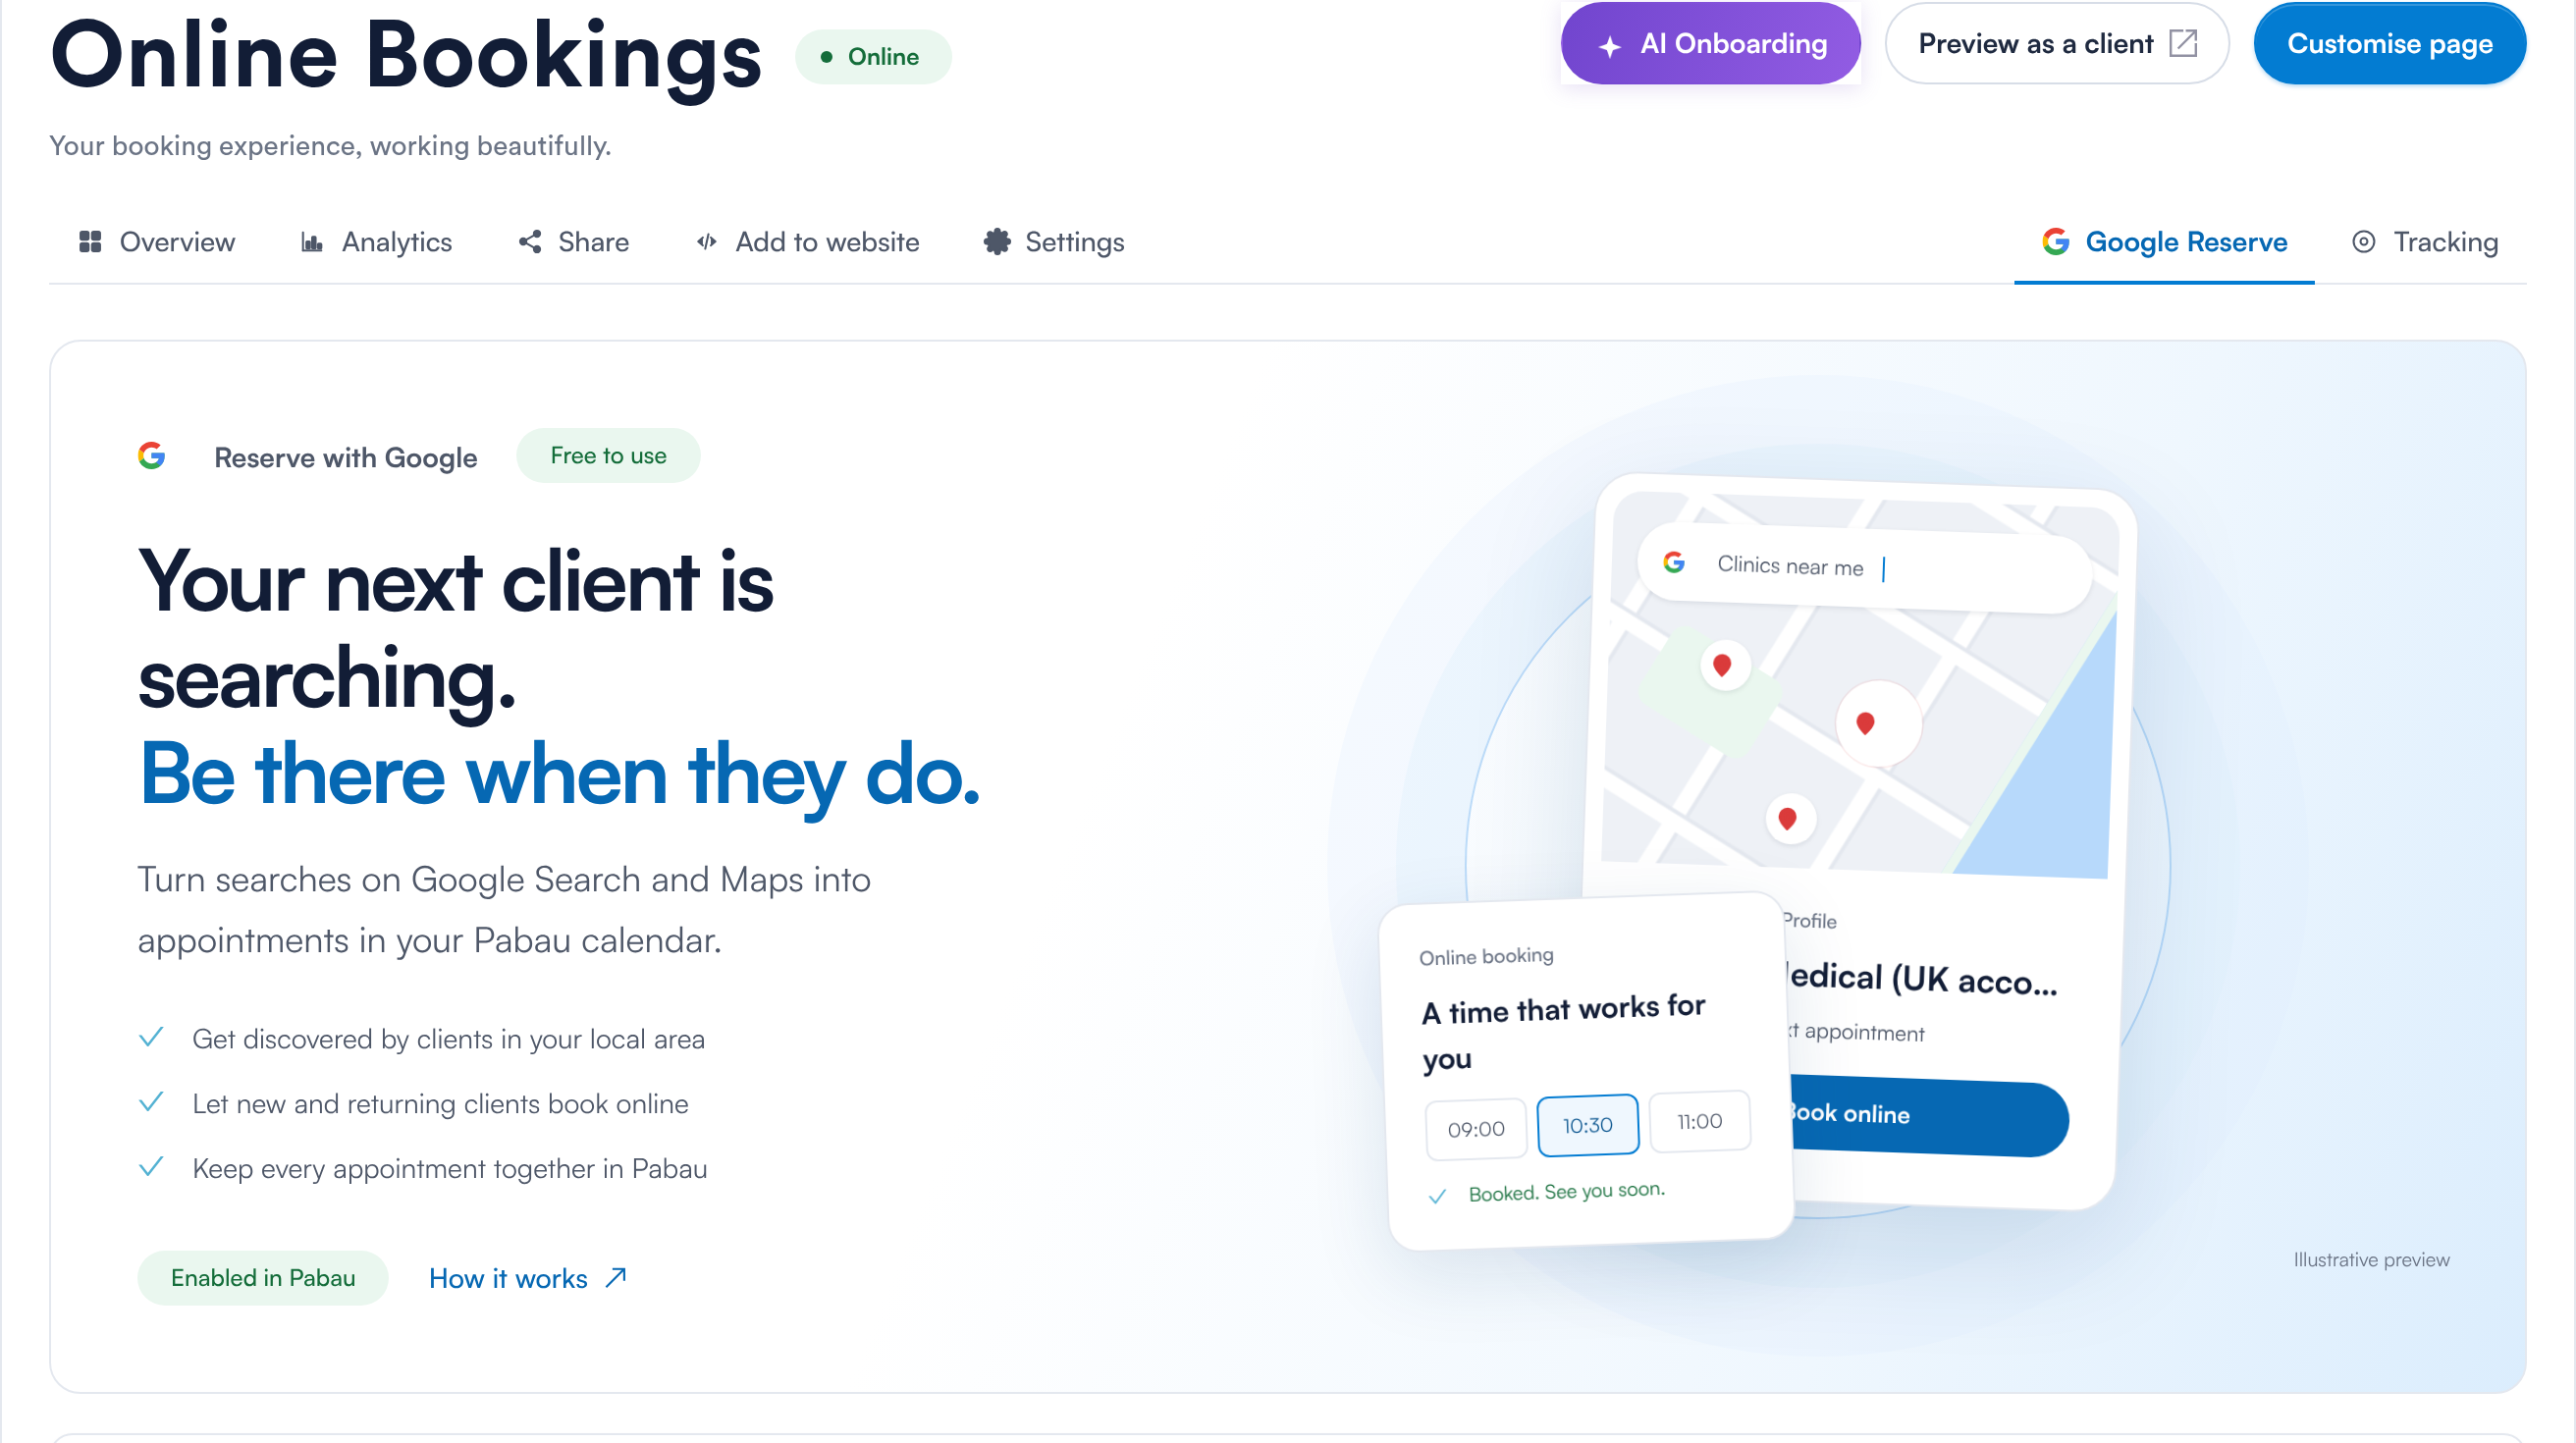
Google Reserve: choose which locations take bookings from Google
NOTE: Your business name, address and phone number must match your Google Business Profile, and online bookings and your client portal must be enabled. Changes usually appear on Google within 24–48 hours, but can take up to 72 hours.
What’s next?
To let clients book at your own web address, see How to Set Up a Custom Domain for Your Booking Page. You have now completed the set-up — your page is ready, branded, takes payment and is in front of your clients.
The complete New Online Bookings series:
- Getting Started with the New Online Bookings and Client Portal — start here — what is new and the route through the set
- New Online Bookings Part 1: Get Your Booking Page Ready — check your booking page is ready to take bookings
- New Online Bookings Part 2: Customise and Publish Your Booking Page in Pabau Studio — brand your page and publish it
- New Online Bookings Part 3: Set Booking Steps and Availability Rules — choose the booking steps and the availability rules
- New Online Bookings Part 4: Take Payments and Deposits Online — take payments, deposits and card details online
- New Online Bookings Part 5: Share Your Booking Page and Add It to Your Website (this article) — share your link and put booking on your website
Questions? Reach us any time via the in-app chat — we’re happy to help.
Was this guide helpful? Let us know by voting below - your feedback helps us write clearer articles.
For more guides, browse the related articles below or use the search bar at the top of the page. You can also watch our video learning series, the Pabau Academy, or visit the Support page for additional help.