
NOTE: The new Online Bookings and Client Portal are being rolled out to clinics in phases. If Setup → Online Bookings does not show the Overview, Share and Add to website tabs described here, your account is still on the classic version — see Online Bookings and Client Portal instead.
NOTE: You will need access to your domain’s DNS settings (usually with whoever you bought your domain from, such as GoDaddy, Cloudflare or 123 Reg). Your booking page must be published before you add a domain.
Step 1: Add Your Domain
Go to Setup → Online Bookings, open the Settings tab and choose Custom Domain. Click Add domain and enter the address your clients should book at — a subdomain such as booking.yourclinic.com, or your whole domain.
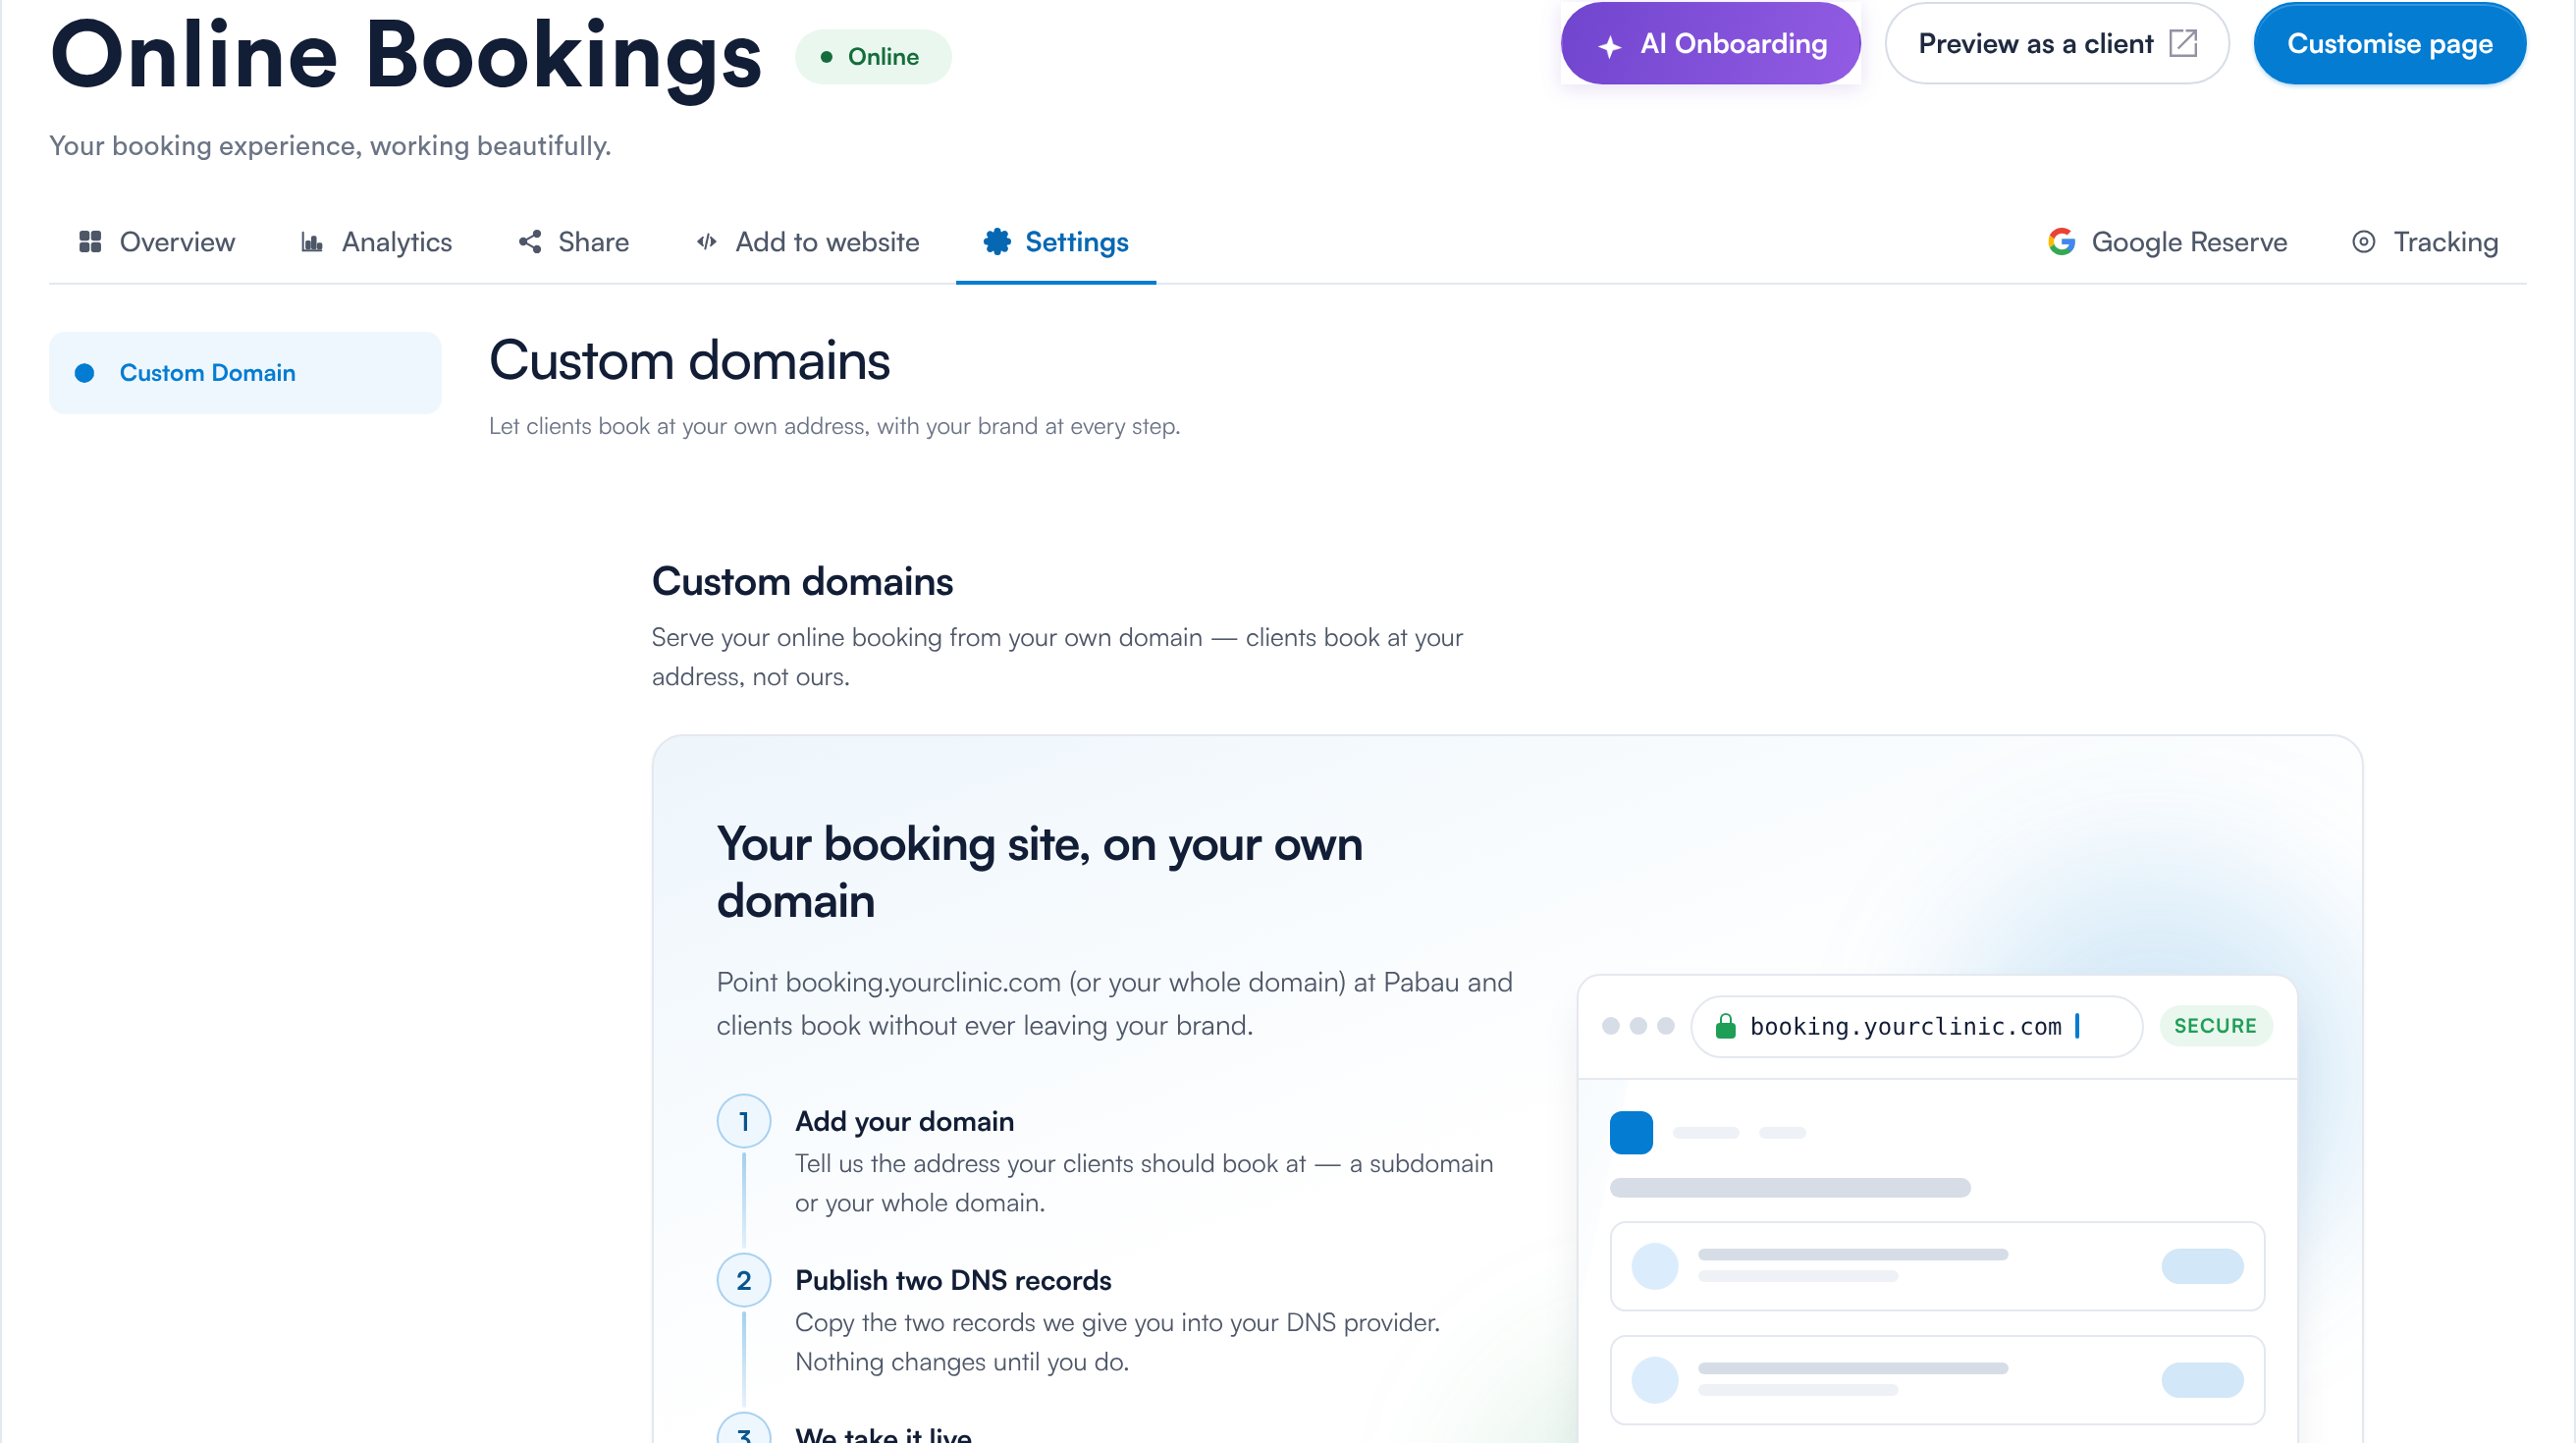
Custom domains: add your domain, publish two DNS records, and Pabau takes it live
Step 2: Publish the Two DNS Records
Pabau shows you two records. Copy each one into your DNS provider exactly as shown:
- A CNAME record that points your address at Pabau. For a whole (root) domain, use an ALIAS or ANAME record if your provider offers one.
- A TXT record that proves the domain is yours.
WARNING: Keep the TXT record in place permanently. Pabau re-checks it regularly, and if it is removed your domain will be taken offline.
Step 3: Check and Go Live
Once the records are saved, click Check now. DNS changes can take a little while to spread — the status refreshes on its own every minute. When your domain shows as Active, Pabau issues the security certificate and keeps it renewed for you. Clients can then book at your address.
NOTE: Until a domain is verified, its status shows as Pending or Unverified. Nothing changes for your clients until it is Active — your standard booking link keeps working throughout.
What’s next?
Put your new address on your website and social profiles — see Part 5: Share Your Booking Page and Add It to Your Website. For the whole set-up, start at Getting Started with the New Online Bookings and Client Portal.
Questions? Reach us any time via the in-app chat — we’re happy to help.
Was this guide helpful? Let us know by voting below - your feedback helps us write clearer articles.
For more guides, browse the related articles below or use the search bar at the top of the page. You can also watch our video learning series, the Pabau Academy, or visit the Support page for additional help.