
NOTE: NOTE: Plans are being rolled out to clinics in phases. If you can't see Plans on the client card, Plans isn't switched on for your clinic yet.
Step 1: Open the Plans Tab
Open the client's card and click EMR. Click the Plans tile, which shows how many plans the client has.
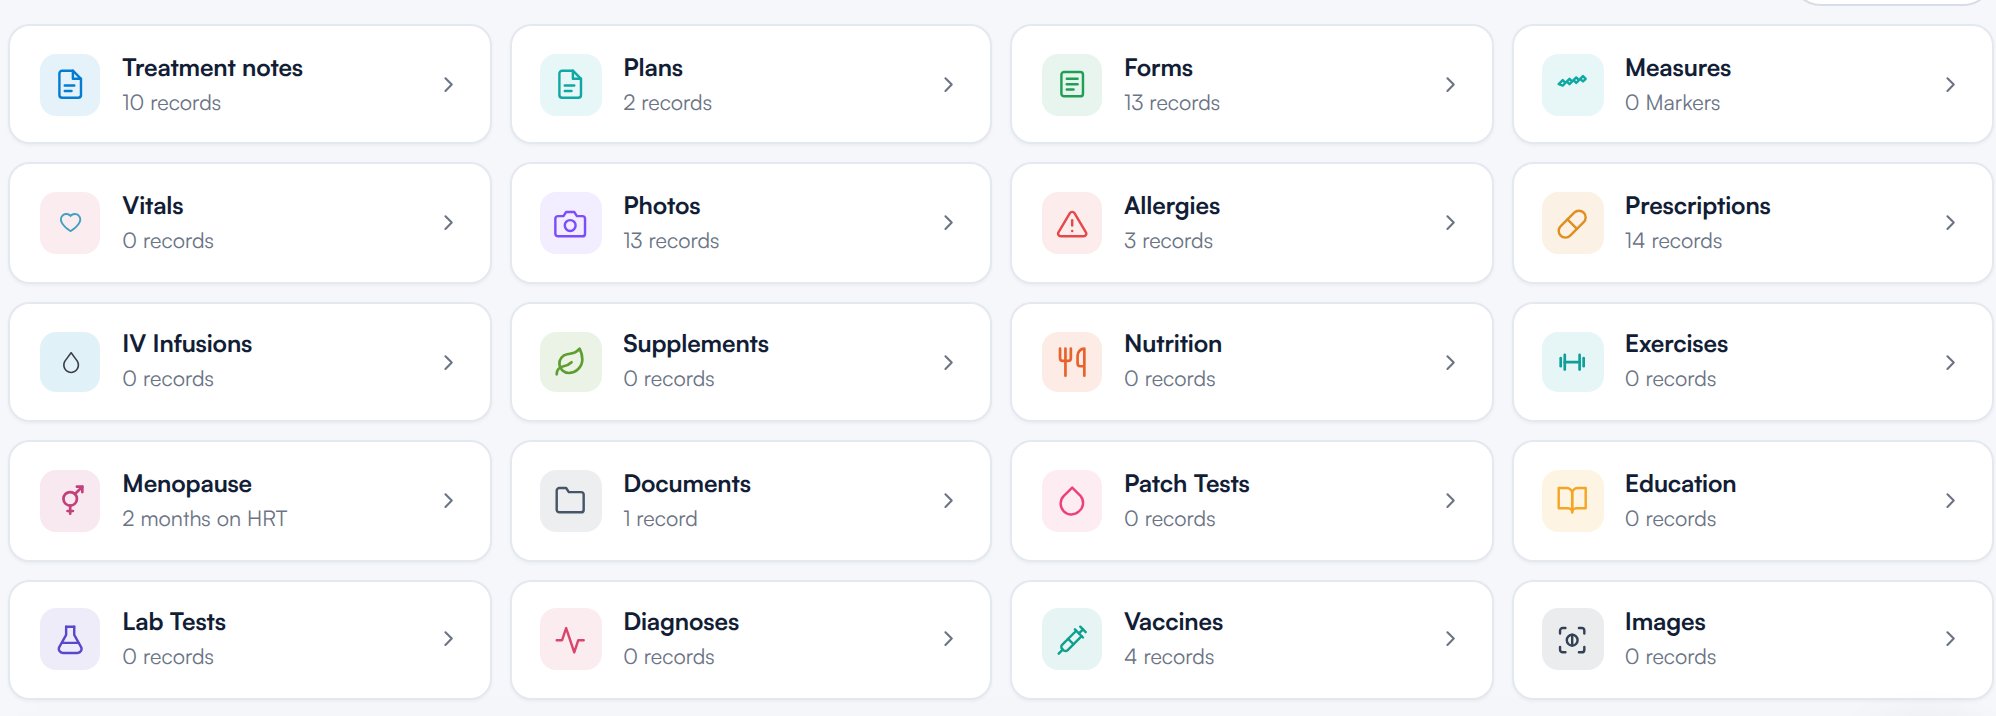
The Plans tile in the client's EMR
Step 2: Create a Plan from the Client Card
If the client has no plans yet, the tab shows Plan the next steps in care. Click Create plan to open the plan builder with this client already chosen. Pick the appointment the plan belongs to, or No appointment, then start from a template or Start from scratch.
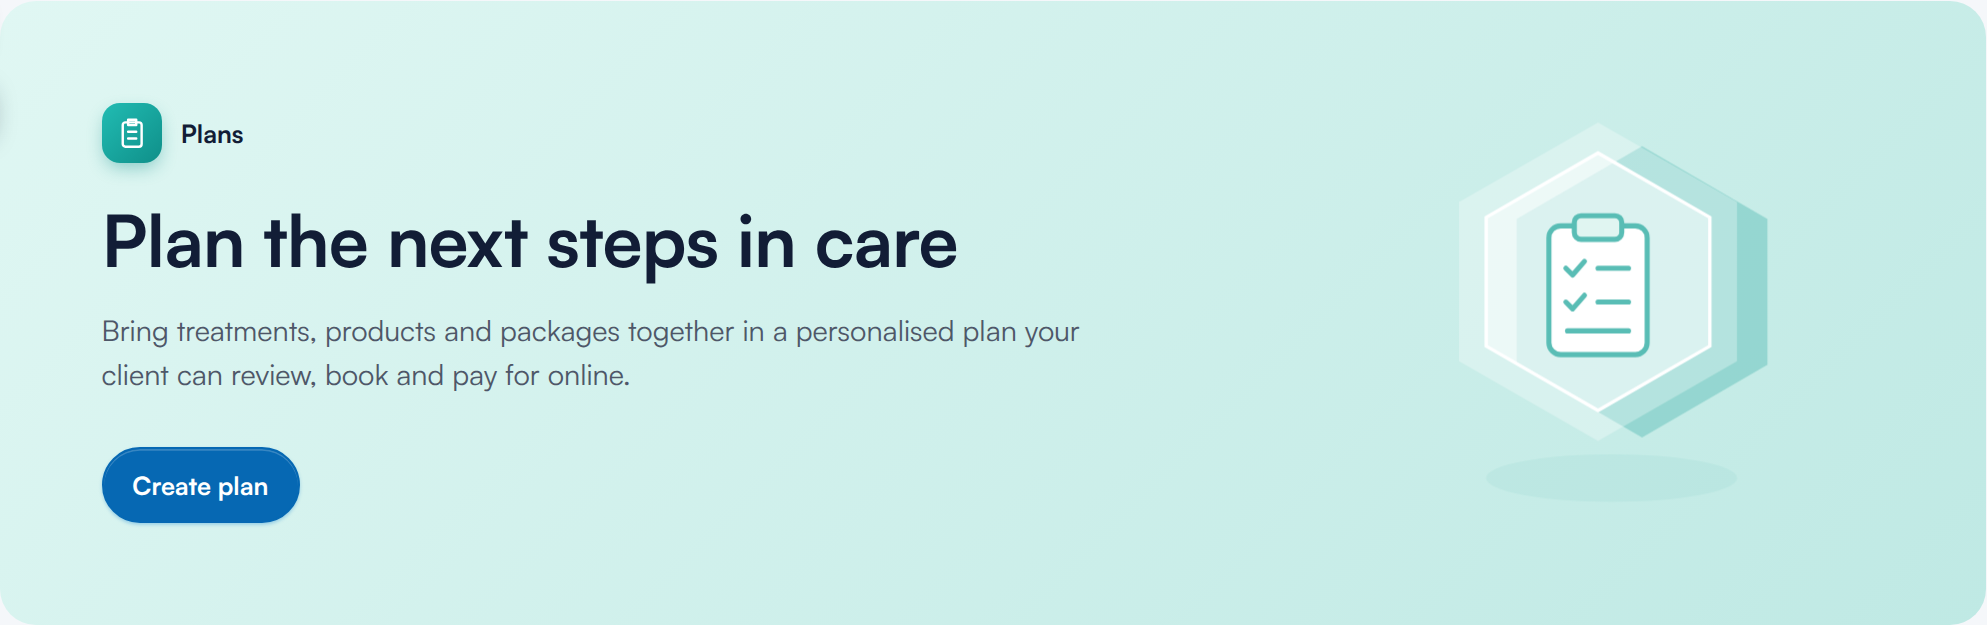
A client with no plans yet
How to Build and Send a Treatment Plan walks through the builder.
Step 3: Filter the Client's Plans
The tabs along the top split the plans by type, with a count on each: All, Treatment, Supplements, Nutrition, IV Infusion, Exercise and Internal orders. Only the plan types your clinic offers appear. $1
Each plan type has its own guide: How to Build and Send a Treatment Plan, How to Build and Send a Supplement Plan, How to Build and Send a Nutrition Plan, How to Plan and Record IV Infusion Sessions on the Client Card, How to Build and Send a Home Exercise Programme and How to Create an Internal Order.
Under the tabs, narrow the list by status: All statuses, Not started, In progress or Completed.
TIP: TIP: Expired and withdrawn plans only appear under All statuses.
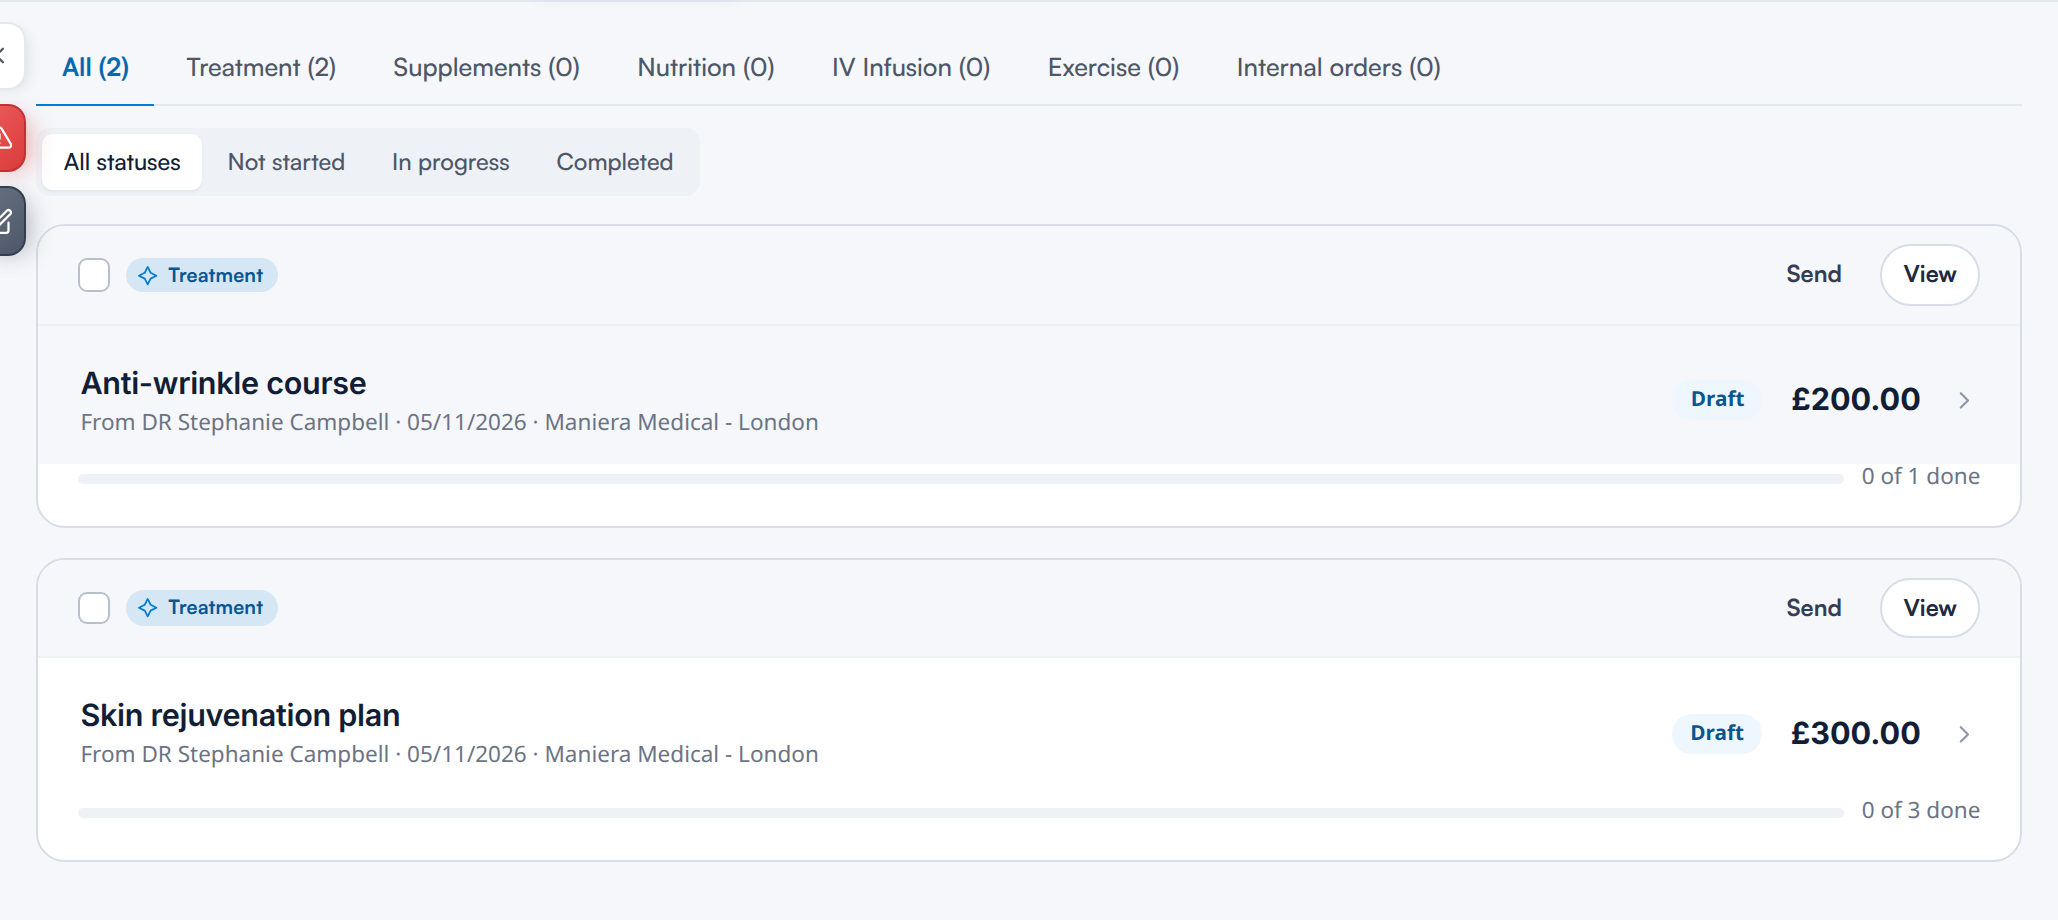
Plans on the client card, newest first
Step 4: Read a Plan Card
Each card shows:
- The plan type, and the plan's name.
- Who the plan is from, the date it was created and the location.
- The status (for example Draft) and the plan's total.
- A progress bar showing how many of the plan's sessions are done, such as 0 of 3 done.
When a plan is underway and not on hold, its card also shows Book a visit. Click it to choose the visits to book, then continue to the calendar. How to Take Payment for a Plan and Book the Visits covers this in full.
Step 5: See a Plan as the Client Sees It
Click View on a card to open the plan exactly as the client sees it. A banner at the top reminds you that this is the client's view. Use Print to print it, or Back to plans to return.
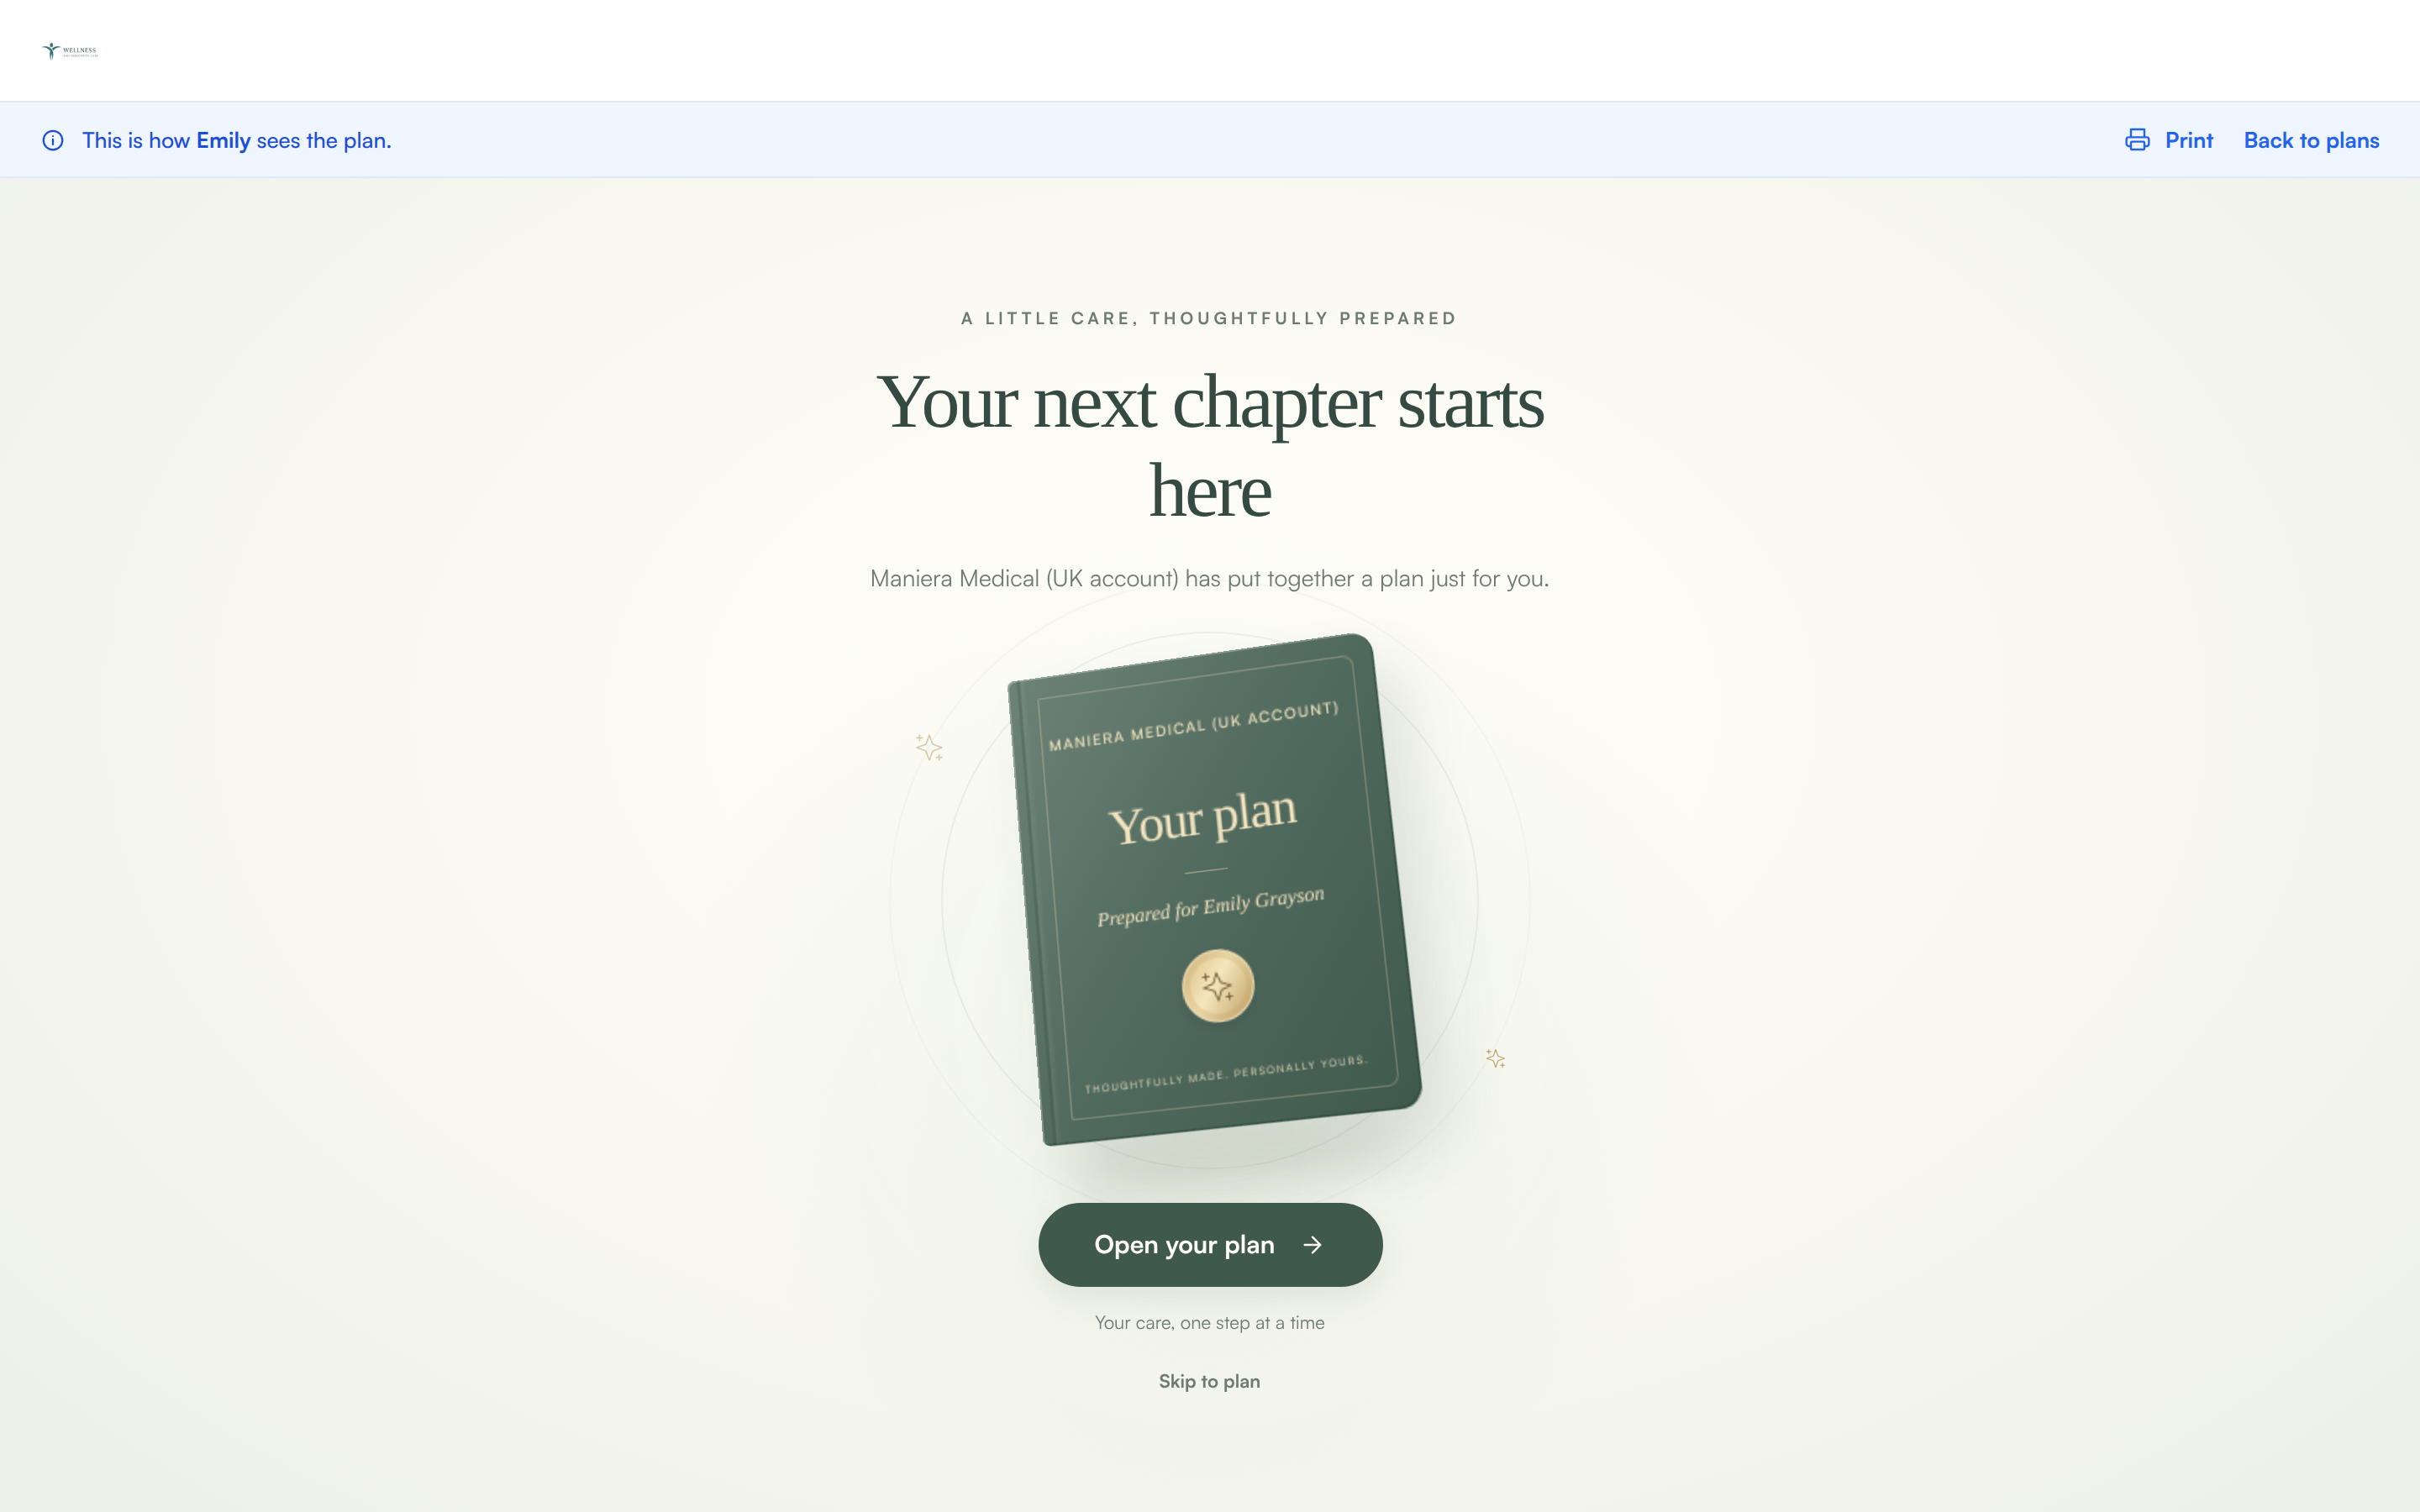
The plan as the client sees it
How Clients View, Sign and Pay for a Treatment Plan explains what the client can do from there.
Step 6: Send a Plan
Click Send on a card to send the plan to the client by email or SMS. An envelope or message icon appears beside Send once it has been sent that way.
If Send is greyed out, hover over it to see why:
- Add something to the plan before sending it: the plan is empty.
- Internal orders are not sent to clients: internal orders stay with your team.
- A withdrawn plan can’t be sent: the plan has been cancelled.
For IV infusion plans and exercise programmes, only the last reason applies, and a nutrition plan can be sent even before it has any meals.
Step 7: Combine Plans
To show the client several plans together, for example a treatment plan and a supplement plan, tick the box on each card. A bar appears at the bottom of the screen. Click Combine plans, or Clear to untick them all.
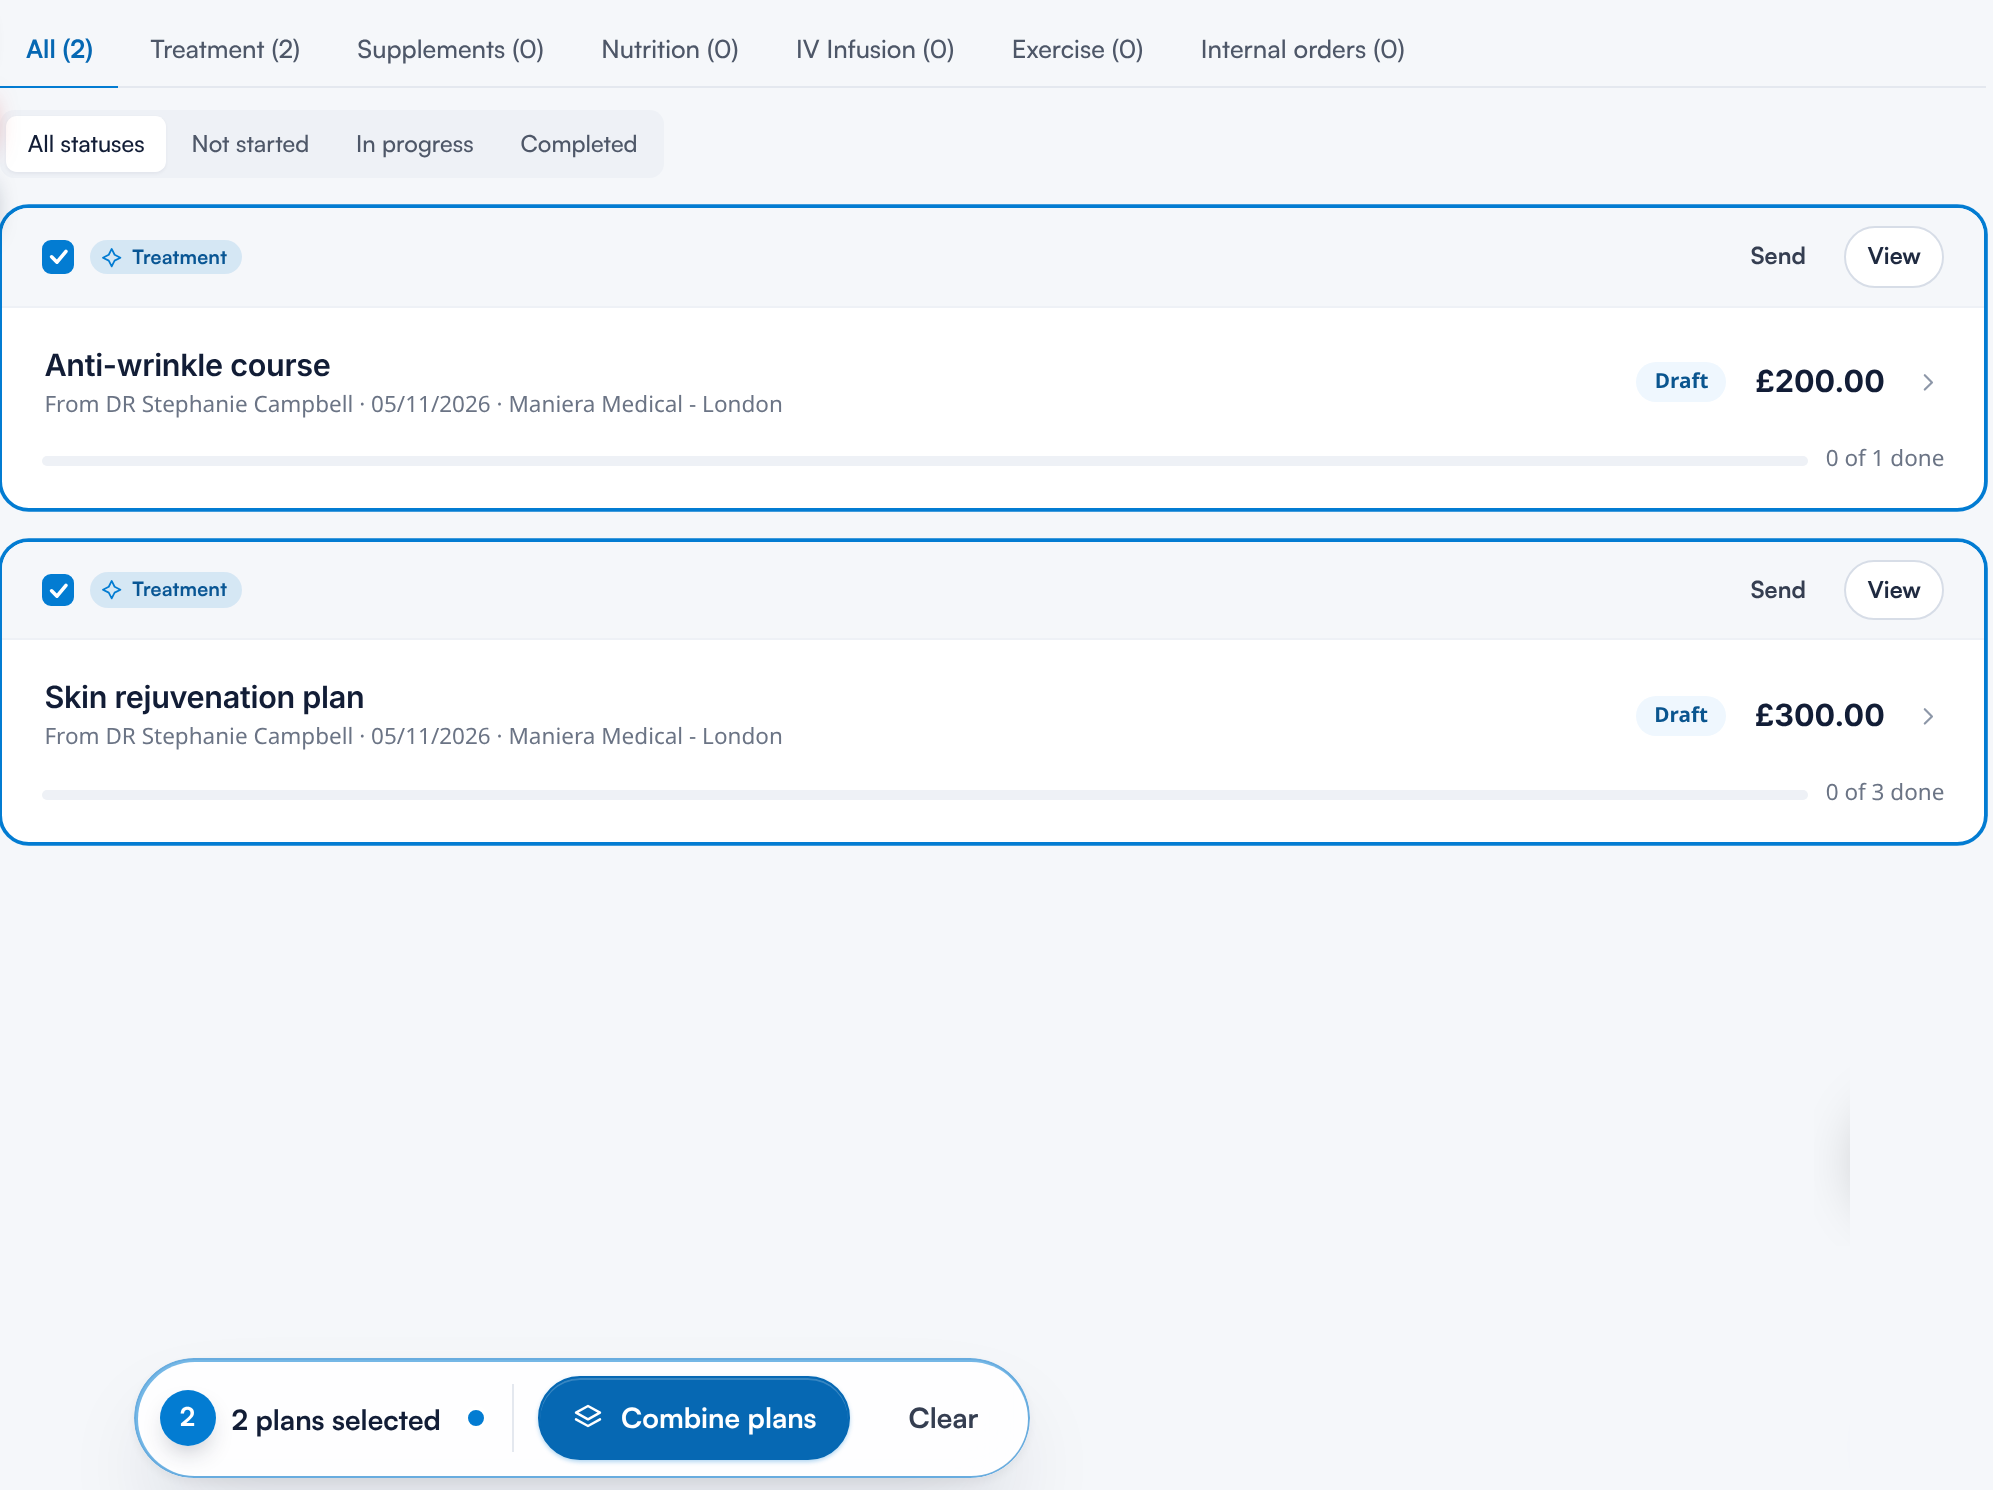
Two plans selected to combine
The combined plans open in one window. From there you can view an Overview, open each plan, or Print all to print them as a single document. Saved combinations are listed under All in place of the plans they contain.
NOTE: NOTE: You need to tick at least two plans to combine them. Internal orders can't be combined.
What's next?
- How to Use the Plans Page: see every client's plans in one place.
- How to Build and Send a Treatment Plan: build a plan for a client and send it.
- How to Take Payment for a Plan and Book the Visits: take payment, book the visits and put plans on hold.
- How Clients View, Sign and Pay for a Treatment Plan: what the client sees in the Client Portal.
Was this guide helpful? Let us know by voting below - your feedback helps us write clearer articles.
For more guides, browse the related articles below or use the search bar at the top of the page. You can also watch our video learning series, the Pabau Academy, or visit the Support page for additional help.