How to Make and Receive Calls in Engage
This article guides you through making and answering phone calls directly in Engage. Engage includes a built-in softphone, so your team can call clients and take incoming calls from the browser with nothing but a headset — no desk phone required.
NOTE: Before you can call, your clinic needs a two-way number with calling enabled, and you need to be assigned to it. We suggest reading our How to Set Up the Calls Channel in Engage (Buy a Number) and Call Setup: Numbers, Team Assignment and Call Settings articles first.
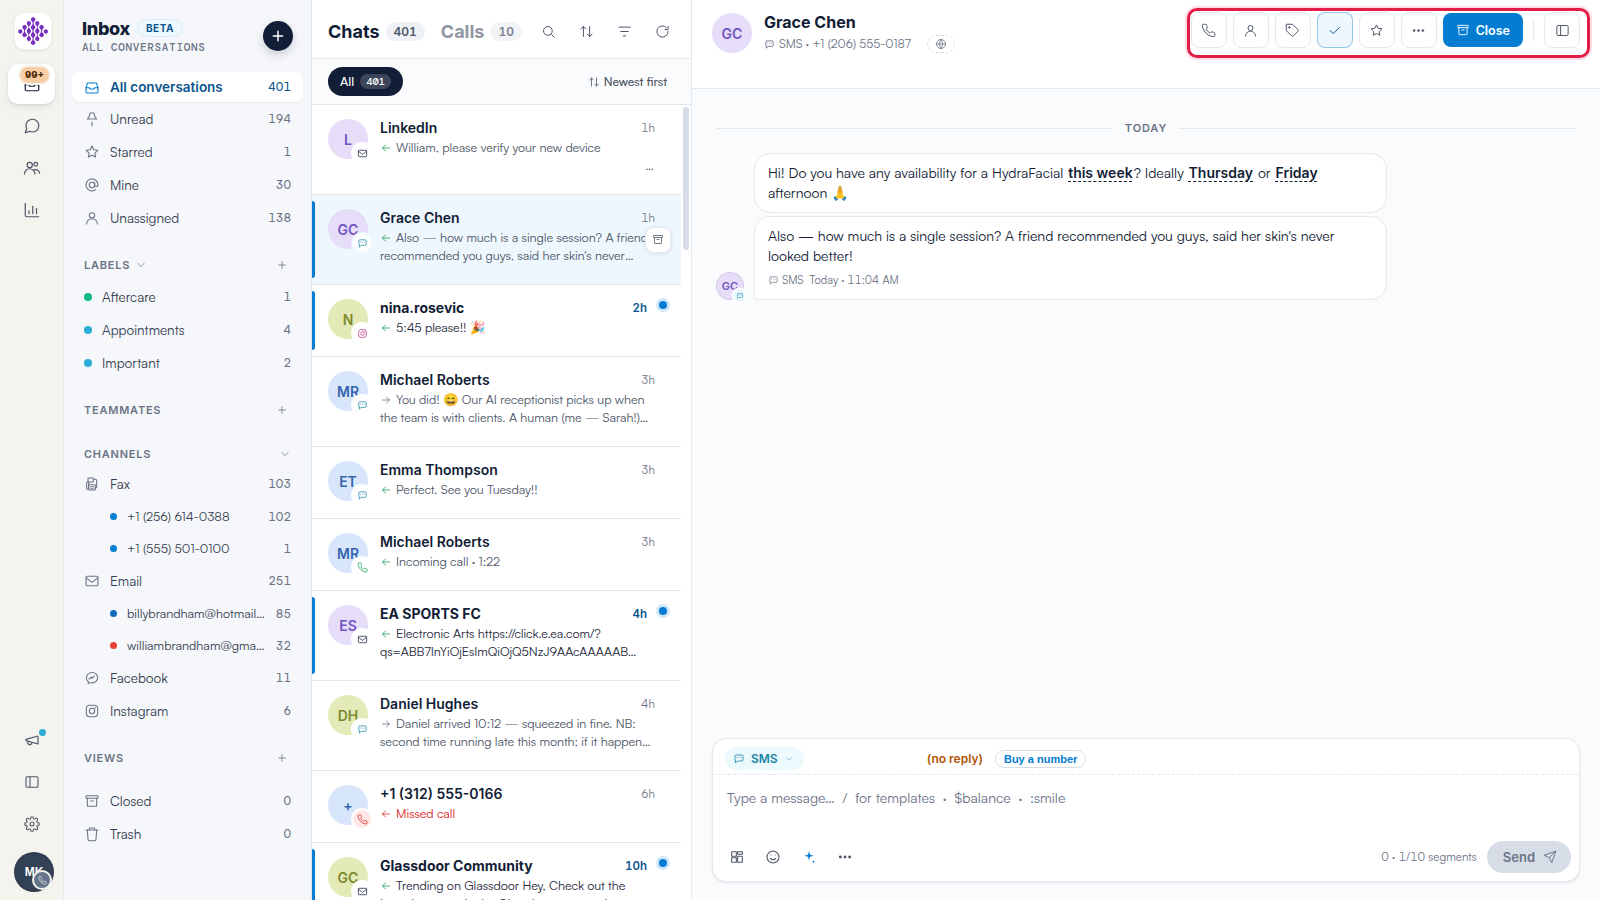
Step 1: Call a Client from a ConversationOpen any conversation and click the phone icon in the conversation header. The tooltip shows Call followed by the client's number. If the client has no number on file, the button is greyed out and the tooltip reads No phone number on file.
The floating softphone card appears in the bottom-right corner with the client's name and number. The status moves from Calling… to Ringing…, then changes to a live call timer once the call is answered.

TIP: You can drag the softphone card anywhere on the screen, and it stays with you while you move around Engage — navigating never interrupts the call.
Step 2: Dial Any Number with the Dialpad
Click your avatar at the bottom of the navigation rail, then click New call (subtitle: Dial any number). A card titled New call opens with a phone-style keypad. Type or tap the number, starting with the country code — until the number is complete, the call button stays disabled and a hint reads Include the country code, e.g. +44. Press the green call button (or Enter) to start the call.

You can also return calls with the Call back button on a voicemail or the Call button at the top of a call's detail pane.
Step 3: Use the Controls During a Live Call
While a call is active, the softphone card offers five controls: Mute, Keypad (to send tones to automated phone menus), Record, Hold, and Transfer. To transfer, click Transfer, then either pick a colleague under Transfer to a colleague (this rings their browser, so they need Engage open) or type a number under Or an external number and click Transfer.
Click the red End call button to hang up. The card shows Call ended with a Done button to dismiss it.
NOTE: When call recording is switched on, the other party hears a consent message before the call connects — by default, "This call may be recorded for quality and training purposes." We suggest reading our Call Recordings, Transcripts, Outcomes and Notes in Engage article for everything that happens after the call.
Step 4: Answer an Incoming Call
When someone calls your clinic's number, the browser rings for every team member assigned to that number, and the softphone card appears with the status Incoming call…. If the number matches a client or lead, you see their name and photo with a Patient or Lead tag; otherwise the card shows Unknown caller and the number.
Click the green Accept button to answer, or the red Decline button to dismiss the card — the call continues ringing your assigned colleagues and then goes to the number's voicemail.
NOTE: Keep Engage open in a browser tab to receive calls. If your browser doesn't ring, check that you're assigned to the number, that you're not on Do Not Disturb, and that the call arrived within the number's working hours — our How to Set Up Call Routing for a Number (Hours, Ring Groups and Voicemail) article explains how these rules work.
Step 5: Set Your Availability with Do Not Disturb
Click your avatar at the bottom of the navigation rail (tooltip: Your calling status). The popover shows your status — Receiving calls, Do not disturb, or No number assigned — along with your assigned number(s) and a Do not disturb toggle.

Switch the toggle on to pause incoming calls. The subtitle changes from Pause incoming calls to Calls go to voicemail, and the badge on your avatar turns into an amber moon. Do Not Disturb is enforced by Pabau, so incoming calls genuinely skip you while it's on.

If the popover shows You don't have a number, click + Set up a number or ask an administrator to assign you one in Call Setup.
After the Call
Every call — placed or received — appears in your clinic's call log; we suggest reading our The Calls Tab: Your Clinic's Call Log in Engage article to learn how to browse it. Messages callers leave land in a dedicated inbox, covered in our How to Use Voicemail in Engage article. Call time is charged from your Pabau credit balance — see our How Engage Billing Works: Subscriptions and Credits article for details.
TIP: If you see the message "Microphone access is needed to place a call.", click Set up microphone to fix it — our Fixing Microphone and Audio Problems in Engage article walks through every audio issue.
We suggest reading our Call Setup: Numbers, Team Assignment and Call Settings article to manage who receives calls and how each number behaves.
For more guides, refer to related articles below, select additional guides, or use the search bar at the top of the page. These guides will help you get the most out of your Pabau account.
Additionally, to help you fully utilize and understand your Pabau account, we recommend exploring additional guides and resources offered at the Pabau Academy.