
In this article, you will learn how to configure a form’s settings in Capture Forms — from availability and security to confirmation messages and notification emails.
Before sharing a form, it’s worth setting it up to fit your clinic’s needs. The settings are split into four sections — Form Settings, Confirmation Settings, Notification Settings and Theme Settings — and one Save settings button saves all four together.
Step 1: Open The Form Settings
- Go to Marketing → Capture Forms and click the Forms tab.
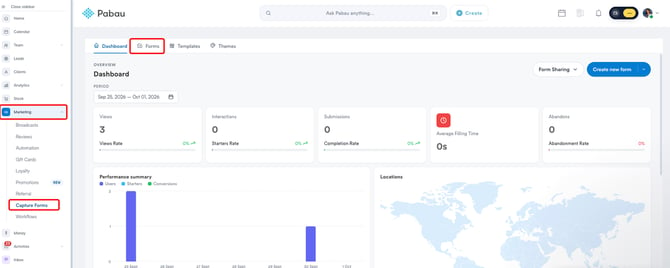
- On your form, click Actions → Settings. You can also choose Let's go to Form Settings. after saving a form in the builder.
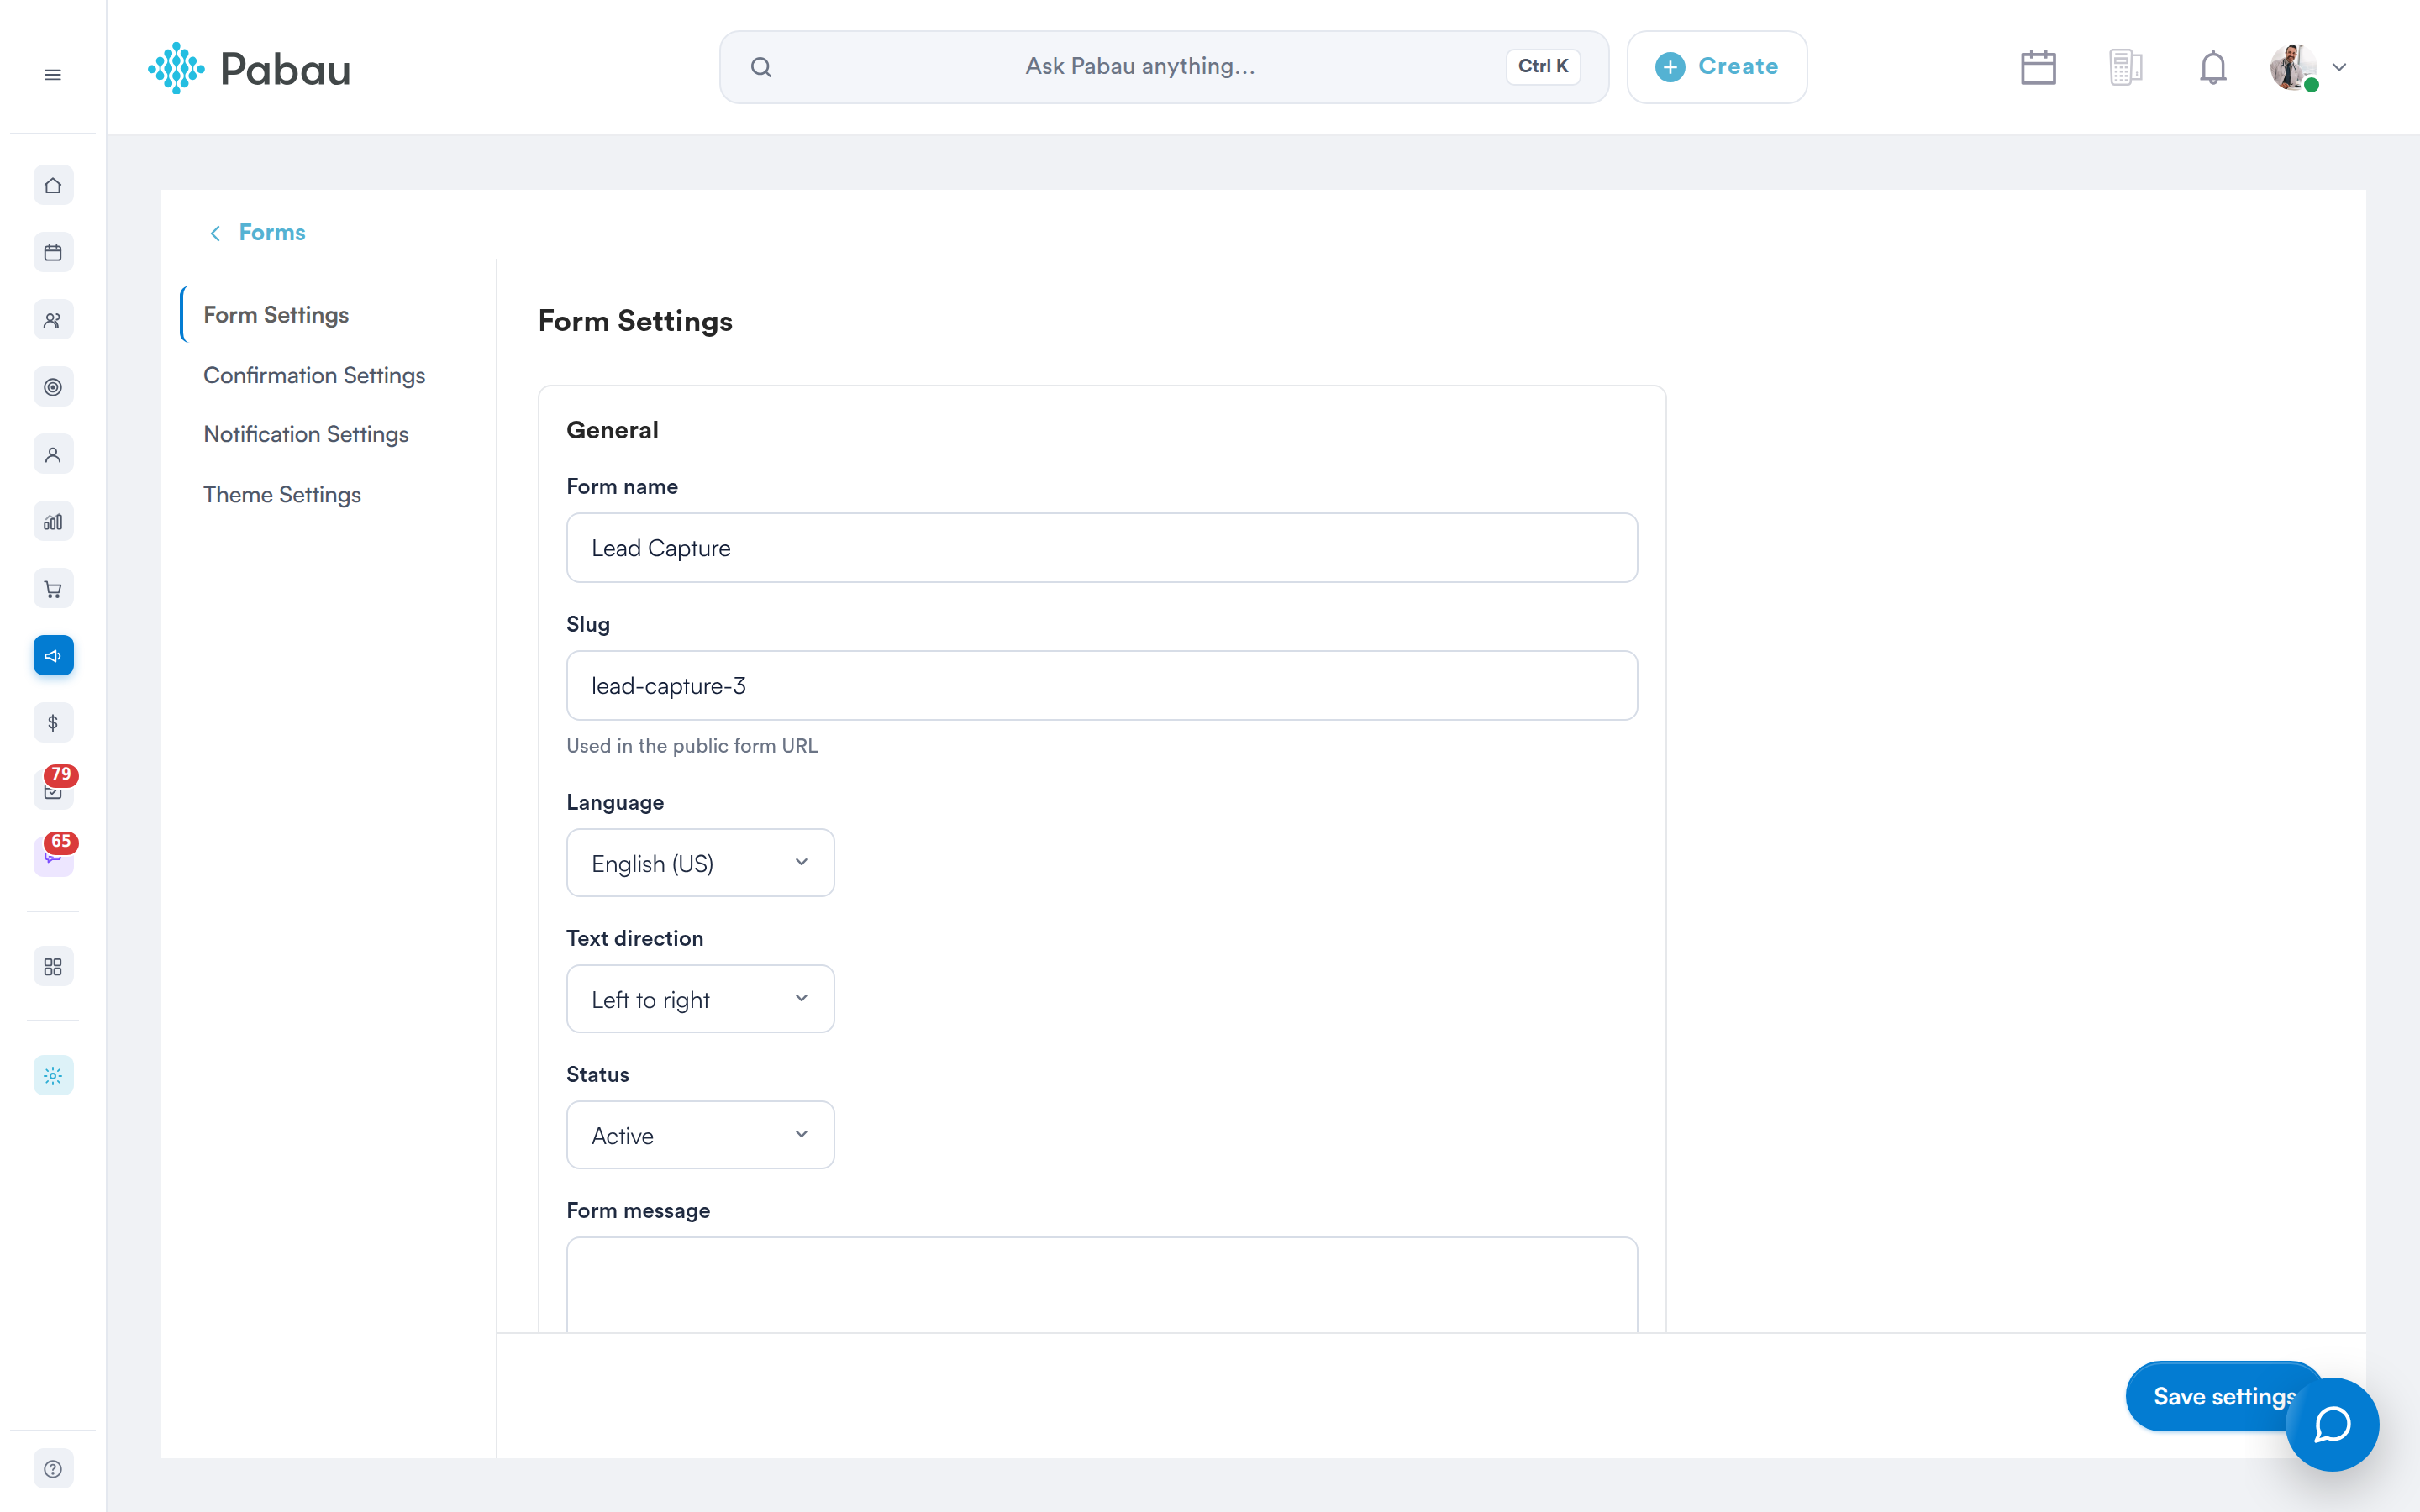
Form Settings
Step 2: Configure Form Settings
General
- Form name — the name shown in your list of forms.
- Slug — follows the form name until you change it yourself, and is made unique when you save.
- Language — the language used for the form's messages, such as validation errors.
- Text direction — Left to right or Right to left.
- Status — Active or Inactive.
- Form message — text shown above the form.
Switch on Schedule form availability to open the form only between two moments:
- Under Available from, click Pick a date, choose a day, then choose a Time. Times are offered in 30-minute steps.
- Do the same under Available until. You can't pick a day before the start day, and on the same day only later times are offered.
- If you move Available from to the same time as, or later than, Available until, the end date is cleared so you can pick it again.
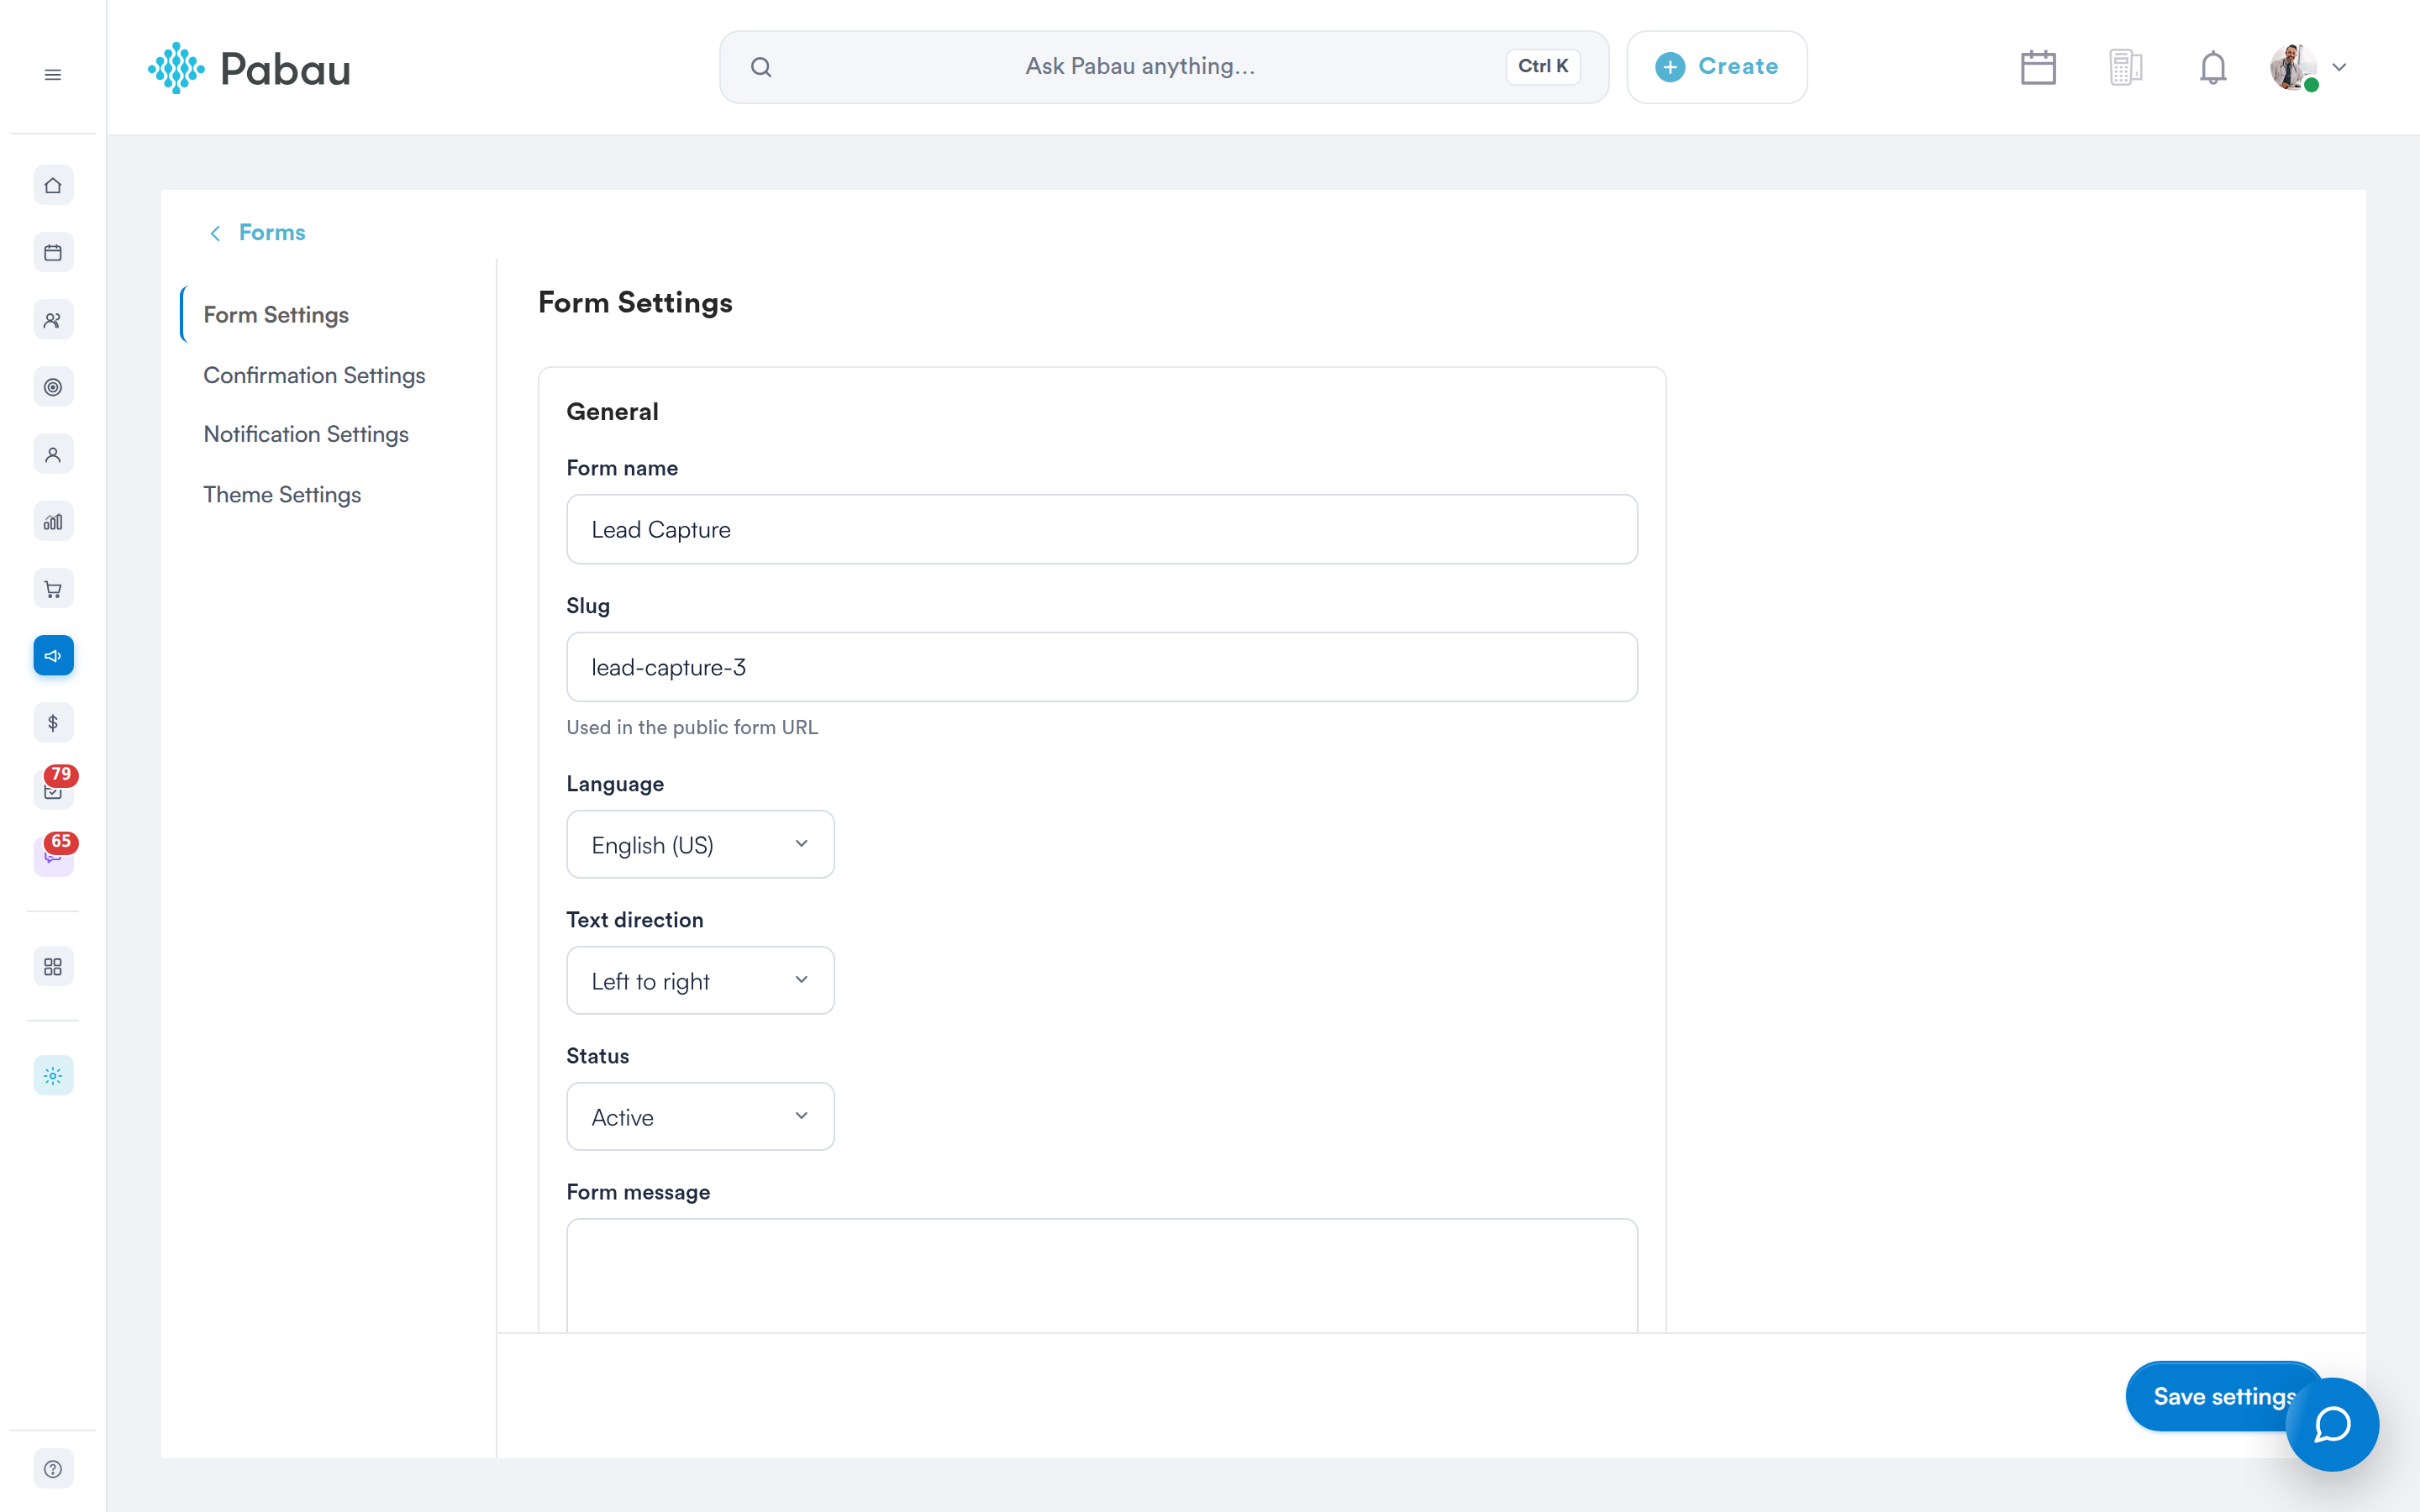
Scheduling form availability
Create Activity
Switch on Create an activity on submission to create a CRM activity each time the form is submitted. Choose the Activity type, Duration (minutes), Subject, Timing (After submission, Before submission or On submission date) and who it is Assigned to.
Lead Routing
Choose where submissions are stored under Type: Lead creates a CRM lead, Clients creates a client, and None stores only the submission. For leads, also choose the Pipeline and Pipeline Stage.
Form Security
- Restrict to authorized URLs — only allow the form on the websites you list under Authorized URLs (one per line). Switch on Hide form in unauthorized URLs to show your own Error message elsewhere.
- Honeypot spam protection — filters out submissions made by bots.
- Disable native browser validation — turns off the browser's own checks. We recommend leaving this off.
- Password protect this form — visitors must enter the Password you set to open the form. Once a password is set, leave the box blank to keep it, or type a new one to change it.
Other Options
- Track submitter IP address — records the IP address of each submission.
- Enable browser autocomplete — lets the browser fill in answers the visitor has used before.
Step 3: Configure Confirmation Settings
Click Confirmation Settings on the left.
Confirmation
Under After submission, choose what visitors see once they submit:
- Show a message — type your Confirmation message.
- Redirect to a URL — enter the Redirect URL and an optional Redirect delay (seconds). You can also Append submission data to the URL and Use field alias instead of field name.
- Hide the form.
Switch on Hide the form after submission to hide the form once it has been sent.
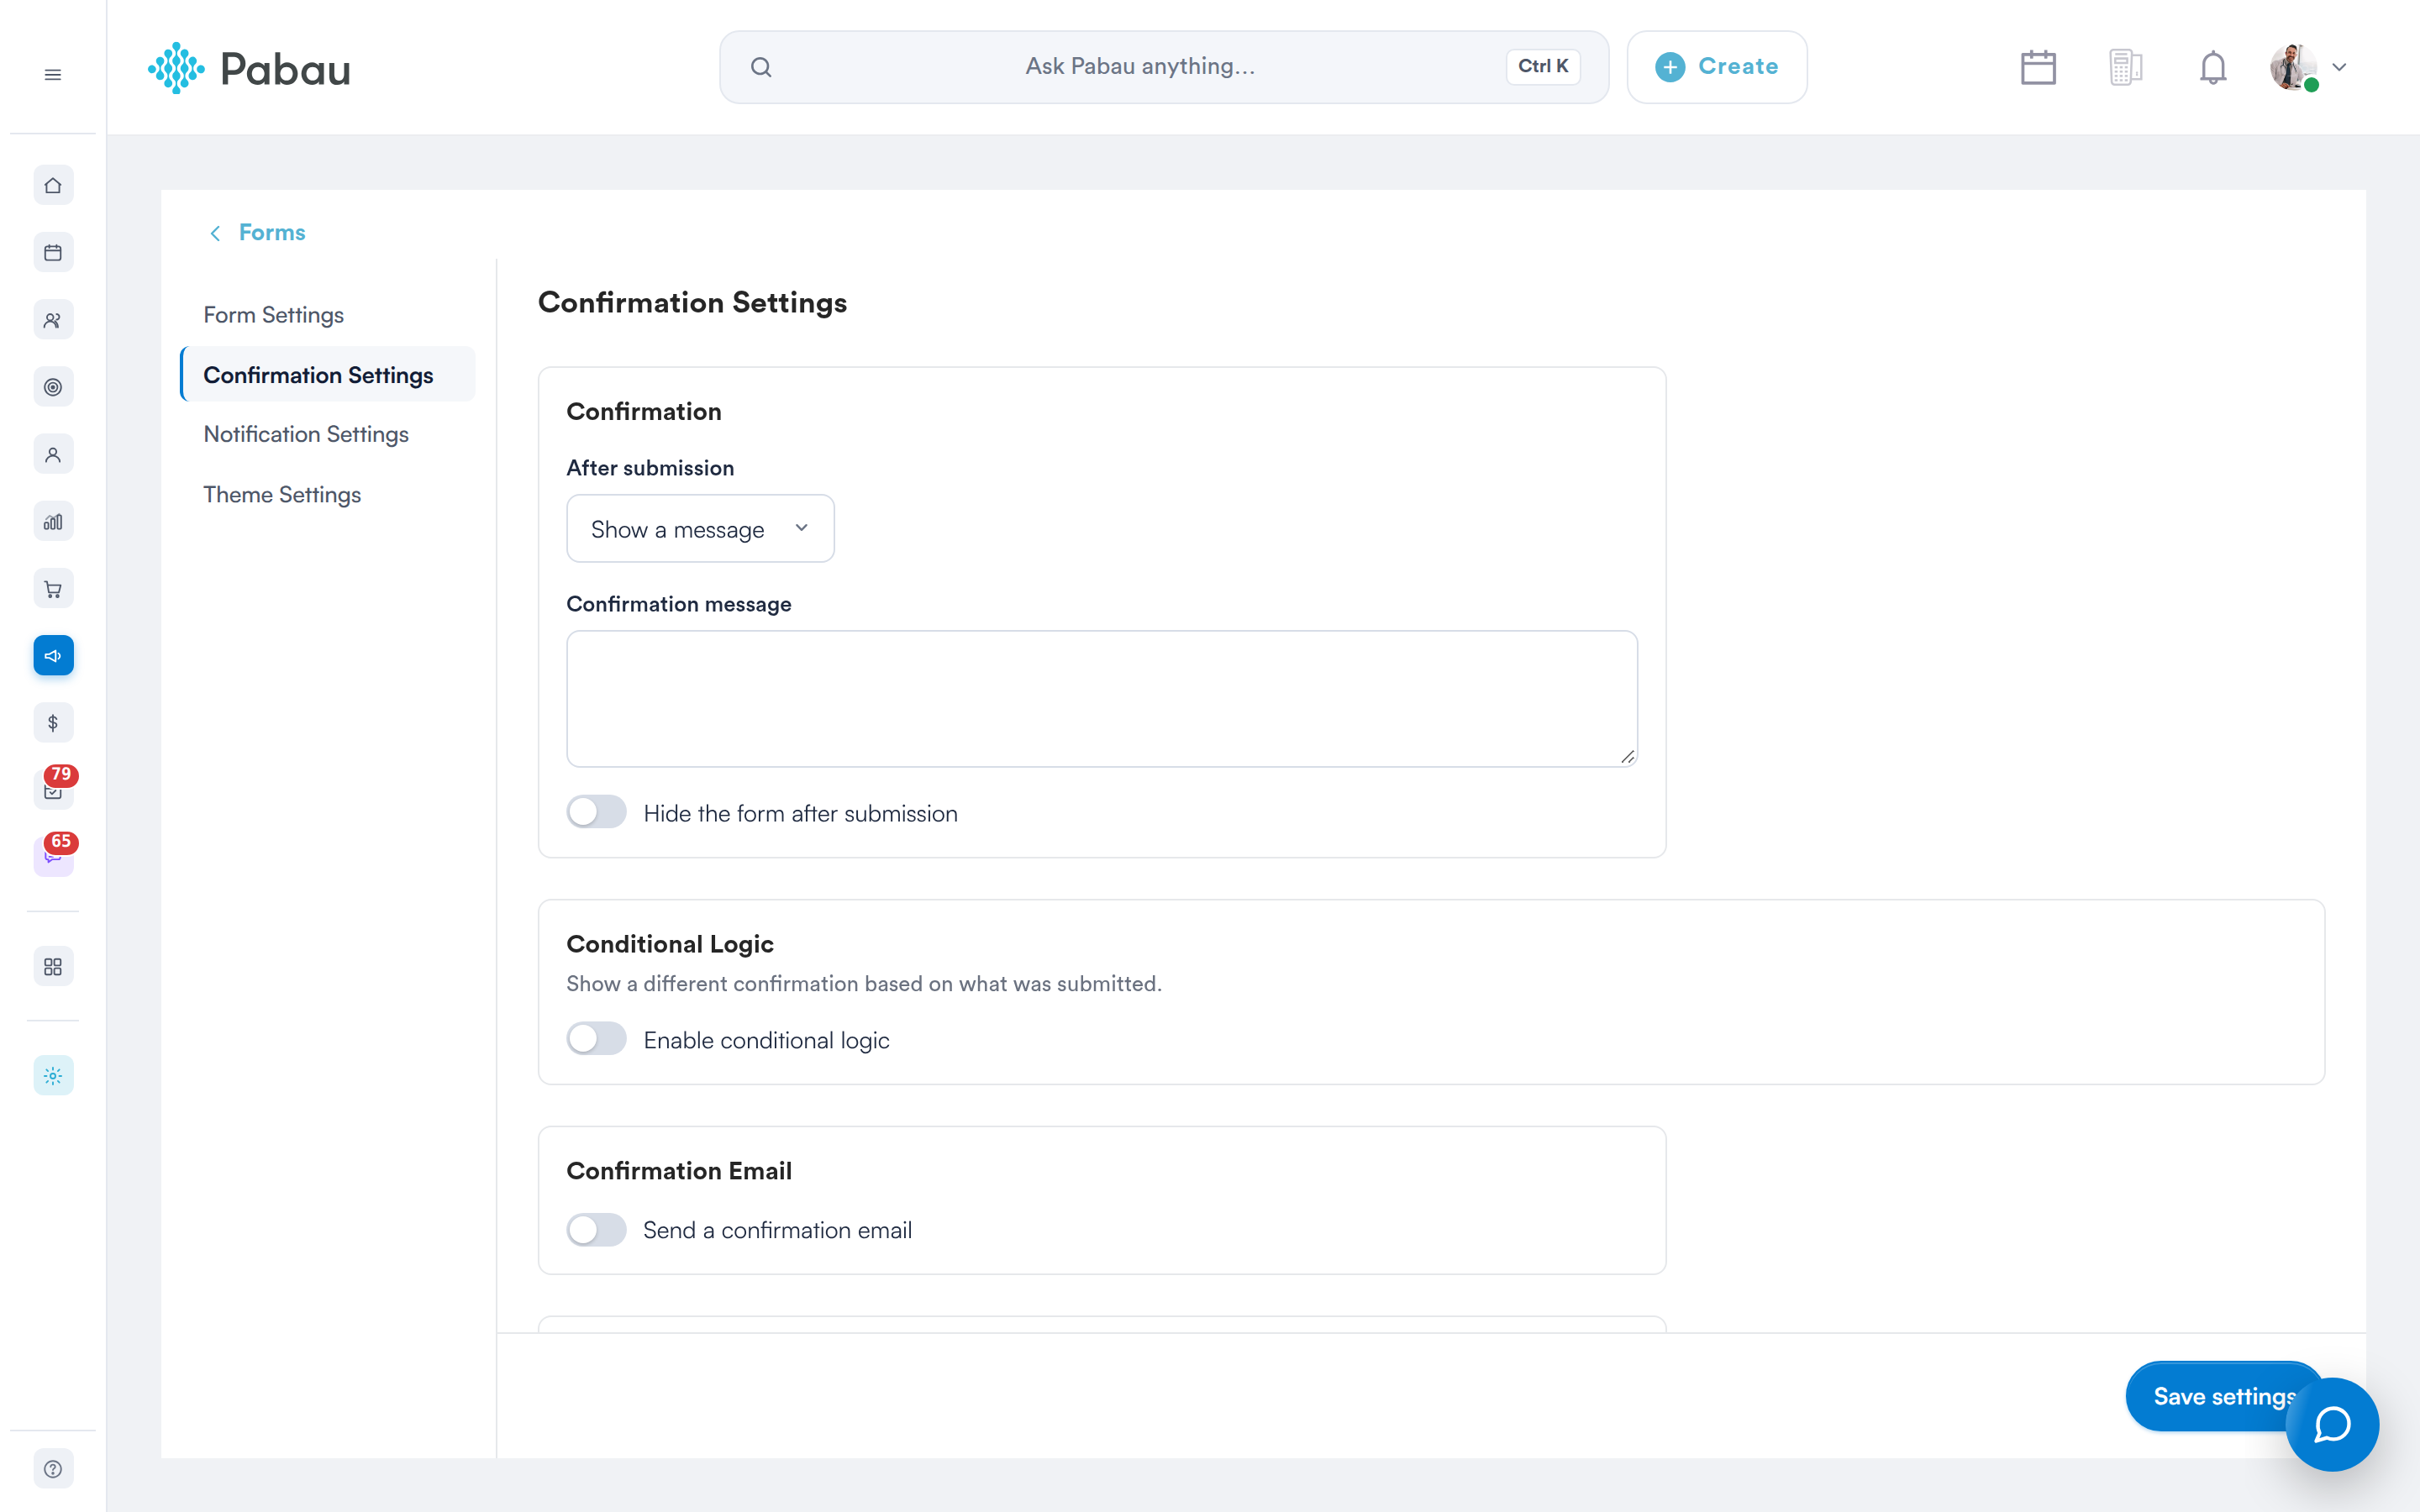
Confirmation Settings
Conditional Logic
Switch on Enable conditional logic to show a different confirmation depending on the answers. For each rule, choose a Field, a Condition (is, is not, contains, does not contain, is empty or is not empty) and a Value, then under Then choose Show a message or Redirect to a URL. Click Add rule for more rules, or Remove to delete one.
Confirmation Email
Switch on Send a confirmation email to email a thank-you after each submission. Fill in From name, From email, To, CC, BCC, Subject and Message. Tick Send a receipt copy to the submitter to include a copy of their answers, and Attach uploaded files to attach their files.
Double Opt-In
Switch on Enable double opt-in to make submitters confirm their email address before their submission completes. Under After confirming, choose Show a message (and type the Opt-in message) or Redirect to a URL.
Step 4: Configure Notification Settings
Click Notification Settings to email your team when the form is used.
- Send when — On submission, On partial submission or On edit.
- Subject, From name and From email.
- To, CC and BCC — comma-separated email addresses.
- Send to a form field — uses the answer to an Email Field as the recipient.
- Content — All Data, Only Link or Custom (write your own Message).
- Send a receipt copy, Attach uploaded files and Send as plain text.
NOTE: For privacy, notification emails are never sent to clients, leads or earlier submitters typed into To, CC or BCC — only to your staff and your clinic's own contact addresses. To email the person who filled in the form, use Send to a form field or Send a receipt copy.
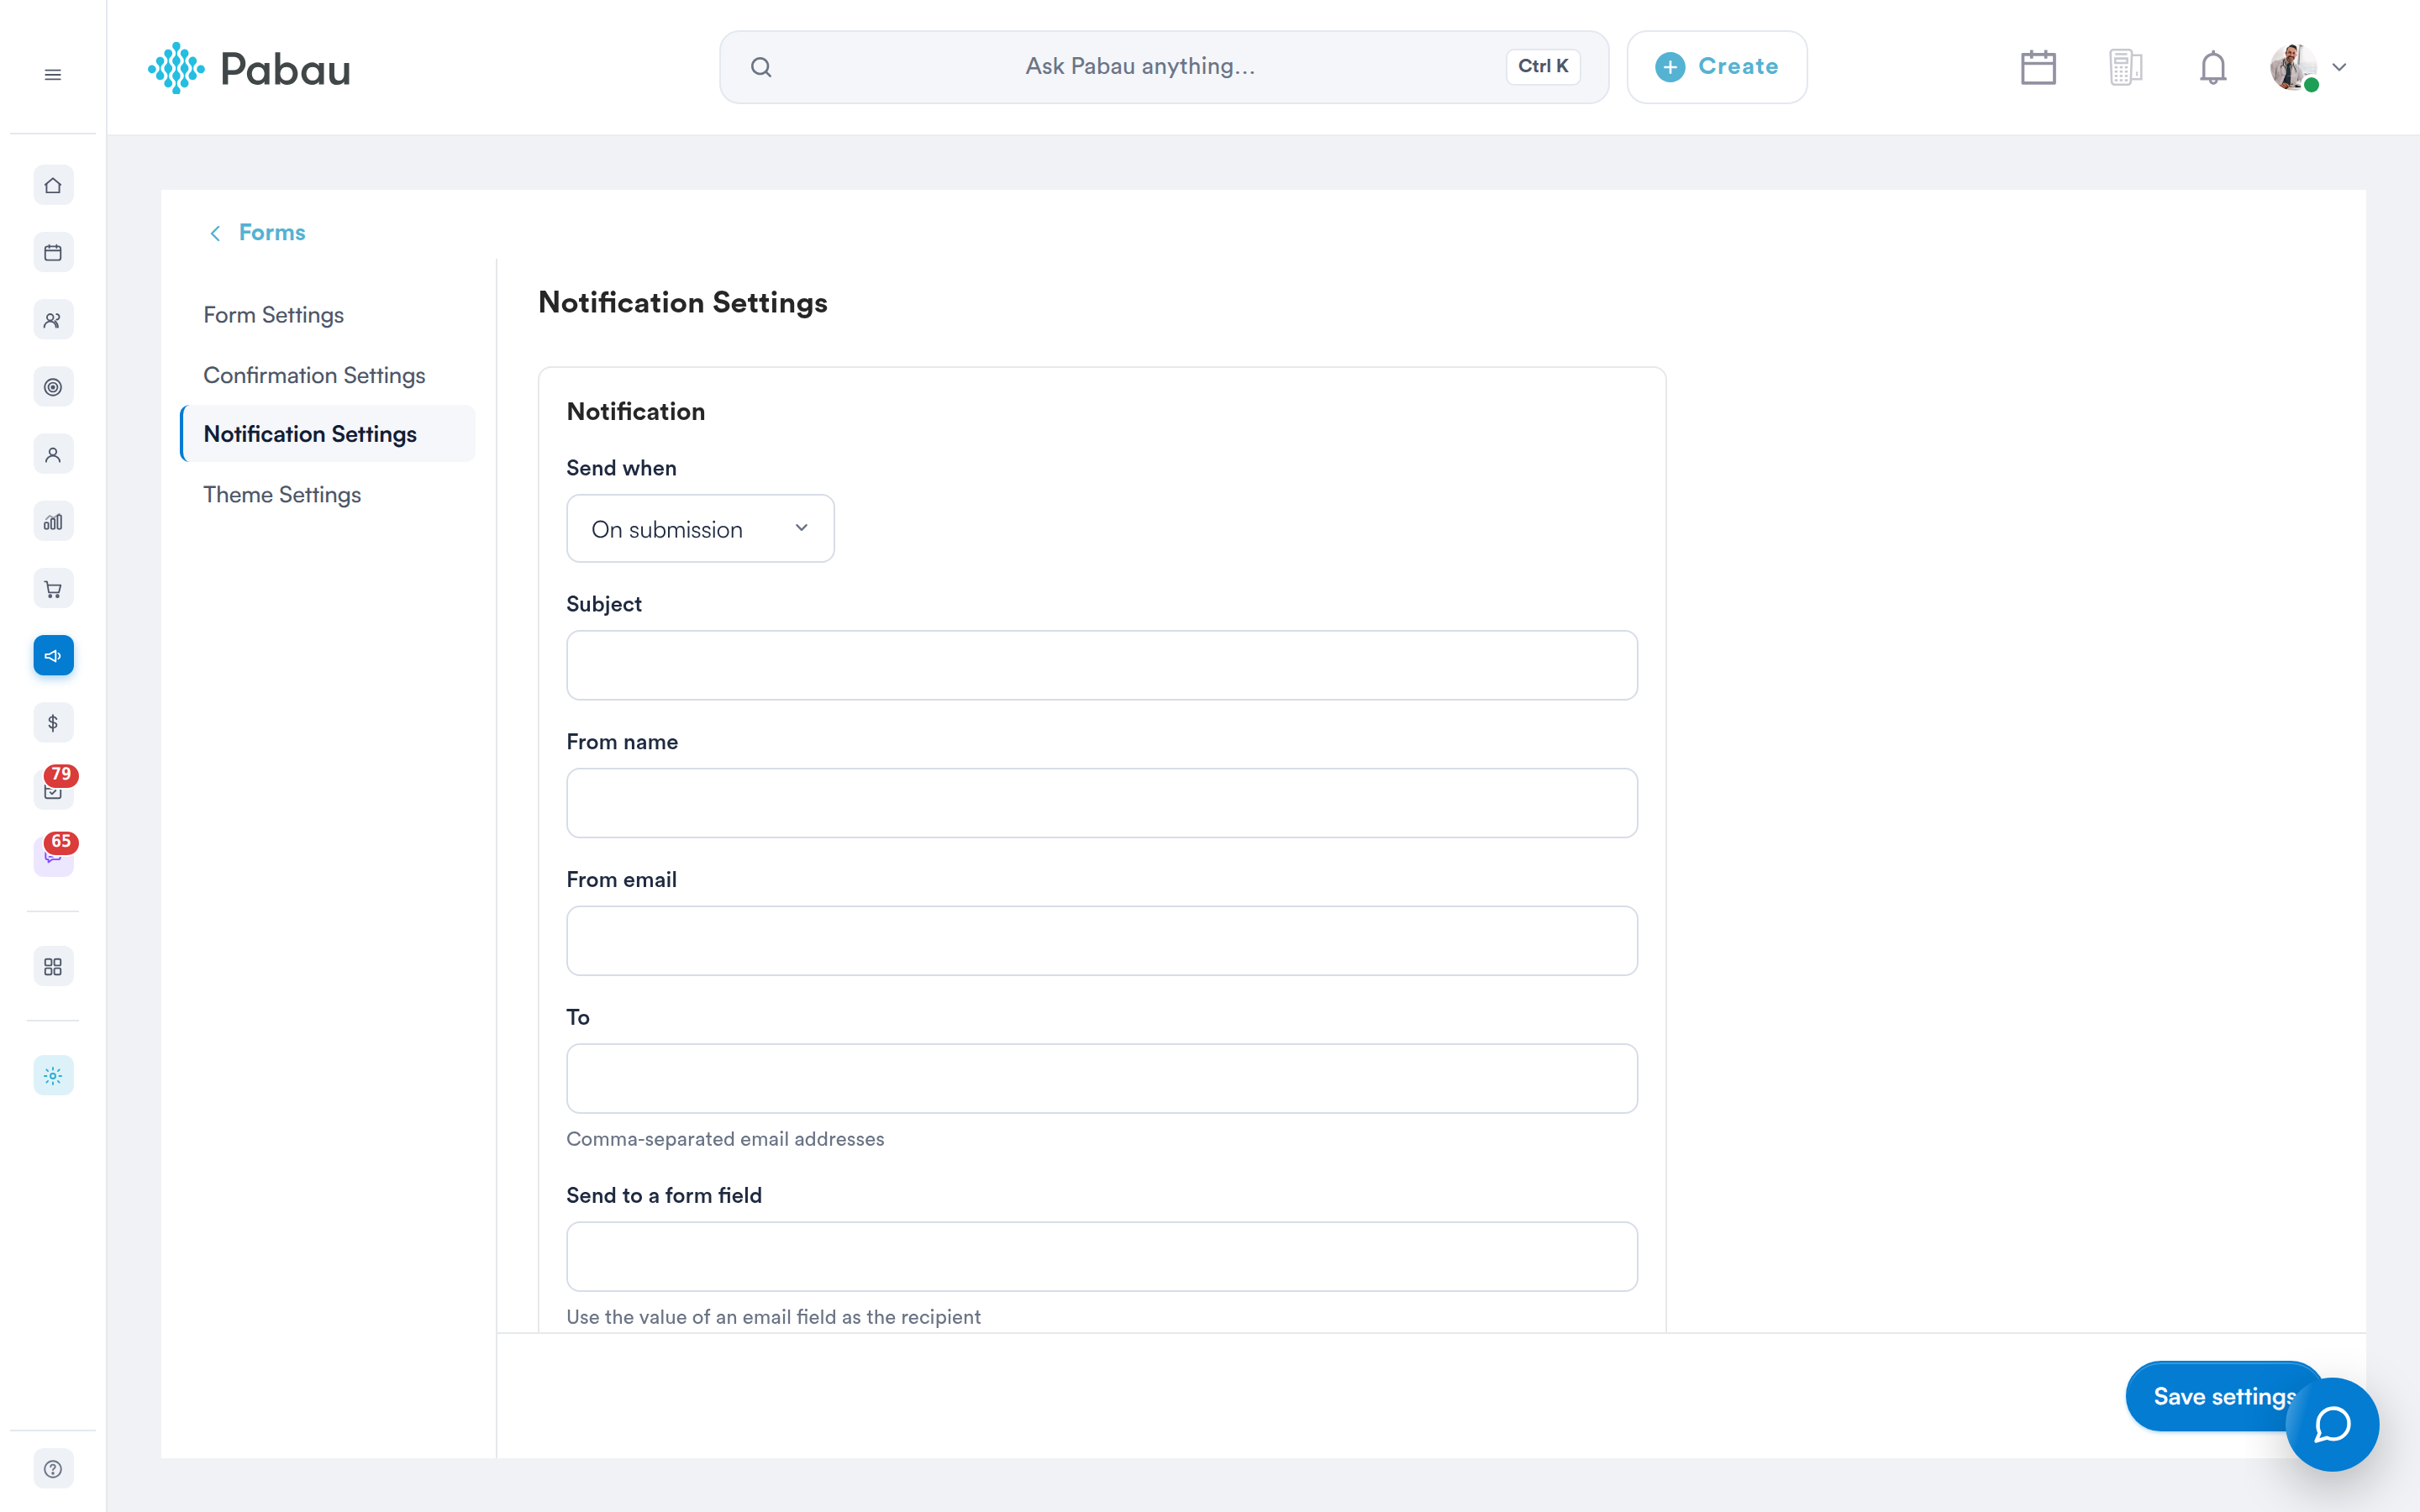
Notification Settings
Step 5: Choose A Theme
Click Theme Settings and pick a Theme, or Default. The live preview shows how the form will look. See How to Design Forms in Capture Forms for creating themes.
Step 6: Save Your Settings
Click Save settings at the bottom right. This saves all four sections at once.
What's next?
The complete Capture Forms guide series:
- Capture Forms
- How to Create Forms Using Capture Forms
- How to Design Forms in Capture Forms
- How to Add Forms to Your Website
Questions? Reach us any time via the in-app chat — we're happy to help.
Was this guide helpful? Let us know by voting below - your feedback helps us write clearer articles.
For more guides, browse the related articles below or use the search bar at the top of the page. You can also watch our video learning series, the Pabau Academy, or visit the Support page for additional help.