
With your billing foundation in place (Part 1), the next step is the client record. Capturing accurate policy details before the first appointment lets you verify coverage early, bill the right payer, and avoid denials and missed benefits later.
This guide covers:
- Turning on insurance billing for your practice
- Adding a client's insurance policy and claim details
- Verifying coverage with a live eligibility search
- Capturing insurance card scans
Note: Electronic insurance billing through Claim.MD covers United States payers only.
1. Turn on insurance billing
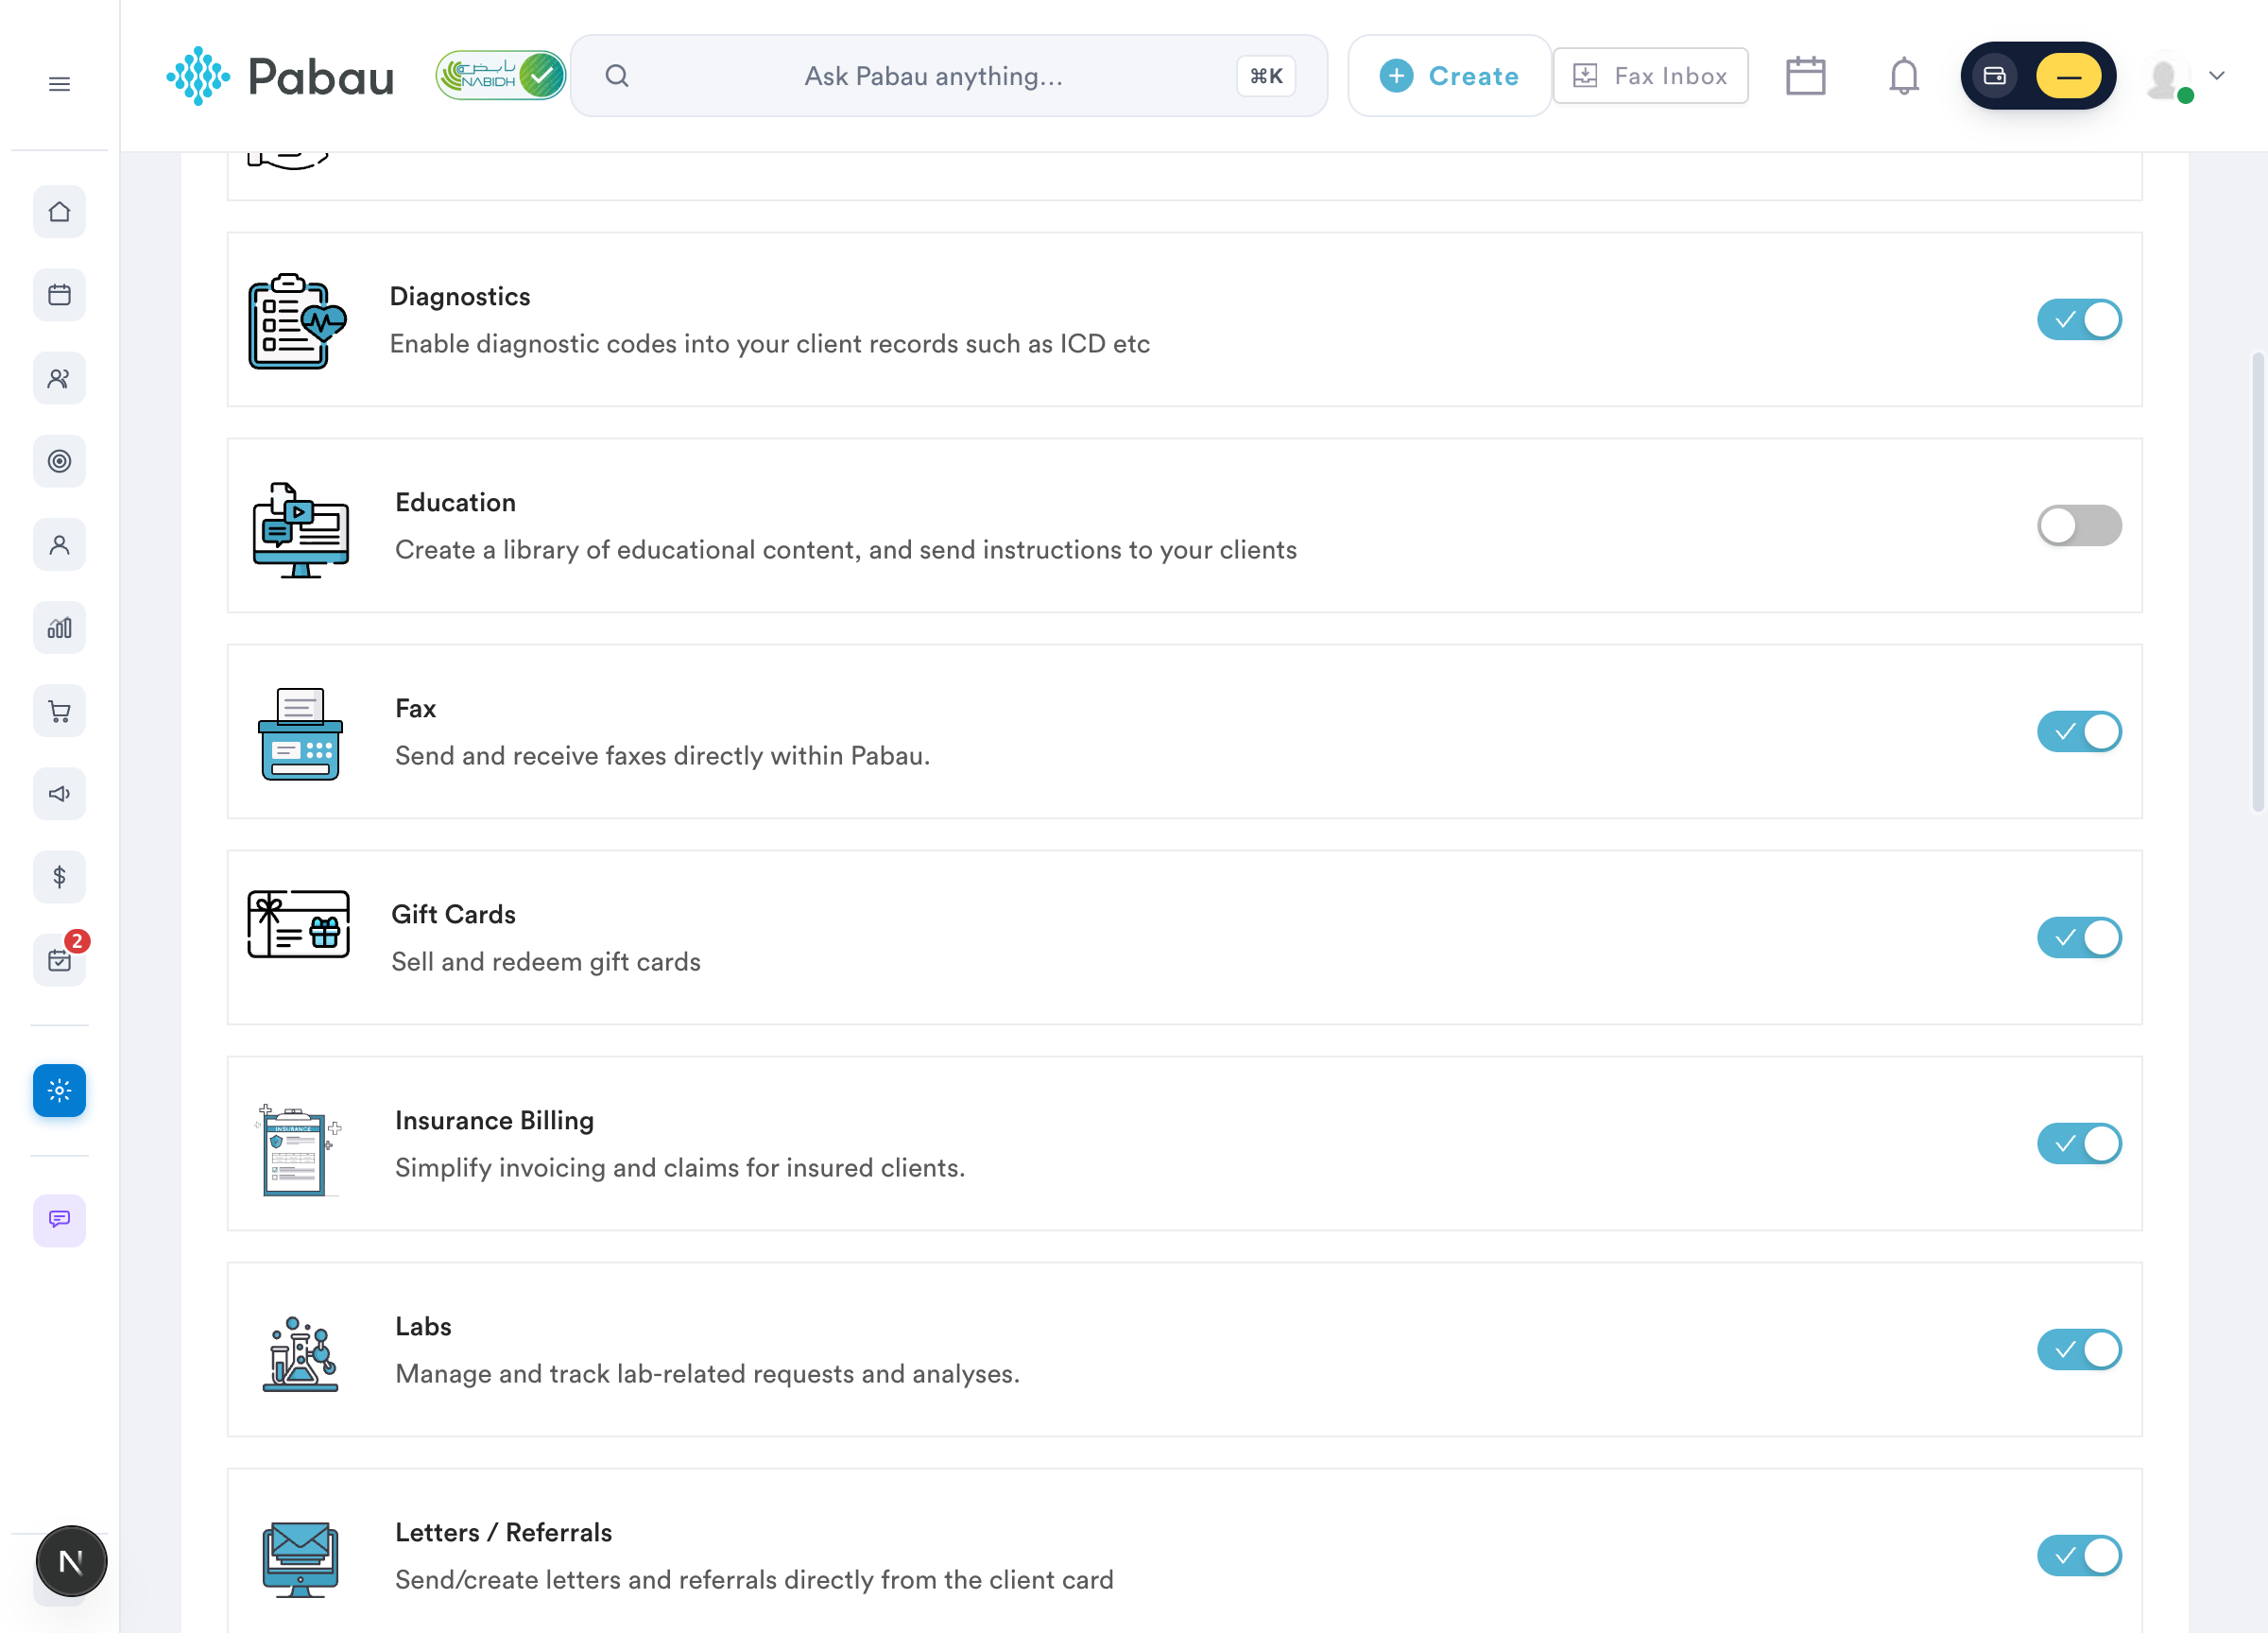
Insurance billing is enabled once for your whole practice - every client card then gets an Insurance tab:
- Go to Setup → Business Details and open the Features tab.
- Switch on Insurance Billing ("Simplify invoicing and claims for insured clients").
2. Add the client's insurance policy
Open the client's card and select the Insurance tab in the left panel - policies and case details live here.
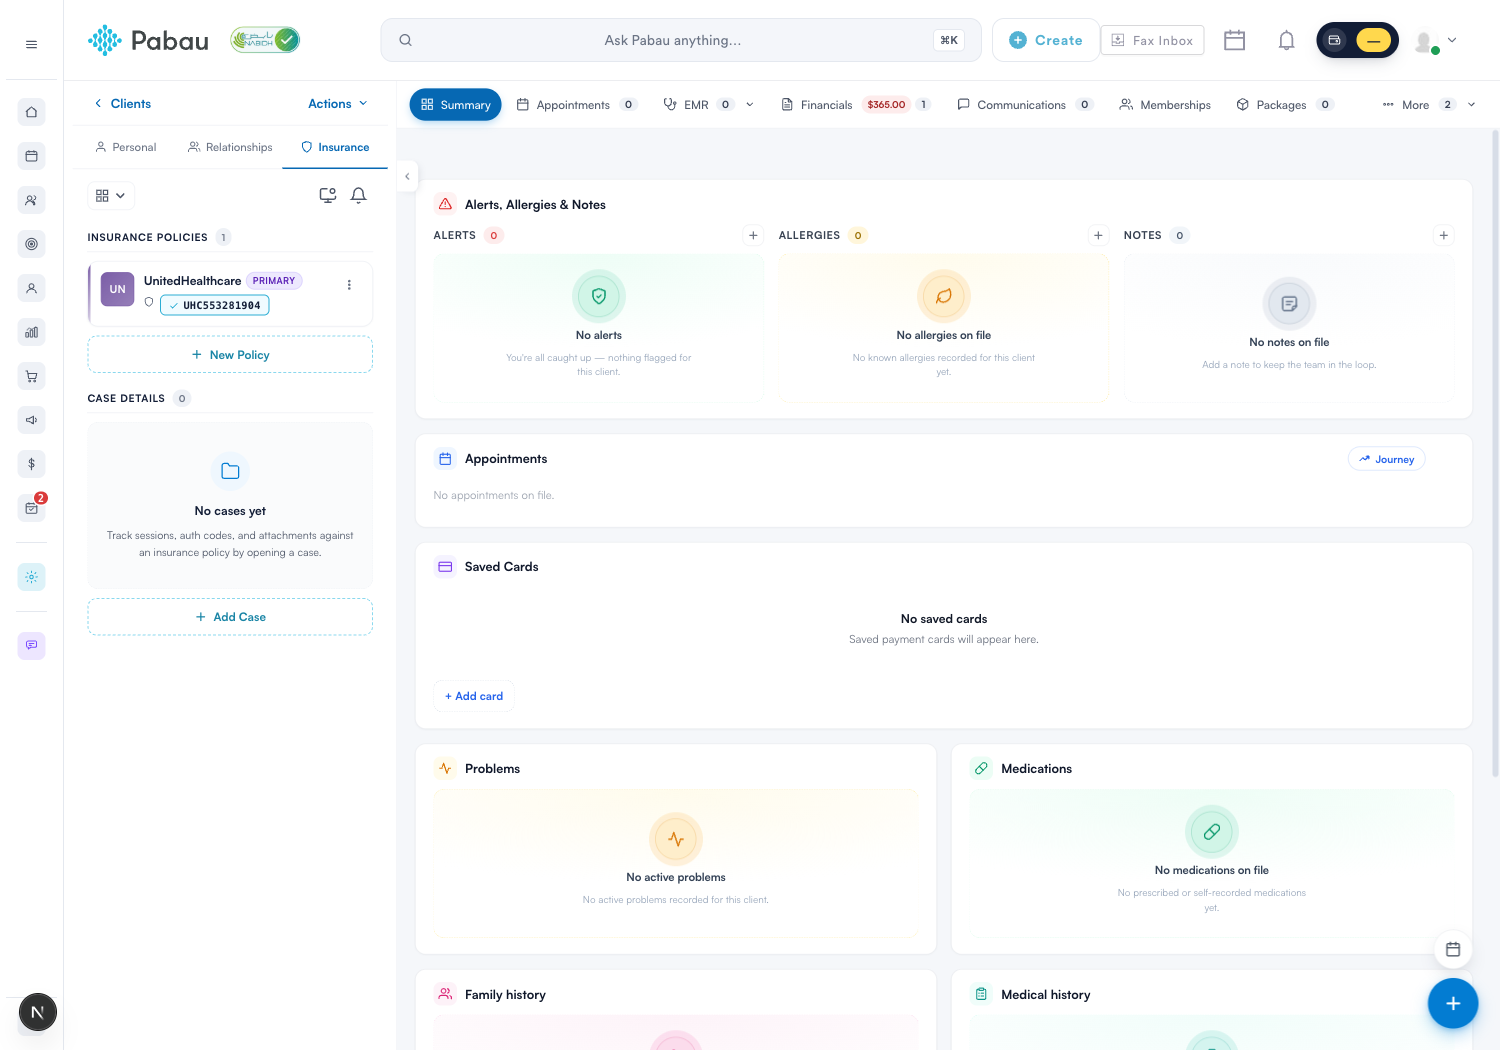
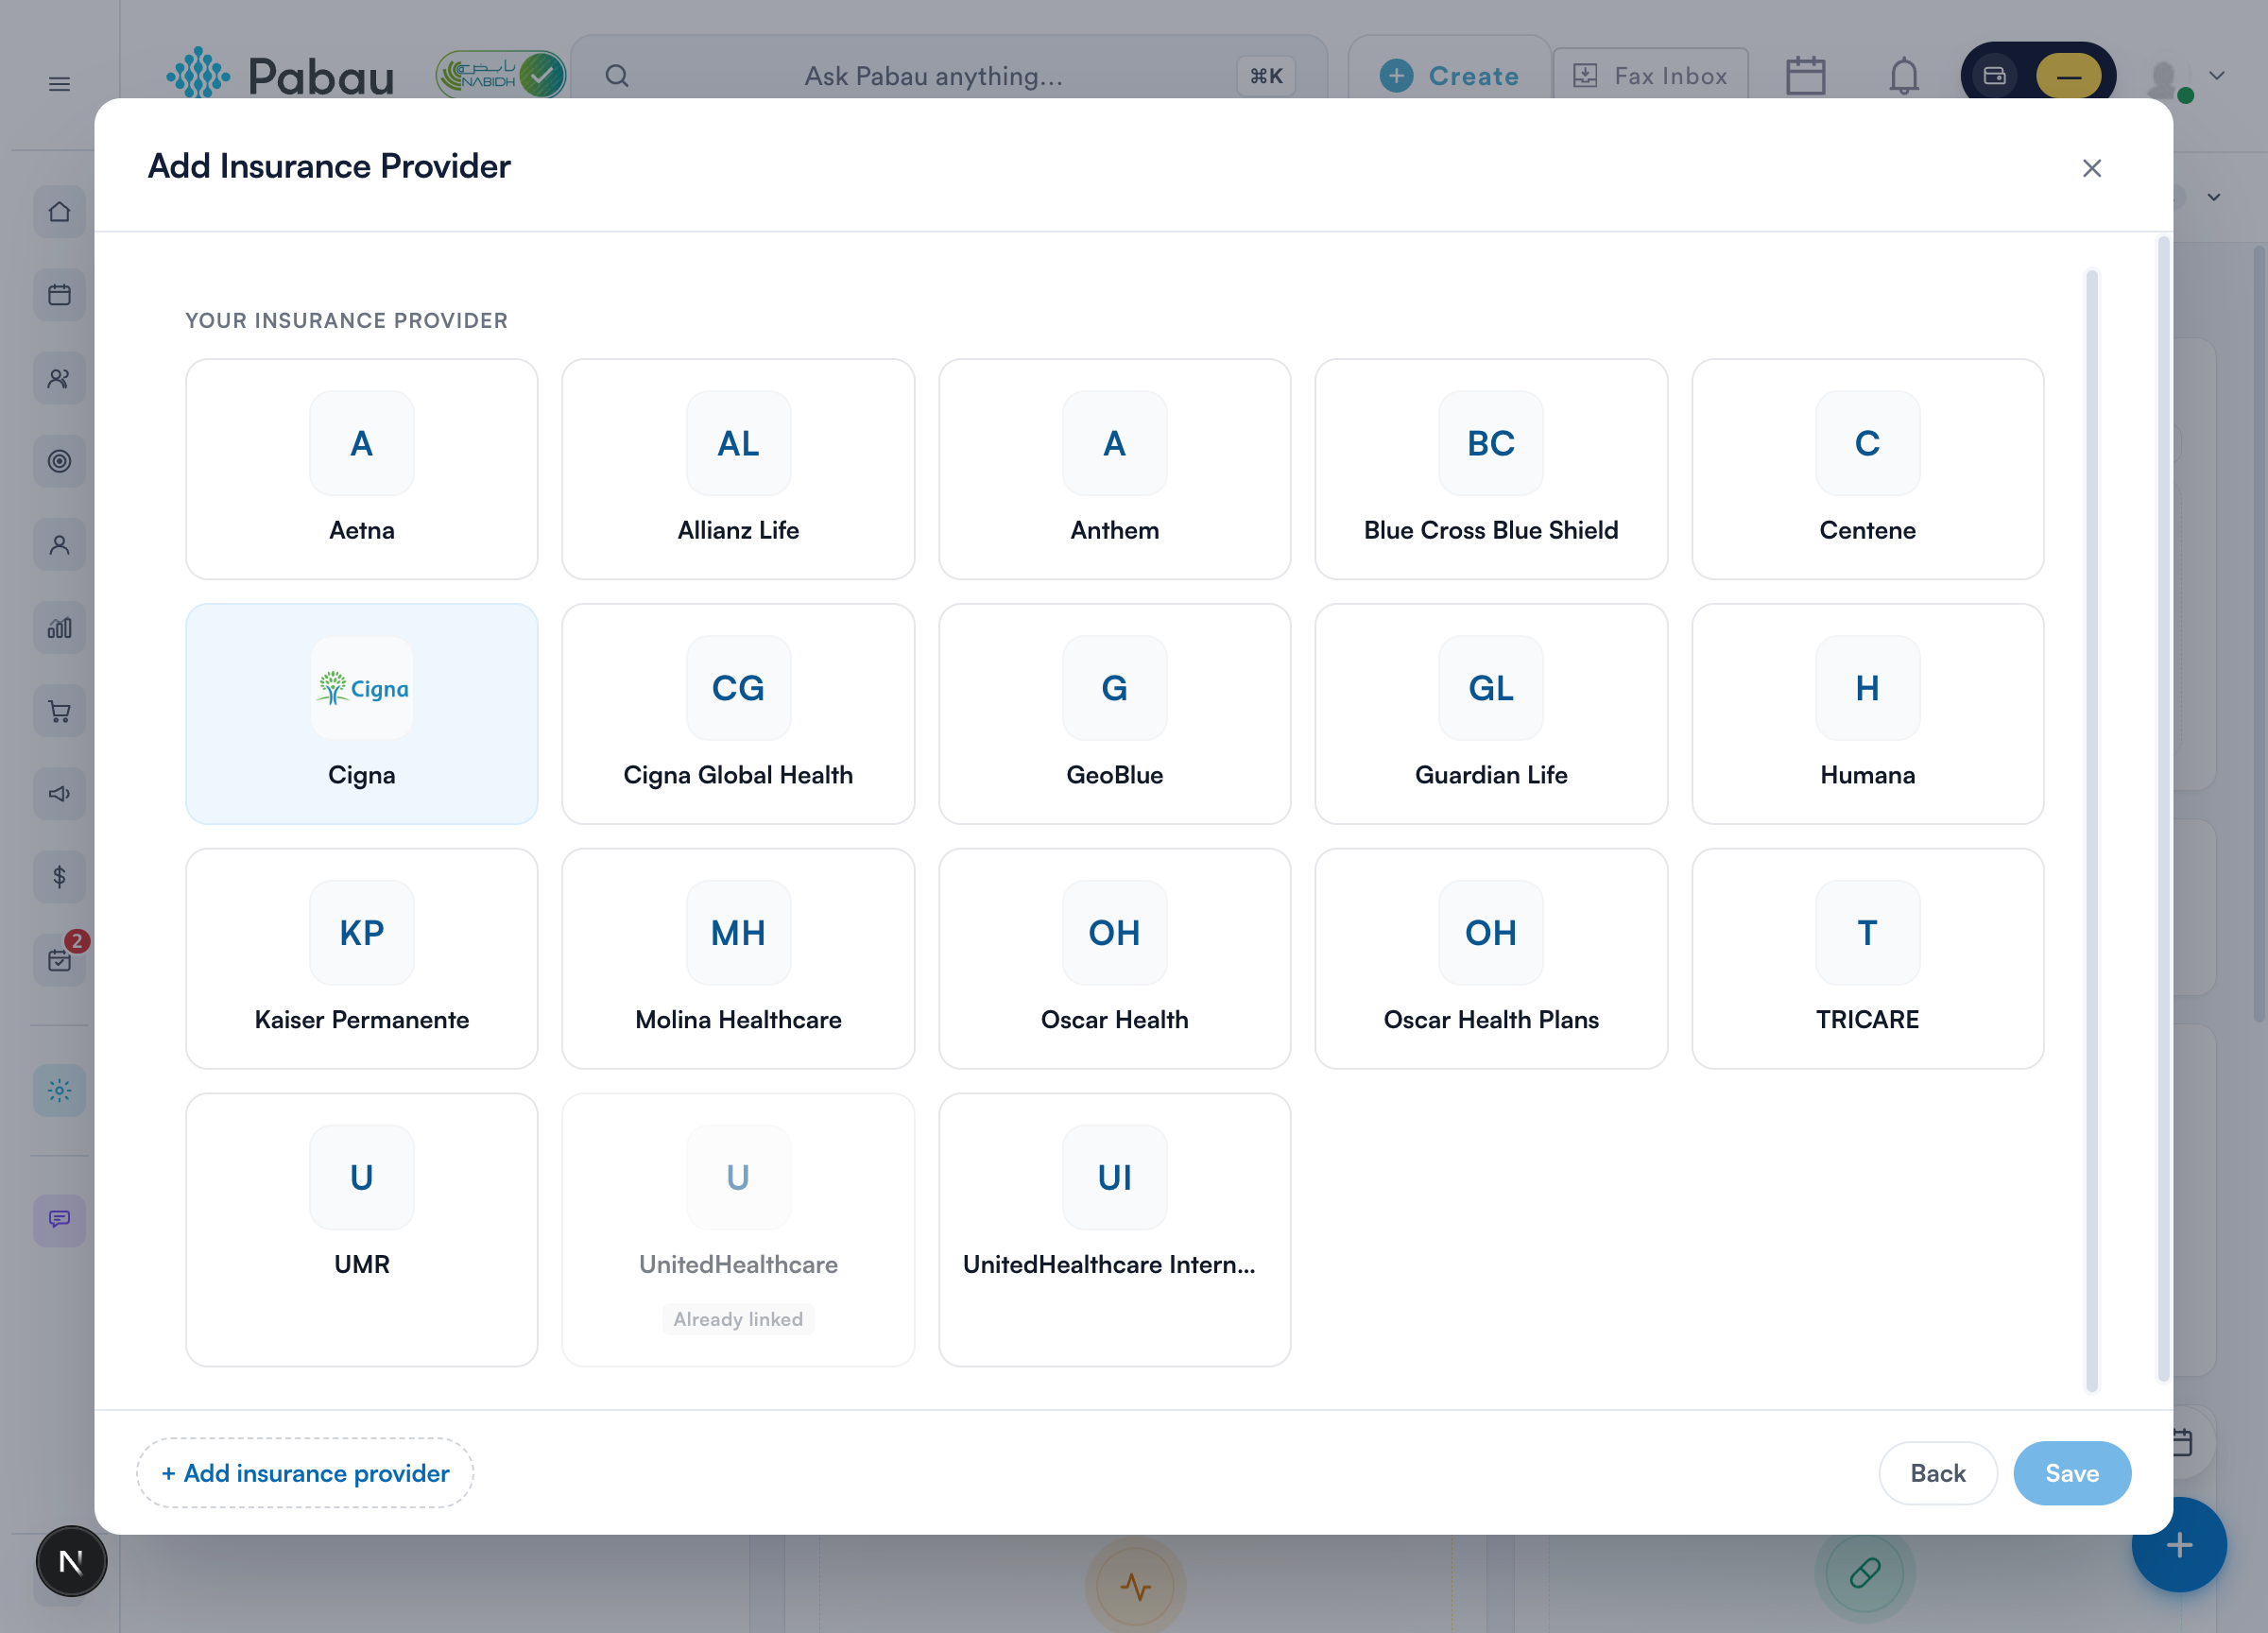
- Click New Policy.
- Pick the client's insurance payer from your practice's list (set up in Part 1).
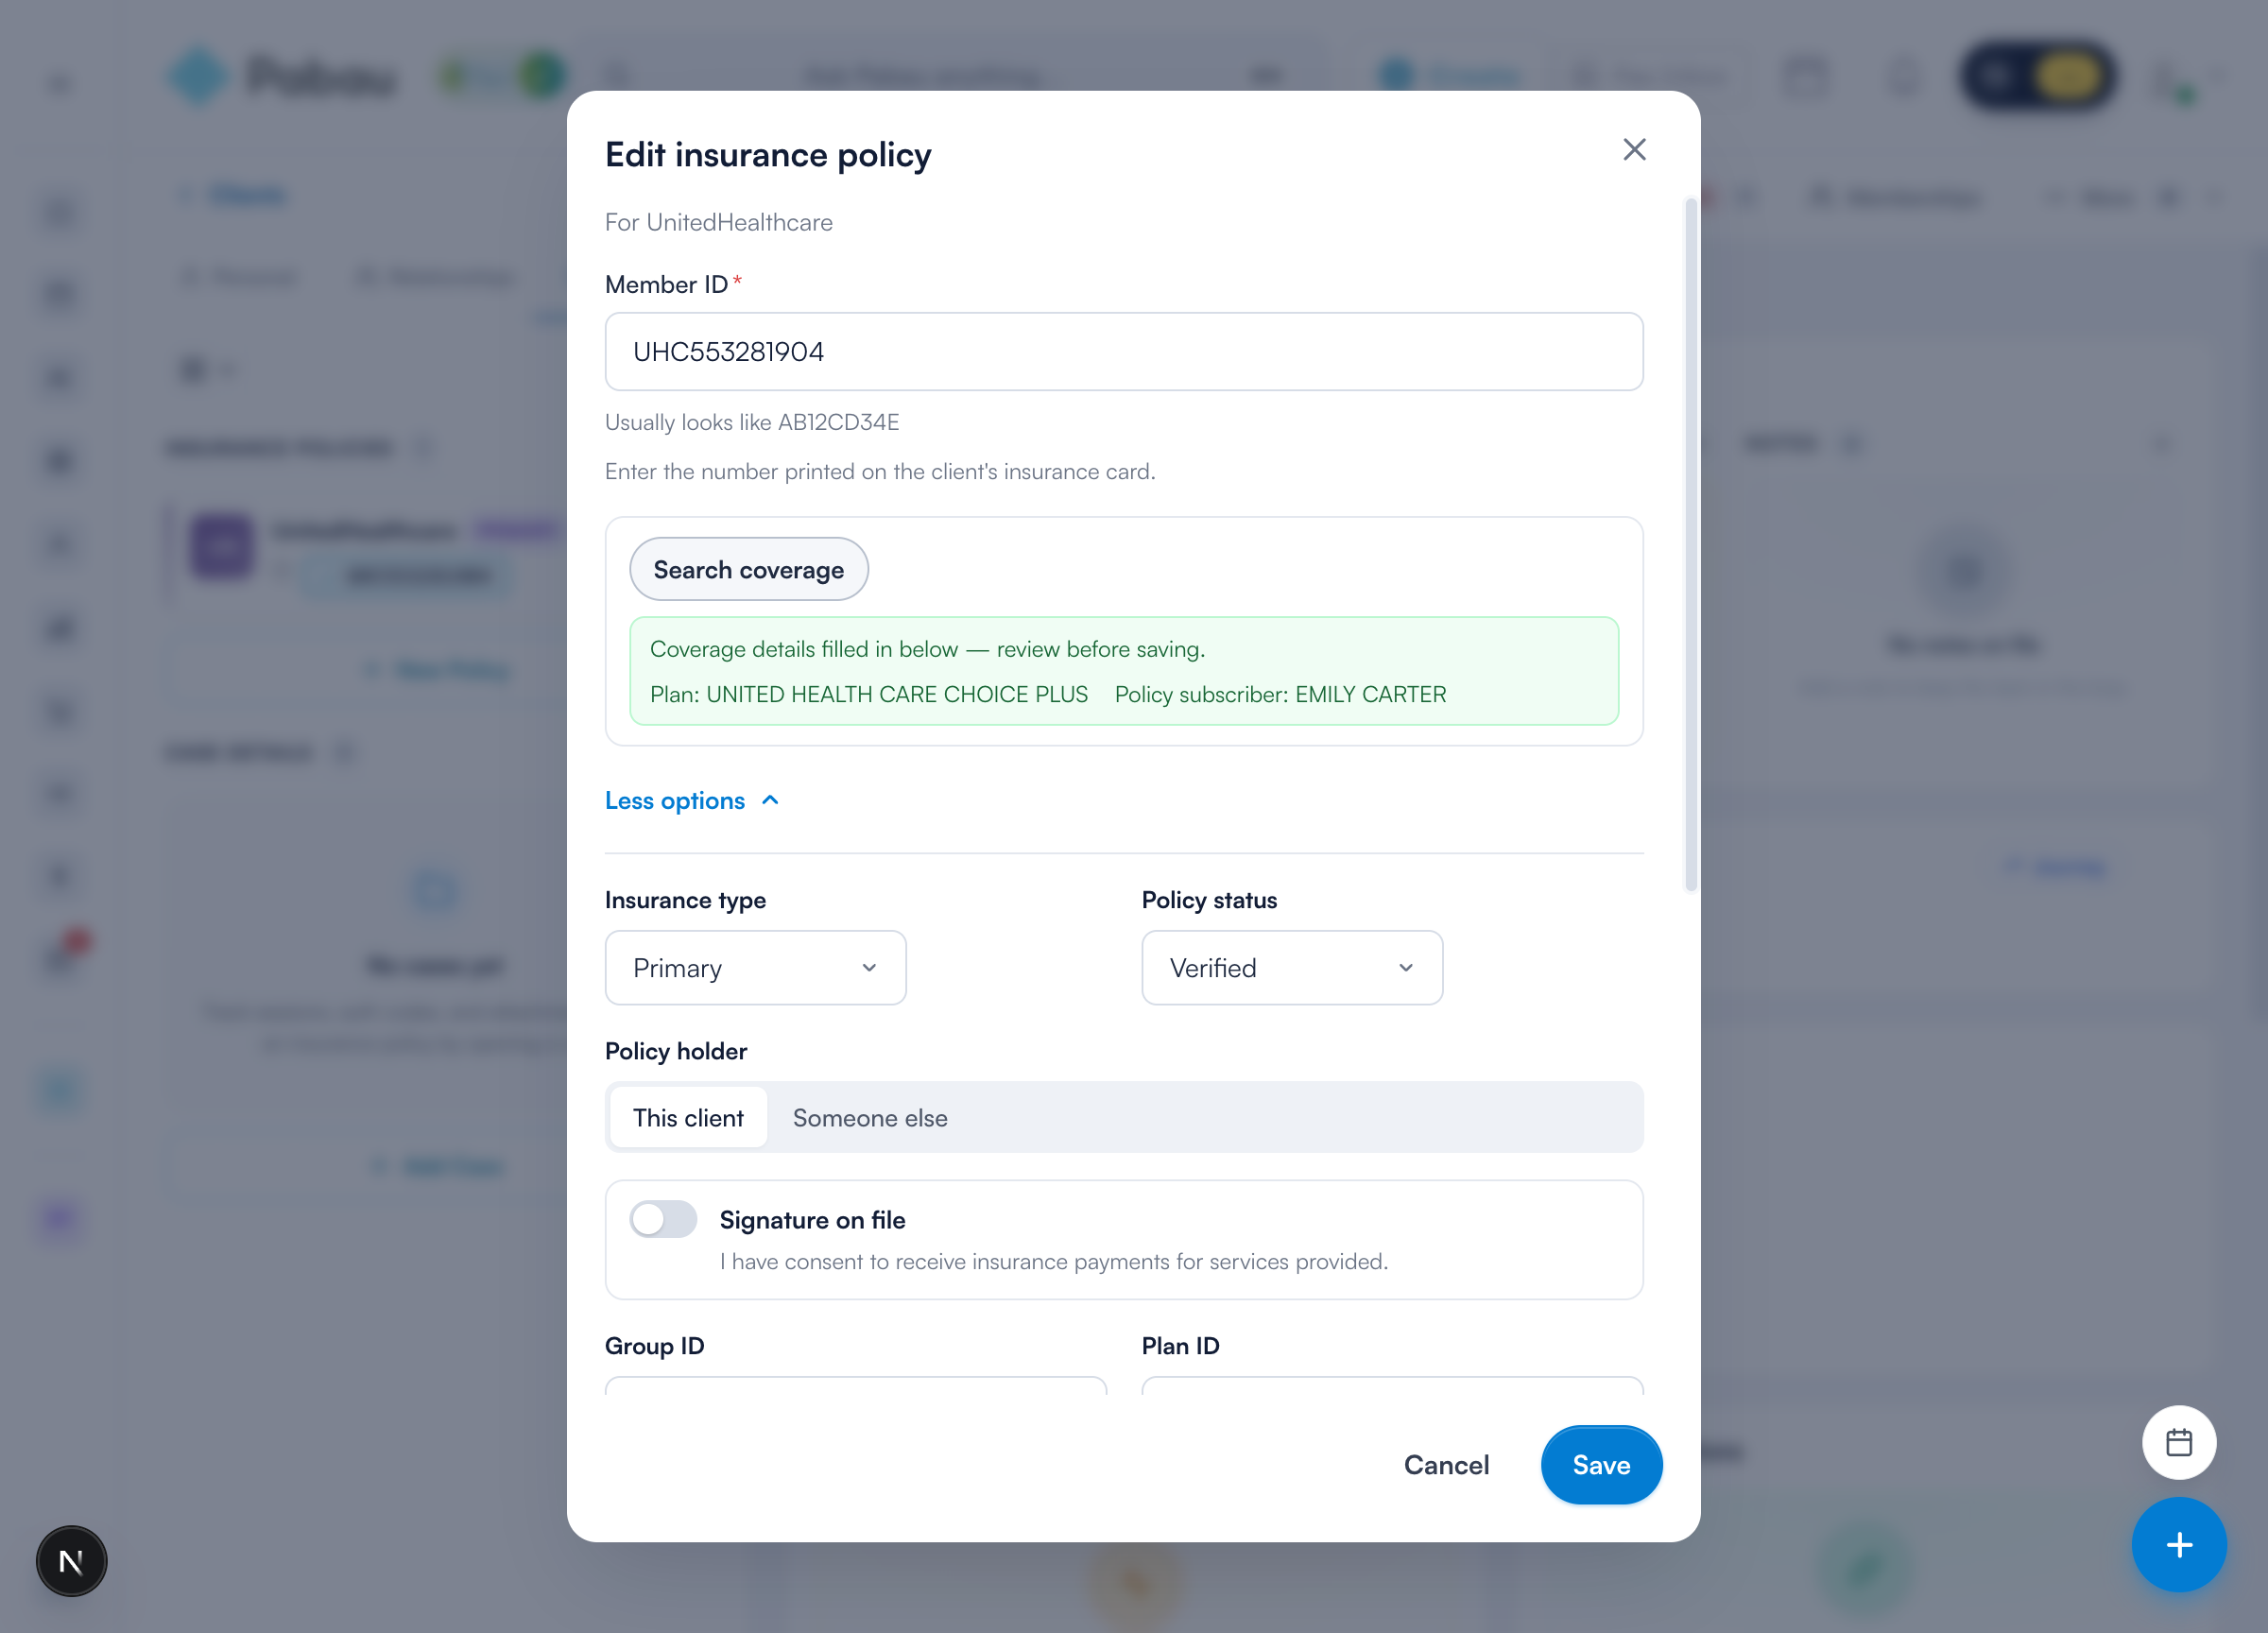
- Enter the Member ID exactly as printed on the insurance card.
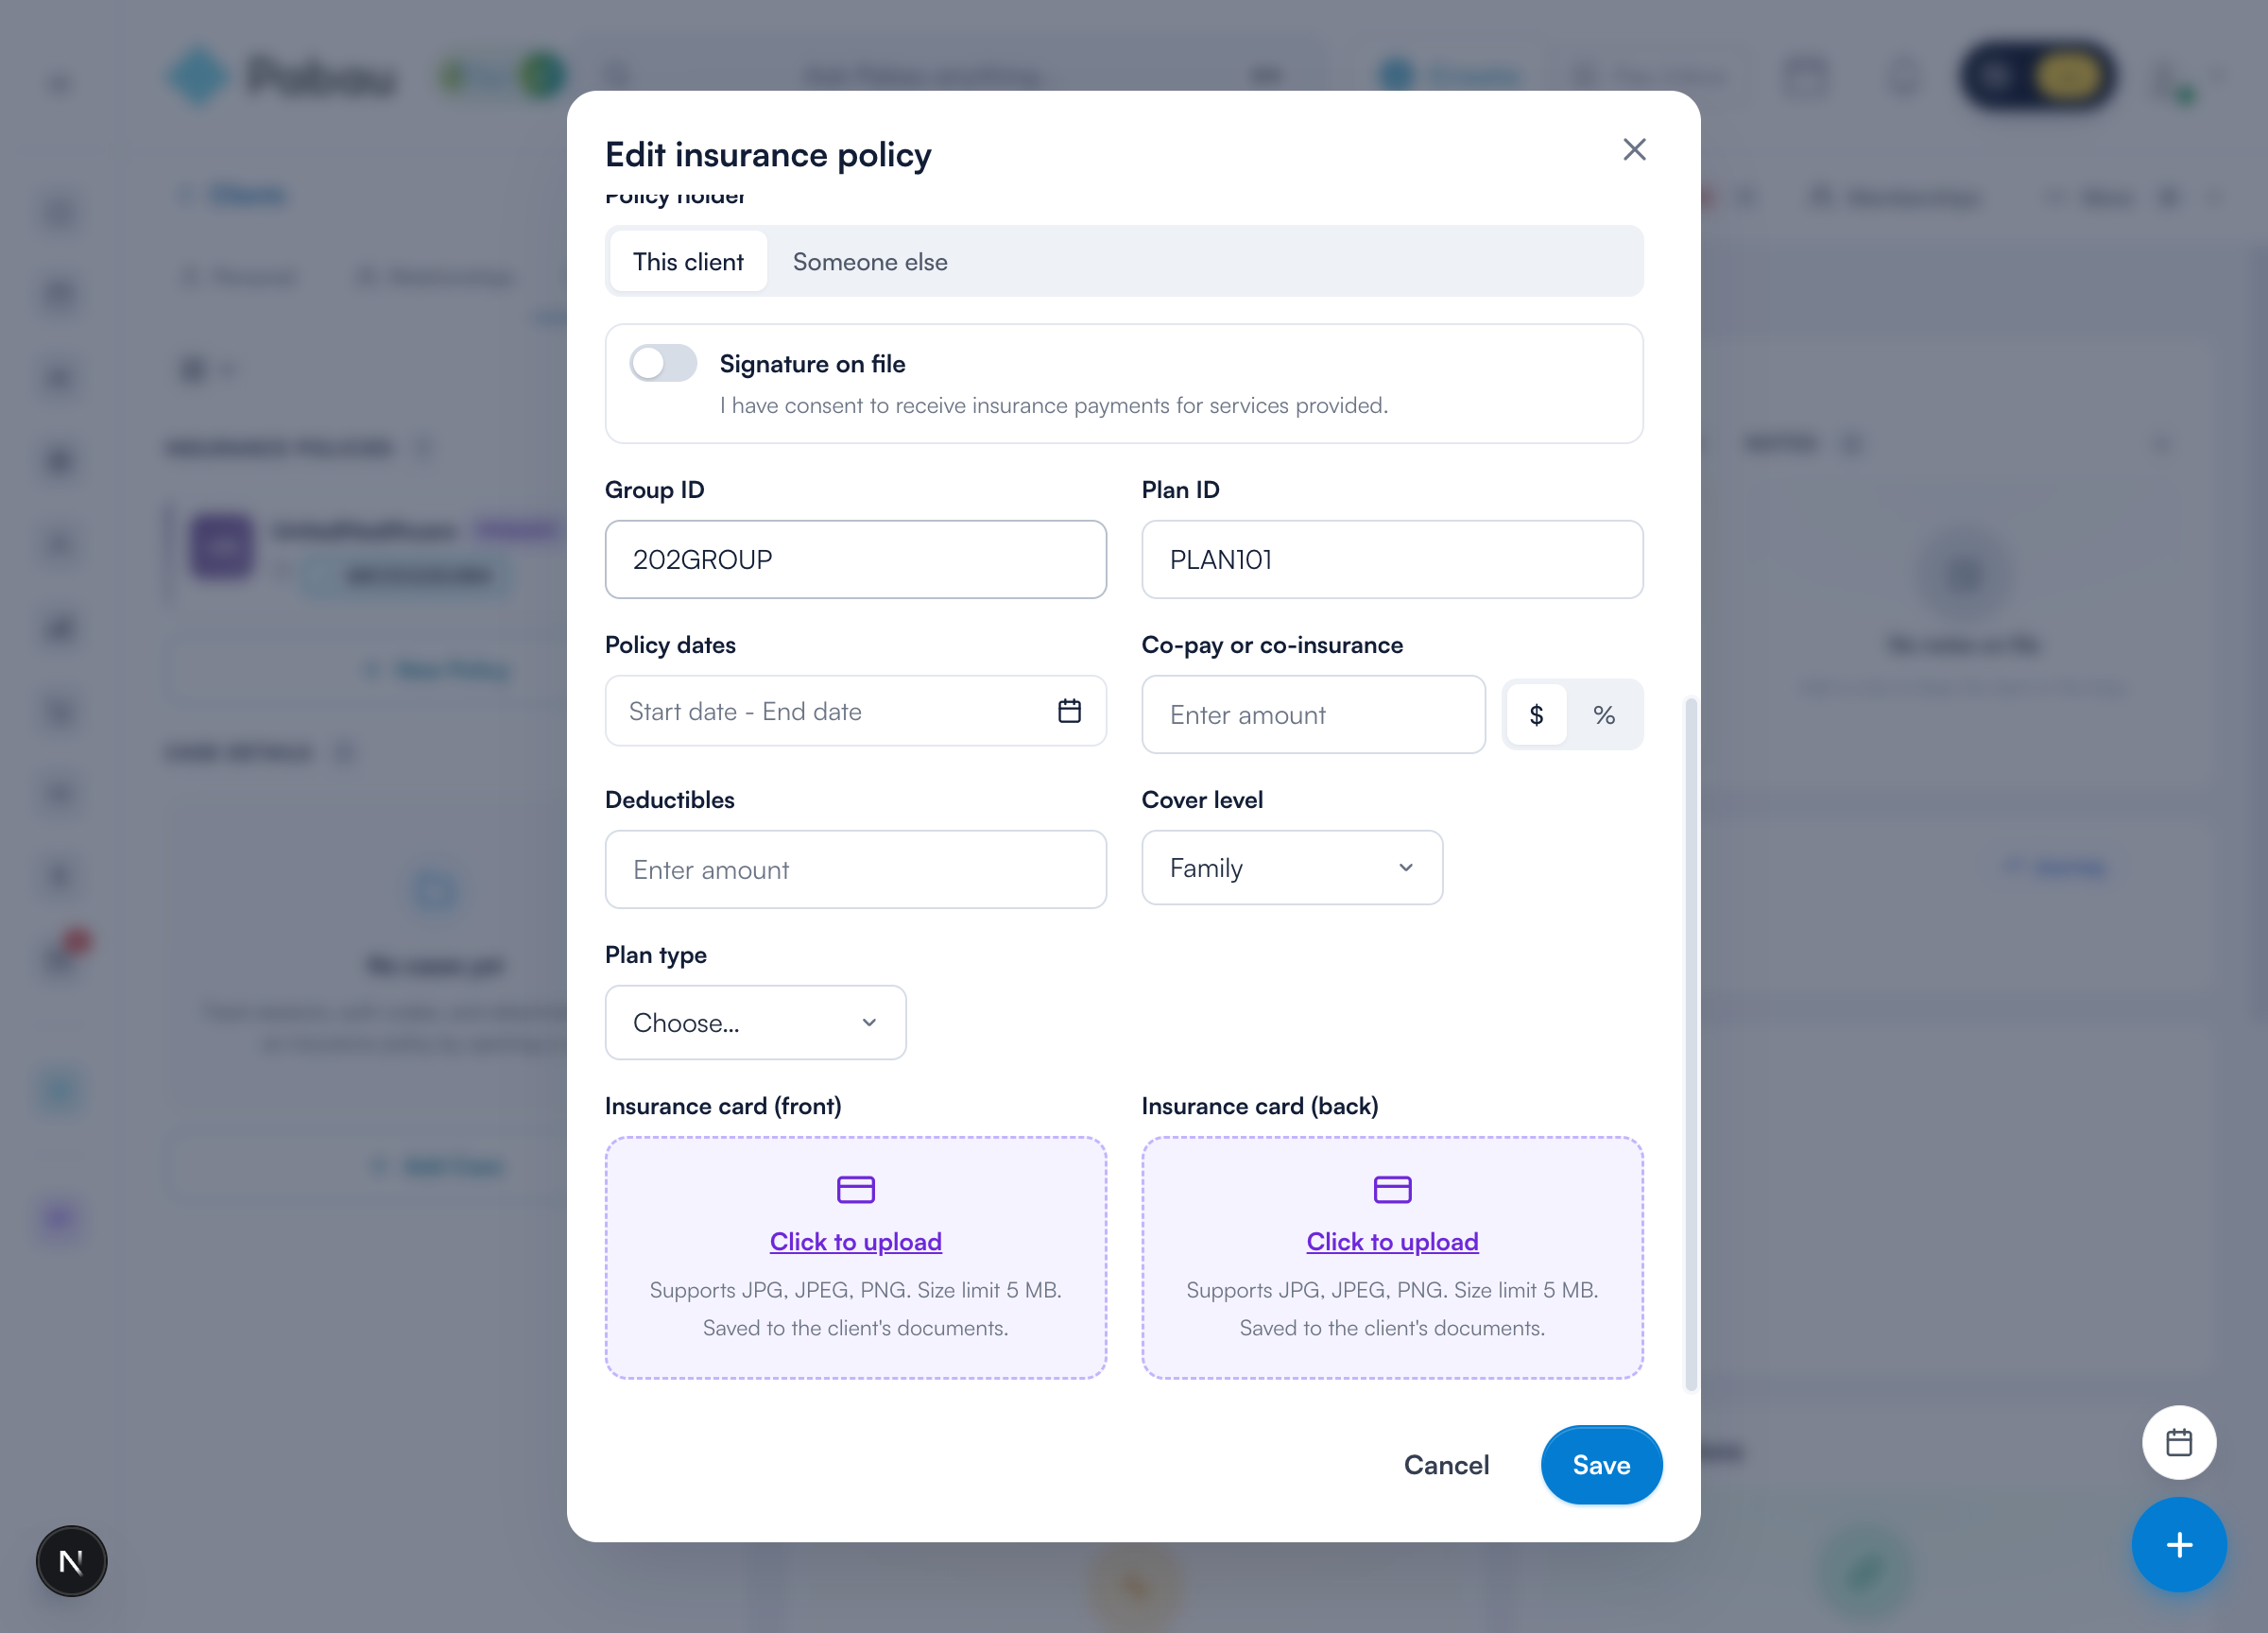
- Click More options to record the full policy: insurance type (primary/secondary), policy status, policy holder (this client or someone else), group ID, plan ID, policy dates, co-pay or co-insurance, deductibles, cover level, and plan type.
- Click Save. The policy appears on the Insurance tab with its member number - the primary policy wears a PRIMARY chip.
NOTE: If the client is covered under someone else's policy (a partner or parent), set Policy holder → Someone else and link that person - claims will carry the right insured details automatically.
3. Verify coverage with Search coverage
Instead of typing everything by hand, let the payer fill the form for you. With the policy open:
- Enter (or confirm) the Member ID.
- Click Search coverage - Pabau runs a real-time eligibility check with the payer through Claim.MD.
- Review the details that come back: plan name, subscriber, group and plan IDs, cover level. A successful check also sets the policy status to Verified.
- Click Save to keep the verified details on the policy.
For the full benefits picture - active coverage per service type, co-pays, deductibles and out-of-pocket amounts - run an eligibility & benefits report; see Request eligibility and benefits report.
4. Capture the insurance card
Scroll to the bottom of the policy form to attach photos of the client's insurance card - front and back. Uploads are stored with the client's documents, so the card is always on file when a claim question comes up.
What's next?
With policies verified and on file, connect visits to insurance: Insurance Guide Part 3: Connect appointments to insurance. Or jump back to Getting started with insurance billing for the full picture.
Was this guide helpful? Let us know by voting below - your feedback helps us write clearer articles.
For more guides, browse the related articles below or use the search bar at the top of the page. You can also watch our video learning series, the Pabau Academy, or visit the Support page for additional help.