NOTE: Before enabling this feature, it's important to understand how online memberships work. We recommend checking out this article to ensure your membership plans are fully set up and active. This will help make sure clients see clear and accurate options when purchasing online.
Step 1: Access the Client Portal
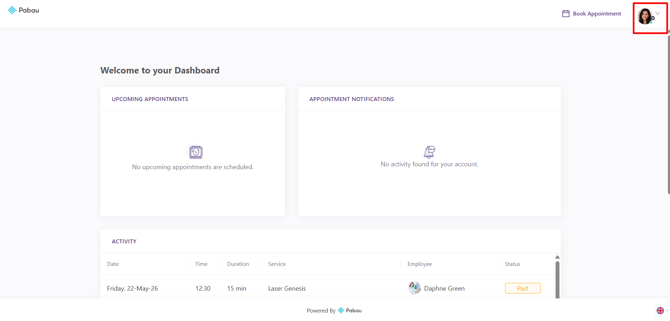
To get started, log into your Client Portal using your login credentials. Once logged in, you’ll see your dashboard.

Step 2: Open the Memberships Section
Navigate to your avatar on the top right corner of the screen and click to view more options.
Click on the ''My Memberships'' tab within the Client Portal. Here, you’ll be able to view all memberships associated with the client account.

NOTE: The visibility of the Memberships tab (as well as other sections in the Client Portal) is fully customizable.
You can choose which features are shown to clients, including memberships, forms, invoices, and more.
To learn how to customize the Client Portal and control which sections are visible (i.e. Memberships), please refer to our guide on How to Enable Memberships Online.
Step 3: View Membership Details
When you open the Memberships section in the Client Portal, you’ll see a clear overview of all memberships linked to your account.
At the top of the page, the Memberships Activity panel provides a quick summary of all active memberships. It displays the following details for each membership:
- Active Memberships: The total number of currently active membership plans.
- Next Billing Date: The date when the next payment will be collected for each membership.
- Amount Billed: The amount that will be charged on the next billing date.
- Membership: The name of the membership plan.
If no memberships are currently assigned, this section will display a "No Memberships" message.

Below this, the page is divided into two tabs:
Your Memberships
This tab displays all memberships associated with the account in a structured table format. The table includes:

-
Membership – The type or category of membership
-
Status – Indicates whether the membership is active or expired
-
Membership Name – The name of the plan
-
Payment rate – How the membership is billed (e.g. monthly)
-
Membership Price – The cost of the membership
-
Activation date – When the membership started
-
Usage – Any usage or benefits linked to the membership
If there are no memberships available, the table will show a ''No data'' message.
Transactions
The Transactions tab allows you to view any payments or financial activity related to memberships. This helps track billing history and understand how memberships have been paid over time.

Here, you’ll find the following details:
-
Invoice ID – A unique reference number for each invoice
-
Invoice date – The date the invoice was created
-
Invoice total – The total amount charged
-
Location – The clinic location where the membership was purchased or processed
-
Membership – The name of the associated membership
-
Status – The current status of the invoice (e.g. paid, unpaid)
This section allows you to easily track billing history and review all financial activity related to memberships in one place.
Step 4: Cancel Subscription
To cancel a membership, click the three dots on the far right of your membership plan under the ''Your Memberships'' tab.

By following these steps, you can easily manage memberships from the client portal.
For more guides, refer to related articles below, select additional guides, or use the search bar at the top of the page. These guides will help you get the most out of your Pabau account.
Additionally, to help you fully utilize and understand your Pabau account, we recommend exploring additional guides and resources offered at the Pabau Academy. It offers in-depth video tutorials and lessons, offering a holistic learning experience that can equip you with the essential skills for achieving success with Pabau.