
NOTE: This feature is being rolled out to clinics gradually. If you don't see it in your account yet, message us via the in-app chat.
Step 1: Drag the Appointment
In the Calendar, click and hold the appointment card, drag it to the new time, or into another team member's column, and let go. A dashed Draft card shows where the appointment will go. Nothing has moved yet: the Reschedule appointment window opens so you can check the move first.
Step 2: Check the Move
The window shows the service and the client, then the move itself:
- From: the current start and end time and the date.
- To: the new start and end time and the date.
- If you dragged it to another team member's column, each side also shows the team member, so you can see who it's moving from and to.
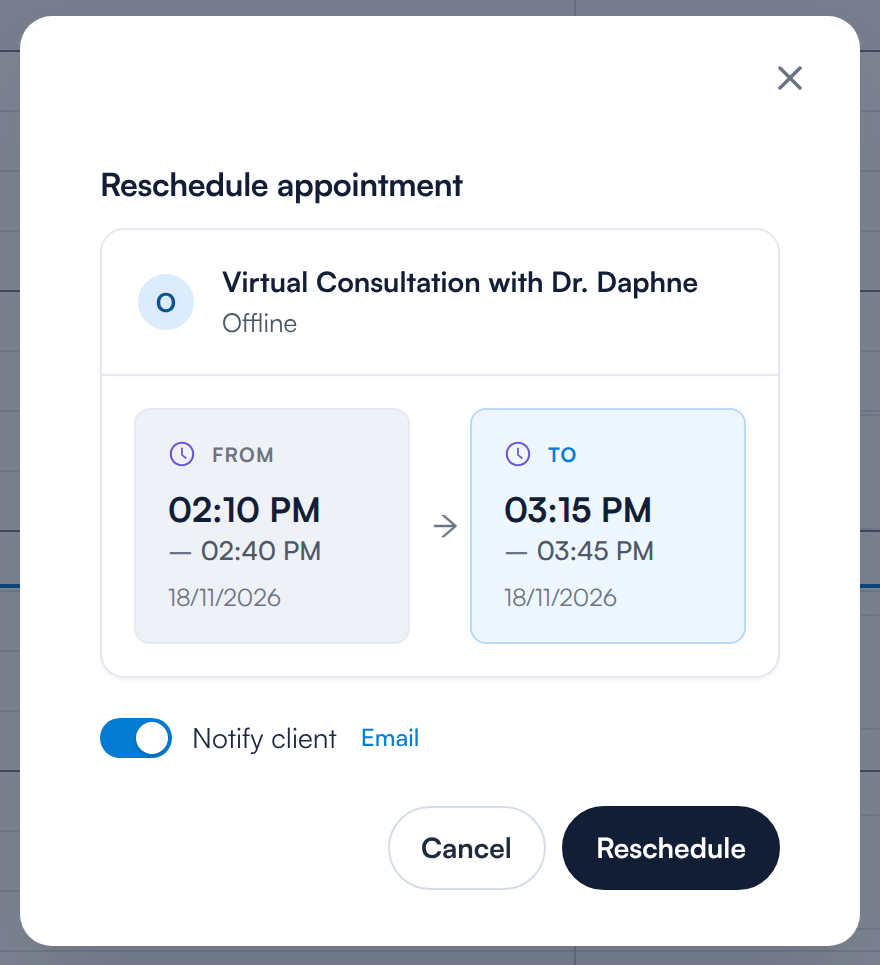
Moving an appointment to a later time
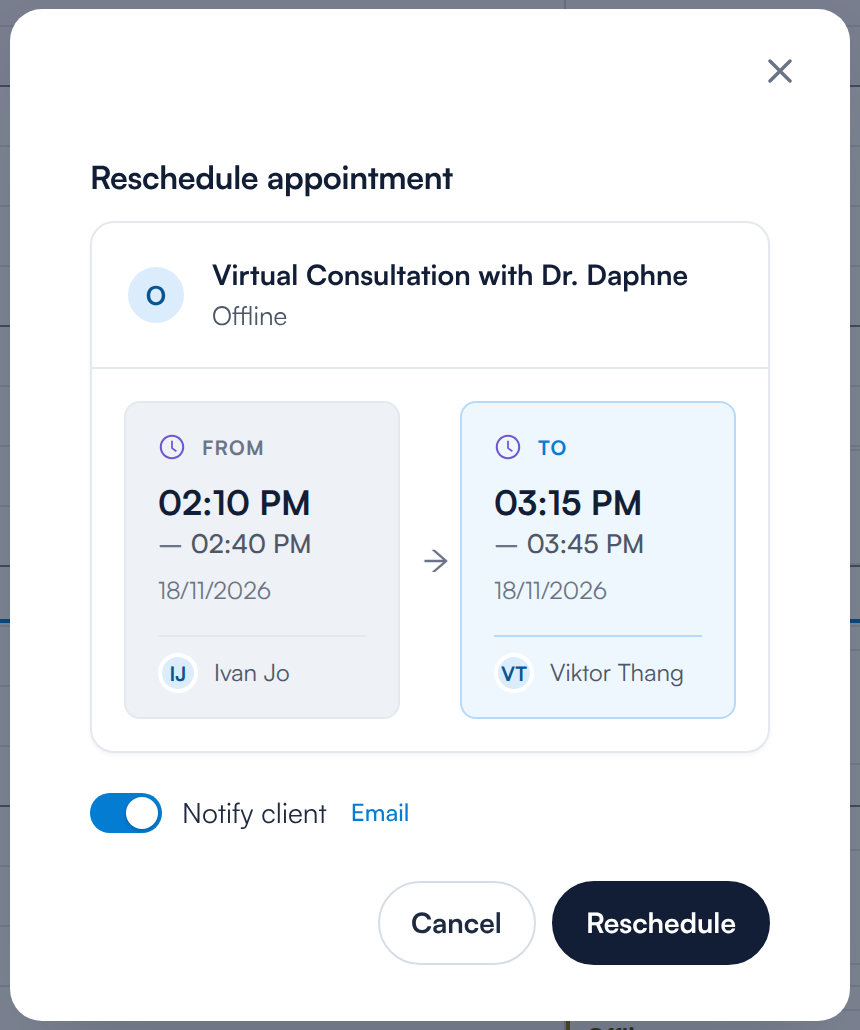
Moving to another team member shows both names
Step 3: Choose Whether to Notify the Client
Under the move, Notify client shows whether the client will be told about the new time, and the channel next to it (for example Email). Switch it off to move the appointment without notifying the client.
NOTE: Where this comes from: the reschedule message is set up in your notification settings. See How to Enable Appointment Reschedule Notifications.
Step 4: Reschedule or Cancel
Click Reschedule to move the appointment. To leave it where it was, click Cancel or close the window: the appointment stays at its original time.
What If There's a Clash?
If the new time clashes with something, the window opens as Please review the warnings below and lists each problem above the move, for example:
- This room is unavailable due to: the booking already in that room.
- Equipment … is unavailable due to: the booking already using it.
- This staff member is unavailable due to: the booking they already have, with If you make this booking, they will be double booked.
Read the warnings, then click Cancel to keep the appointment where it is, or Reschedule anyway to move it regardless.
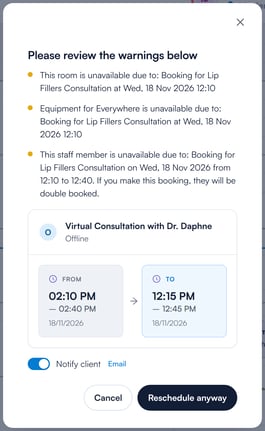
Clash warnings before the move
Can I Turn the Confirmation Window Off?
The window appears because Confirm before rescheduling is ticked in the calendar settings. To find it, click the gear icon (Calendar settings) at the top of the calendar, open Notification settings and scroll to Rescheduling (How drag-and-drop reschedules are confirmed). Click Save changes after changing it.
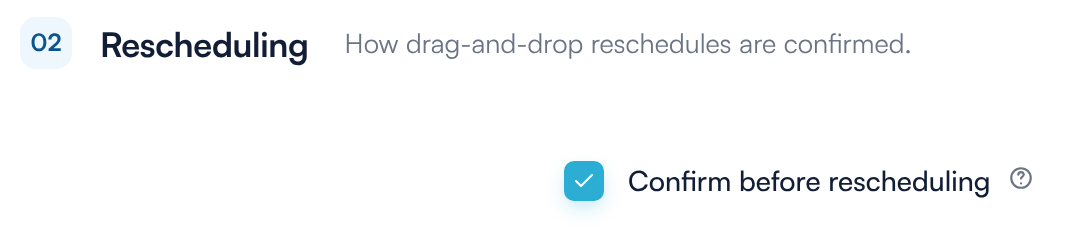
Confirm before rescheduling in Calendar Settings
What's next?
Other ways to move or rebook an appointment in the new calendar:
- How to Reschedule or Rebook an Appointment From the Booking Panel
- How to Use Suggest Times to Find Available Appointment Slots
- How to Use Quick Actions on a Calendar Appointment
- How to Enable Appointment Reschedule Notifications
- How to Find Your Way Around the New Calendar
- How to Reschedule an Appointment (the classic calendar)
Was this guide helpful? Let us know by voting below - your feedback helps us write clearer articles.
For more guides, browse the related articles below or use the search bar at the top of the page. You can also watch our video learning series, the Pabau Academy, or visit the Support page for additional help.