
Once Quest Diagnostics is connected, results find their way into Pabau on their own — Pabau sweeps every connected clinic automatically. You can also pull them in yourself at any time, review exactly what Quest holds, and choose which results to write onto patient records.
This guide covers the Sync results screen: how to run a sync, how to read what came back, and how to import results onto client records.
NOTE: Quest Diagnostics must be connected first. See How to Connect Quest Diagnostics to Pabau if the card still shows Configure now rather than Connected.
Step 1: Open the Sync Screen
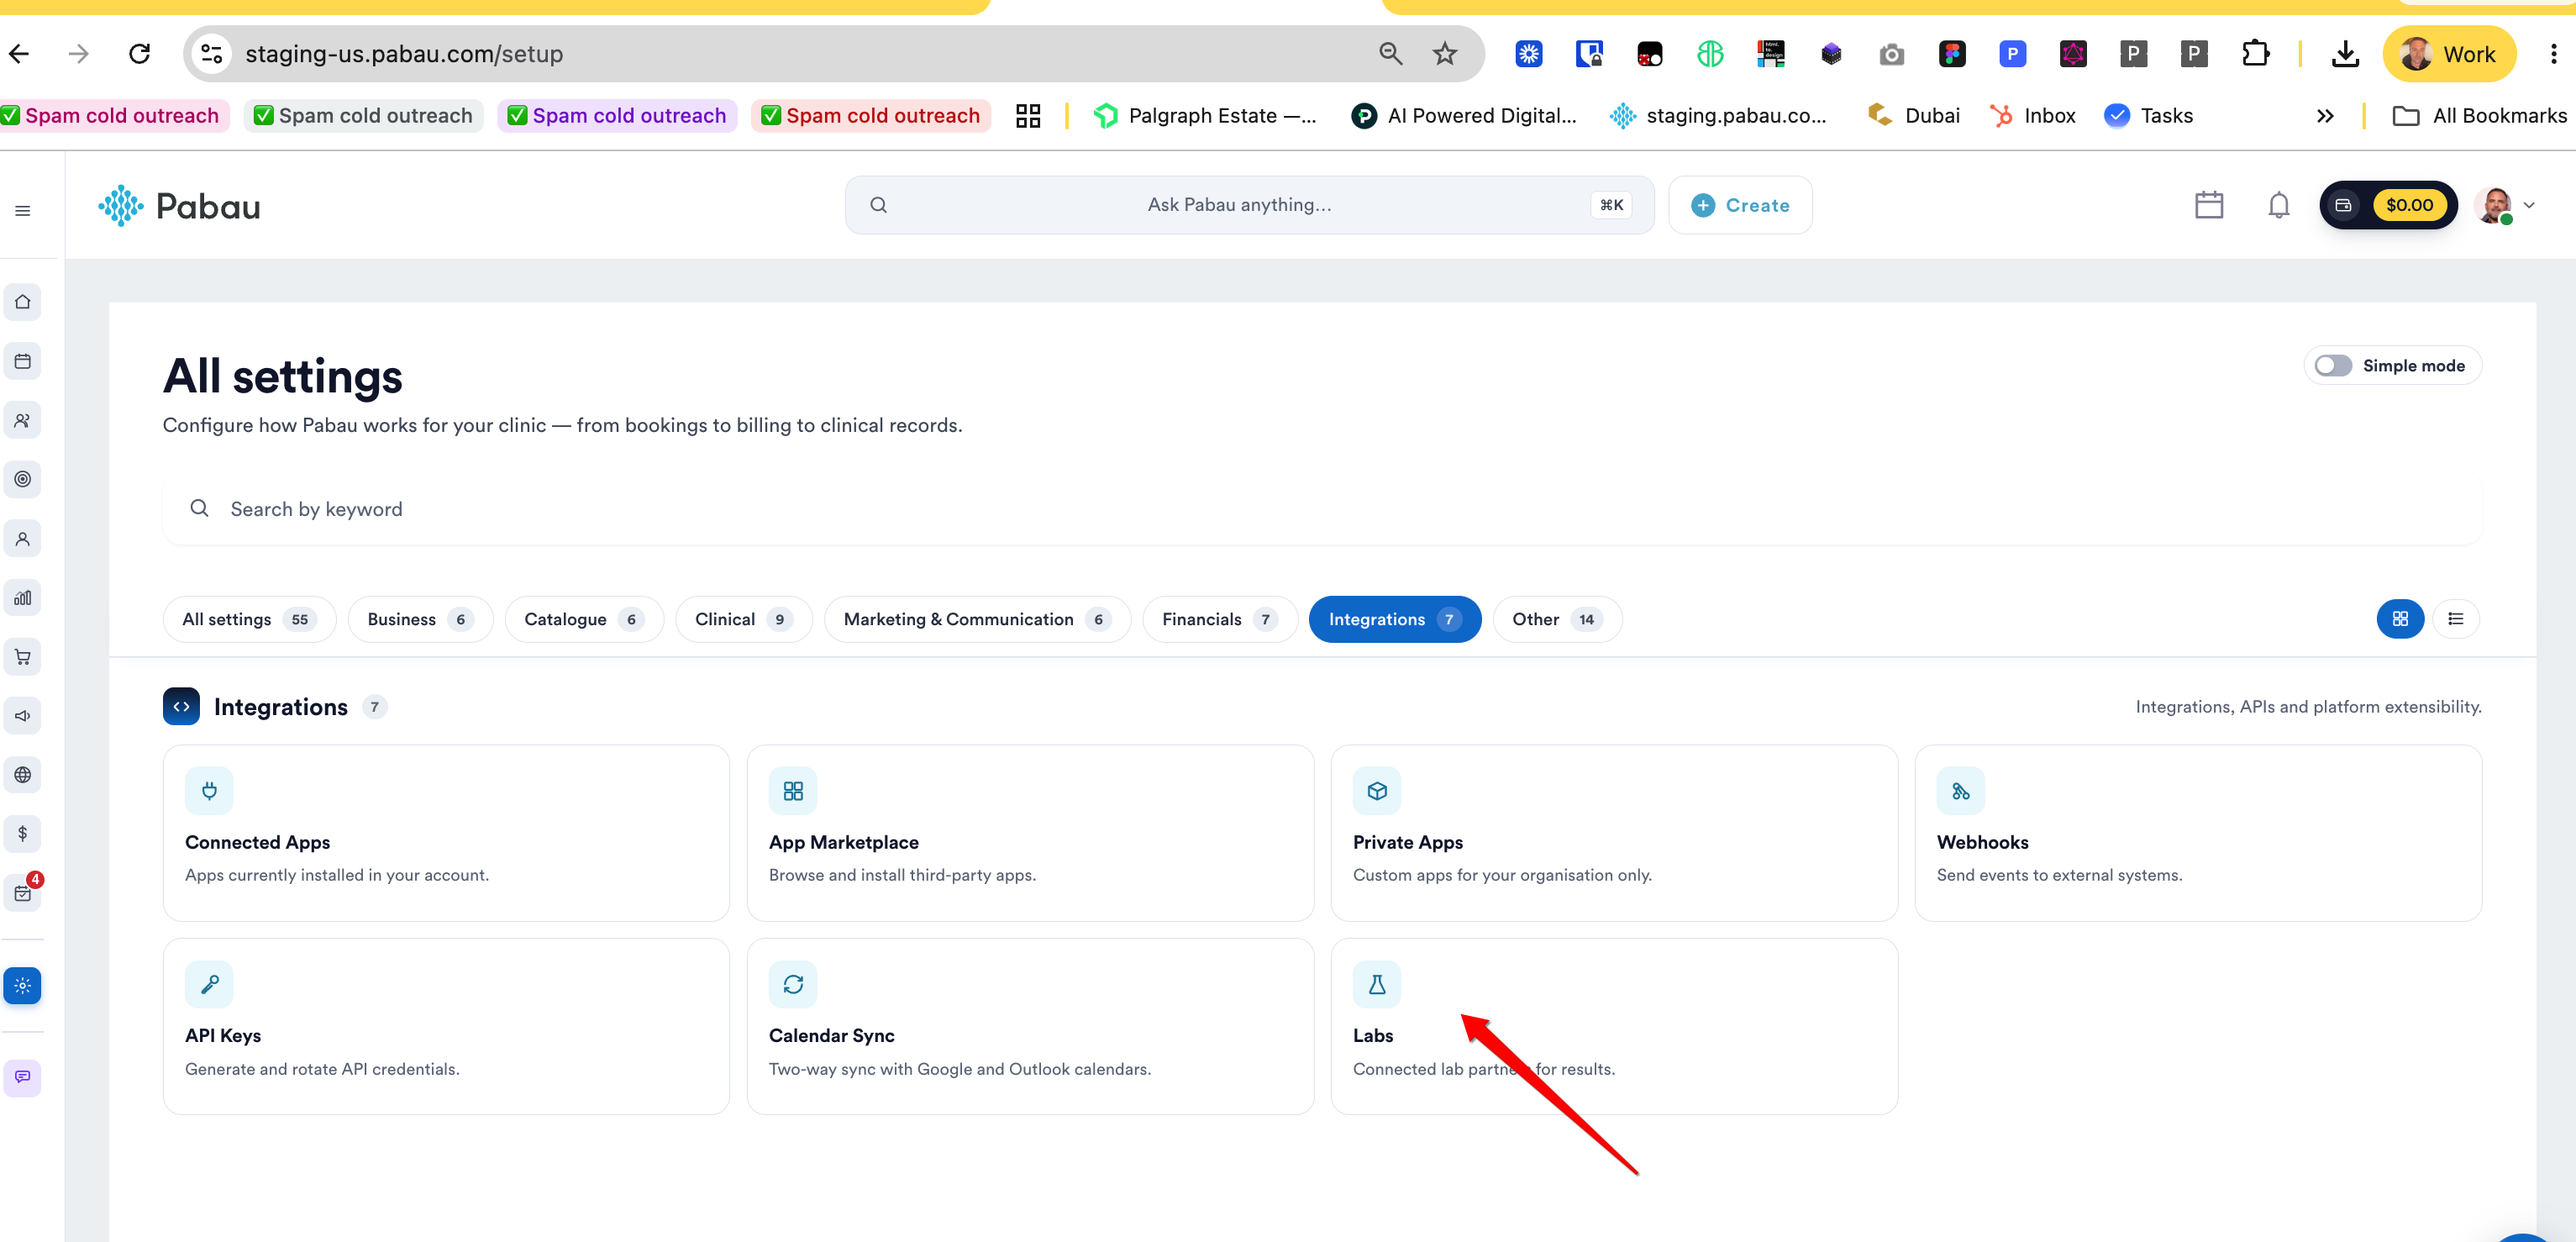
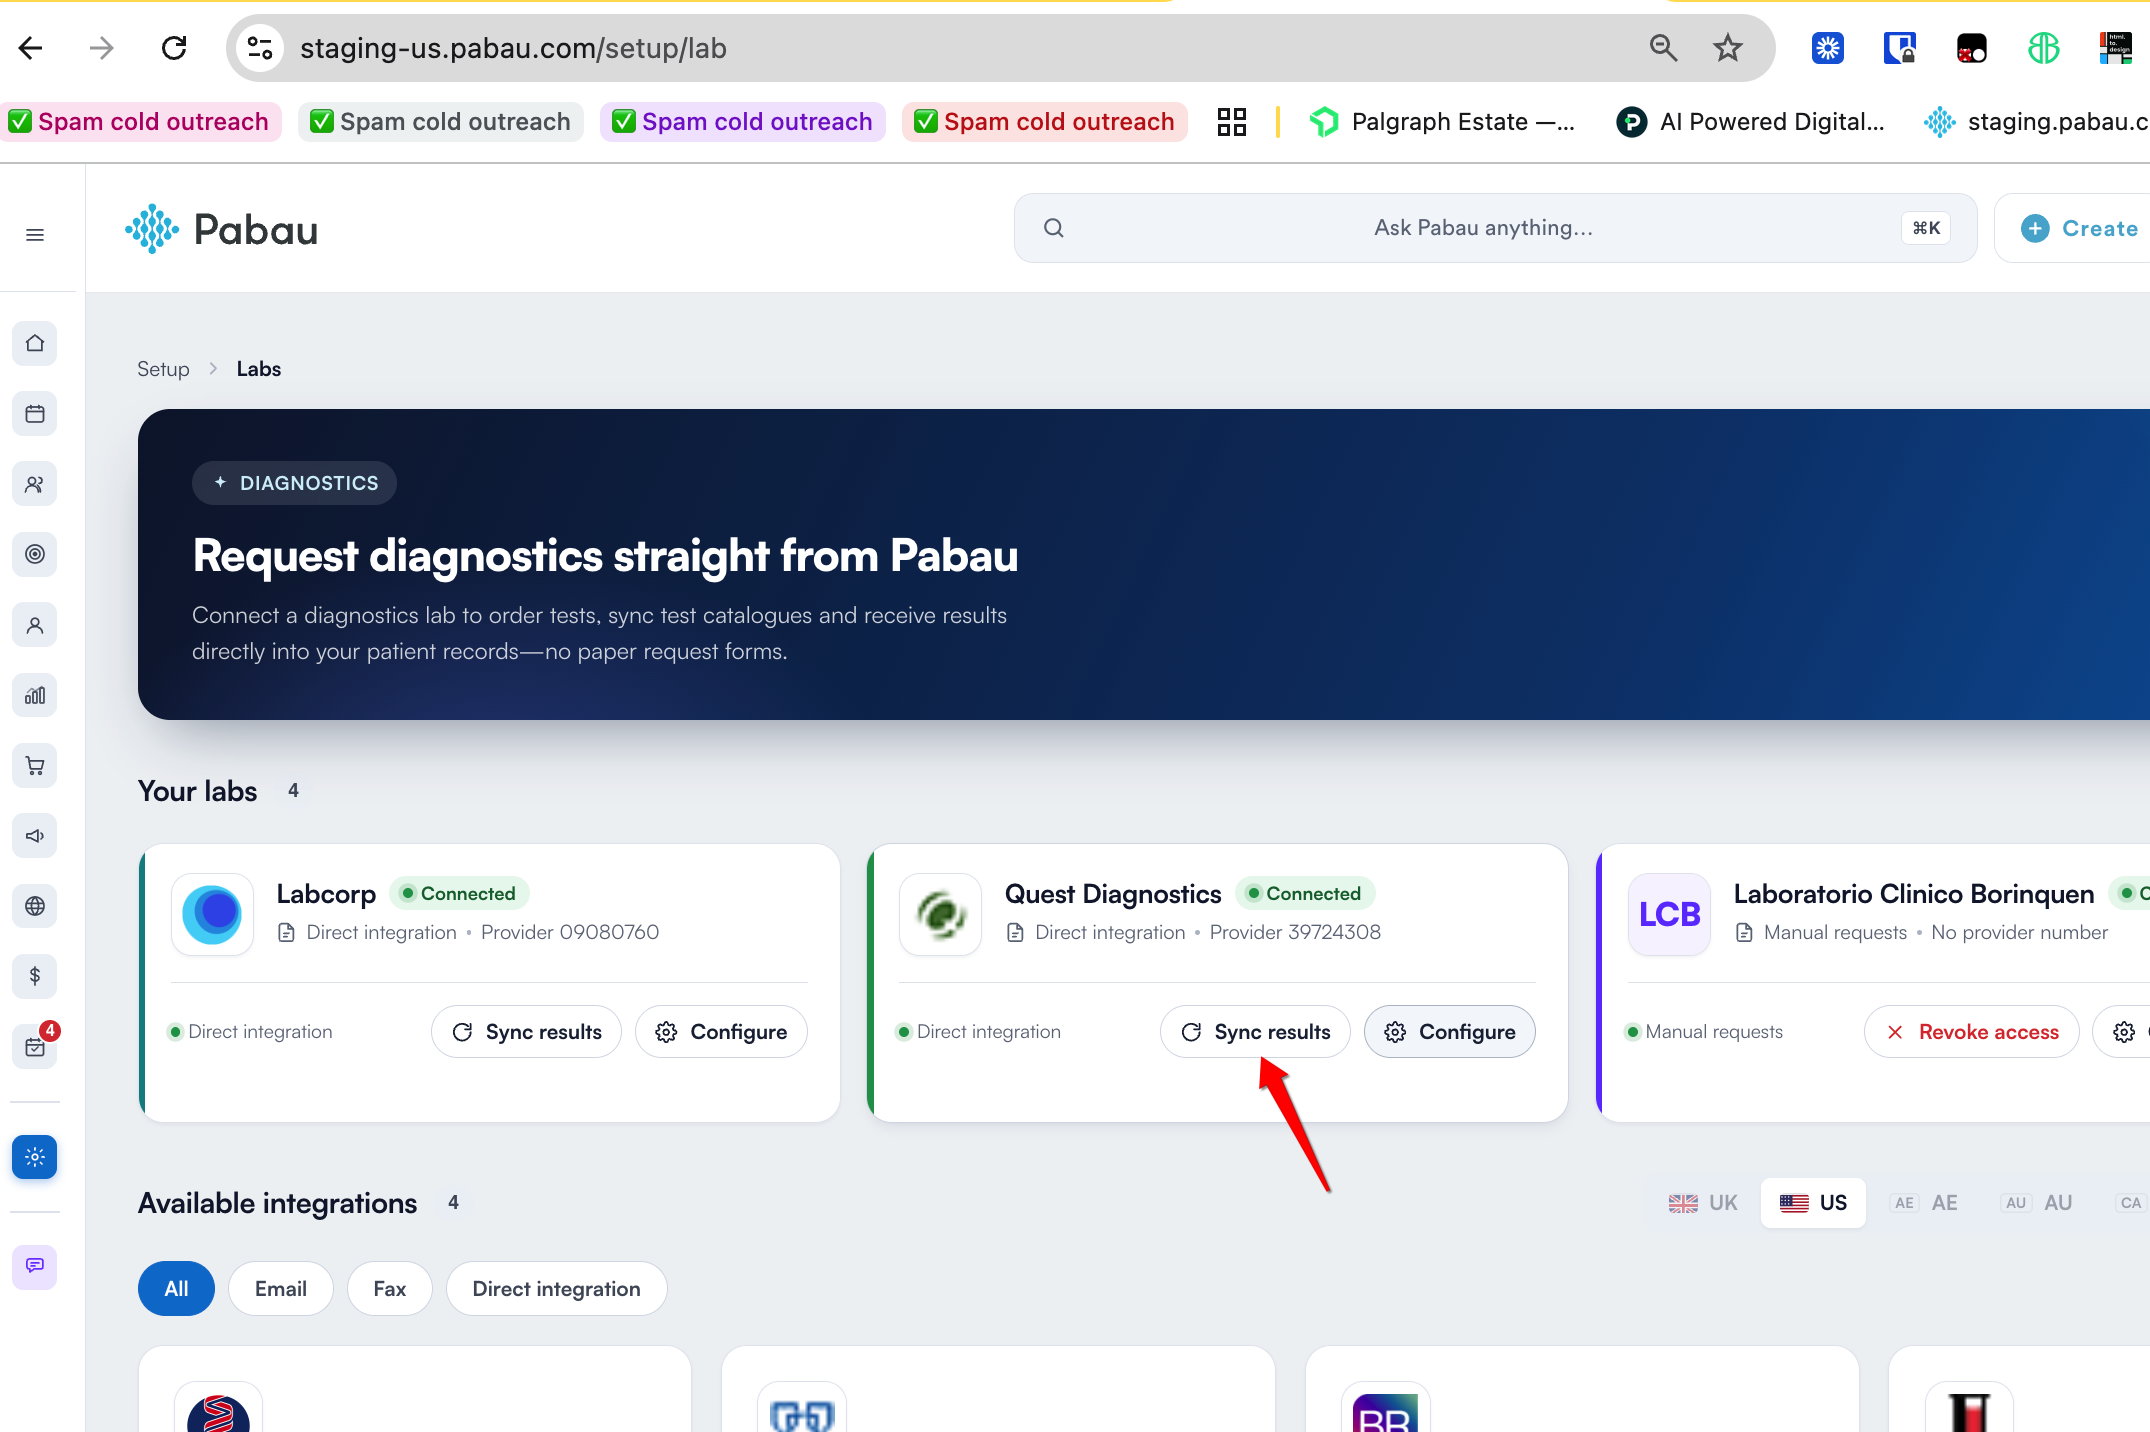
Go to Setup > Labs, find your Quest Diagnostics card under Your labs, and choose Sync results.
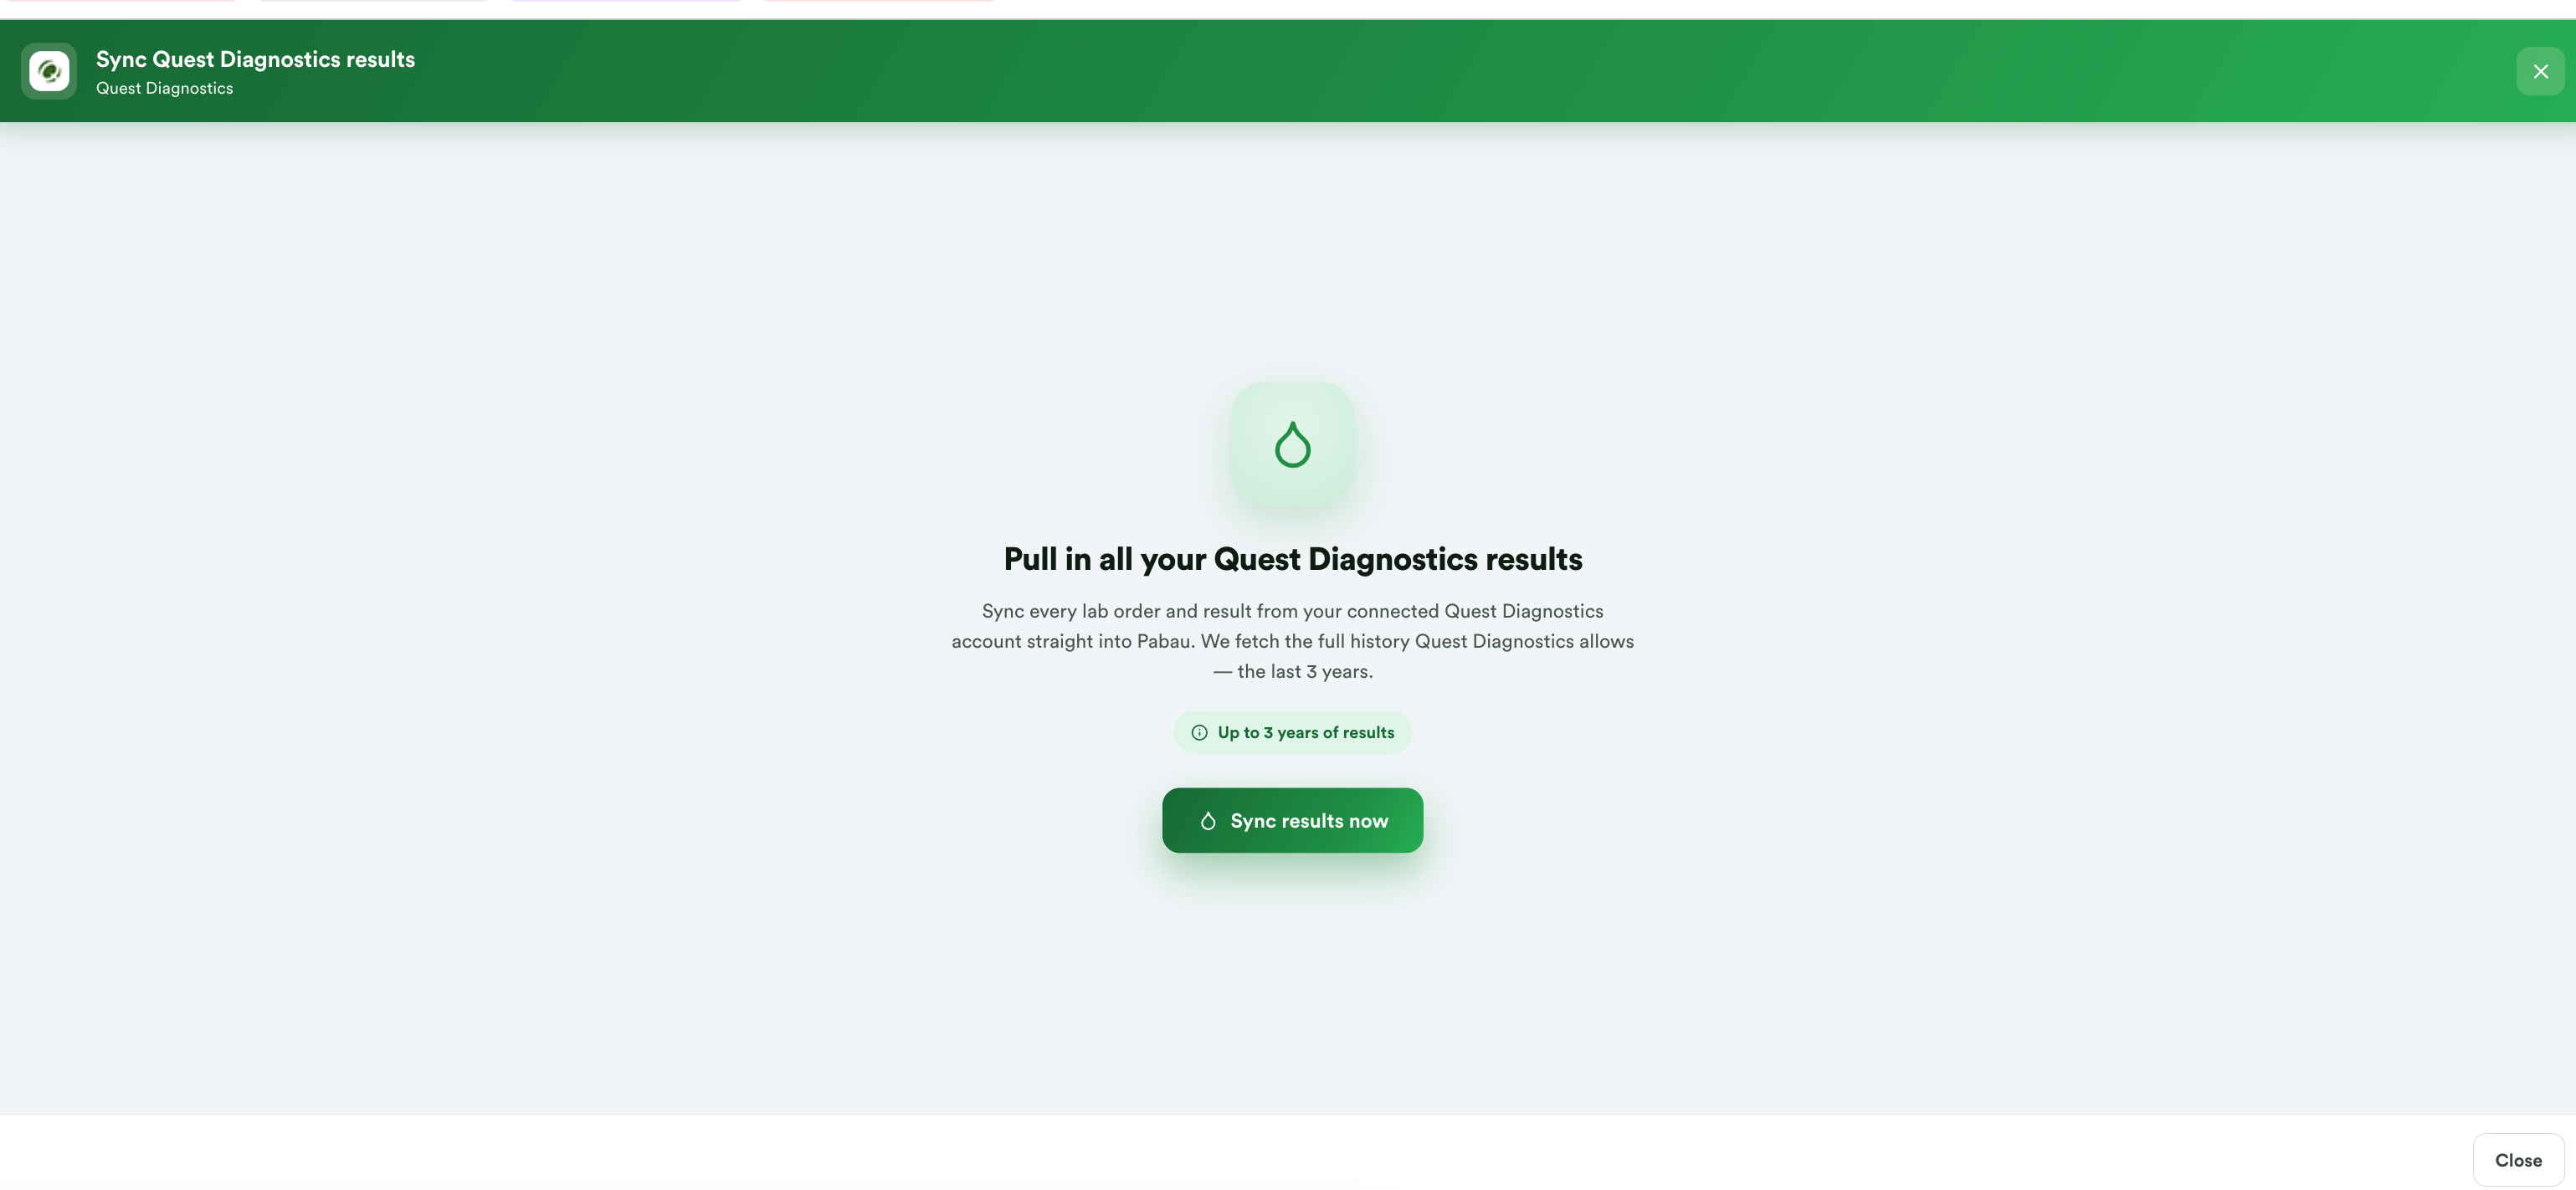
Pabau explains what it is about to do: fetch every lab order and result from your connected Quest account, going back up to three years. When you are ready, choose Sync results now.
Step 2: Let the Sync Run
A sync takes roughly half a minute. Pabau works through four phases, shown as you wait:
- Connecting to Quest Diagnostics — a secure sign-in, exactly as when you first connected.
- Pulling results — the last three years of issued reports.
- Pulling orders — the requisitions that have been placed.
- Finishing up.
If your clinic has a large history, Pabau fetches it in yearly slices and merges them, so a busy year cannot quietly fall off the end.
NOTE: Nothing is changed inside Quest while this runs — Pabau only reads. It signs itself out again when it has finished, so it does not hold on to a session your own team might need. Because Quest allows one active session per user, anyone signed in to Quanum with the same login will be signed out during the sync.
Step 3: Read What Came Back
When the sync finishes you get a summary across the top — the total number of results, how many came back out of range, how many were in range, how many were not performed, and how many orders are still open.
The rows are split into two tabs:
- Results — the reports the lab has already issued.
- Open orders — requisitions that have been placed but whose results have not come back yet.
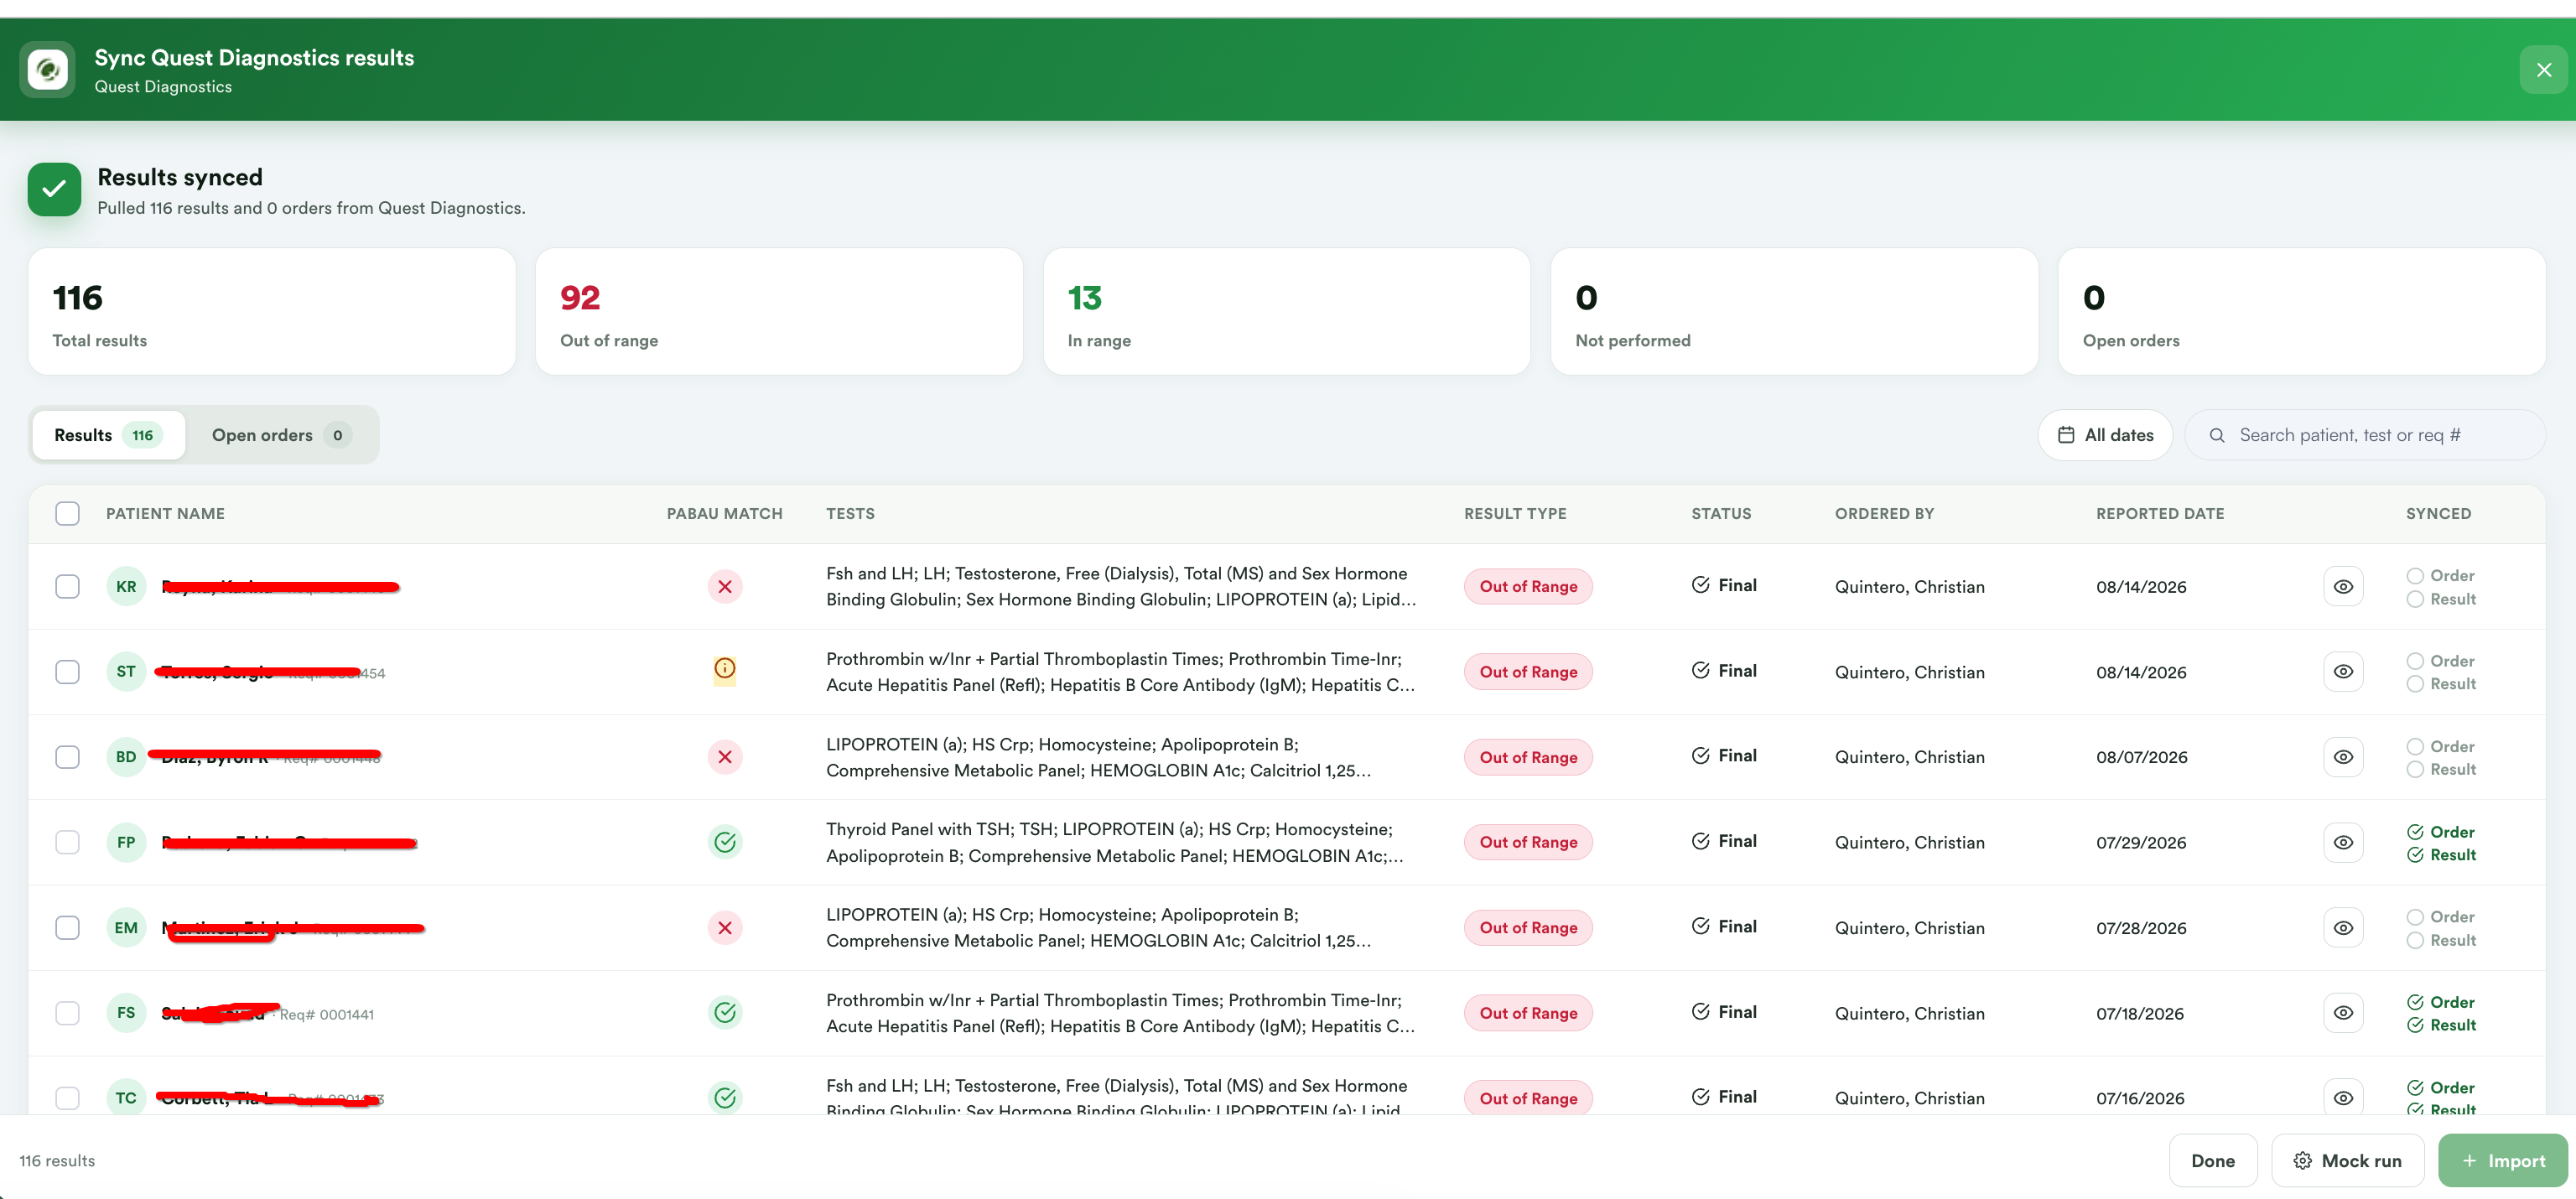
Each result row carries the patient's name, the tests that were ordered, the result type, the status, who ordered it, the date it was reported, and the requisition number. Anything out of range or flagged as priority is chipped in amber, so it stands out before you read a single value. Orders show their progress instead — on hold, pending or finalised — so you can tell at a glance what is still outstanding.
Use Search patient, test or req # and the date filter to narrow a long list, and the Preview column to open a row's report PDF without leaving Pabau.
Step 4: Check the Pabau Match Column
Every row is matched against the clients you already hold in Pabau. The Pabau Match column tells you what Pabau found:
- Matched — an exact match on name and date of birth. Click the row to slide in that client's record.
- No exact match — no client in Pabau shares both the name and the date of birth.
- Possible match (amber) — a near miss, either a differing date of birth or the name written differently. Click to review the candidate record before importing.
IMPORTANT: Matching is deliberately strict — exact name and date of birth — so a near miss is never treated as the same person. Review amber rows yourself rather than importing them blind.
Step 5: See What Is Already In Pabau
The Synced column shows whether Pabau already holds each row. Anything imported before is marked as already synced, its checkbox is disabled, and it is excluded from Select all — so the same result can never land on a record twice.
Step 6: Import Results Onto Client Records
Tick the rows you want and select Import. Pabau shows you exactly what the import will do before it starts:
- A result for an order Pabau already holds fills that order.
- Any other result creates a new lab record on the matched client.
- A selected open order is created as a requested lab order, which its first result will later fill.
- A row with no Pabau match creates the client from the lab's details first.
Pabau downloads each selected report, parses it, and writes the results in. The panel estimates how long that will take before you commit, and the report at the end lists the action taken per row along with the lab record IDs that were written.
IMPORTANT: An import writes to real client records — the panel labels it Live import and states how many rows will be written. Reports are read by Pabau's AI lab parser, which uses AI credits, so import the results you need rather than the whole history.
TIP: Want to see what an import would do without writing anything? Use Mock run. It runs the full pipeline — patient match, duplicate check, report download and parse — then reports the outcome per row with a quality score, and writes nothing to Pabau. It is the safest way to sanity-check a large history before a real import.
Step 7: Let the Automatic Sync Do the Work
You do not have to do any of this by hand. Pabau runs the same sweep automatically, roughly every half hour, for every connected clinic — so results arrive without anyone pressing a button.
Open the clock icon in the sync screen header to see Sync history. Each run is listed with:
- When it ran, and whether it was Automatic or Manual.
- How long it took.
- How many rows were imported, how many were already in Pabau, how many were unmatched, and how many failed.
Mock runs are labelled as such, so a dry run is never mistaken for real clinical activity.
NOTE: Results that cannot be matched to a client are held rather than guessed at, so nothing lands on the wrong record. Review them and match them manually from your lab inbox.
TIP: To place a new Quest request rather than pull existing ones, see How to Order a Quest Diagnostics Test From a Client Record.
By following these steps, you can pull your full Quest history into Pabau and import each result onto the right client record, with the automatic sync keeping it current from then on.
Was this guide helpful? Let us know by voting below - your feedback helps us write clearer articles.
For more guides, browse the related articles below or use the search bar at the top of the page. You can also watch our video learning series, the Pabau Academy, or visit the Support page for additional help.