1. Create Button:
Log in to your Pabau account and click the Create button at the top of the screen. Alternatively, use the hotkeys Shift + C.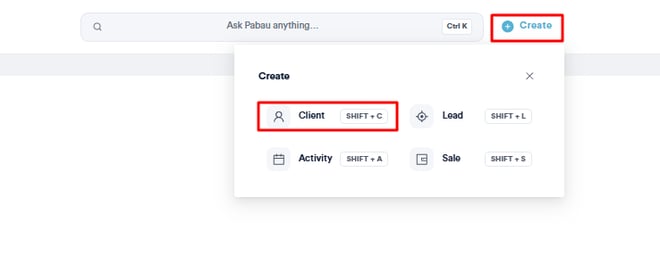
2. Clients Page:
On the Clients page, click on the "Create Client" button.

3. Calendar:
When booking an appointment, you can either search for an existing client or create a new one instantly.

You also have the "Quick Create" option that appears when trying to search for a client in the "Book Appointment" modal. If there is no client with the name you are trying to search, a button will appear so you can create the client on the spot. Click the +Create Client button to get started.

NOTE: When using the "Quick Create" method to create a client in the system, the name and last name you typed in the search bar will be populated when redirected to the create client page.
Any method you select to create a client, the following fields will appear:
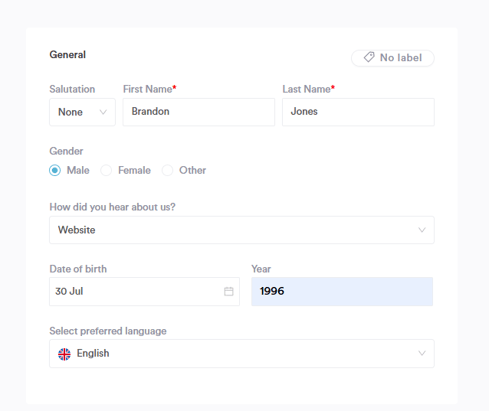
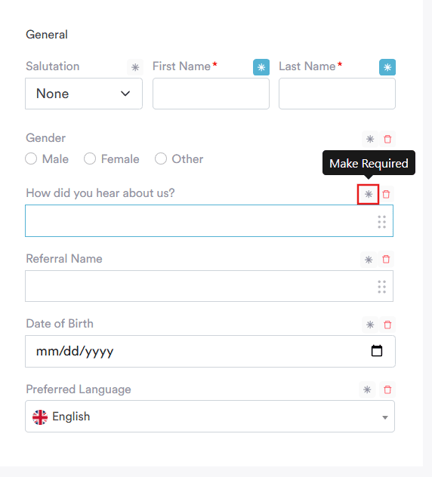
General Section:
Assign a preferred language and apply client labels from the top right corner.
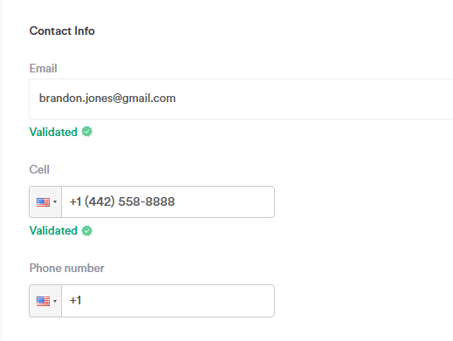
Contact Info:
Add the client's contact information, such as email address and phone number. The only mandatory field in this section is Email.- As you type a mobile number or email address into a client profile, Pabau will instantly check whether it follows the correct format.
- If the format is invalid, you’ll see a helpful prompt guiding you to fix it — before you can save the entry.
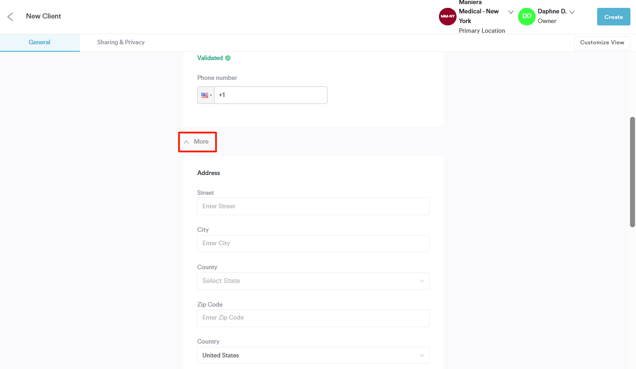
More Section:
If additional information, like the name of the client's primary care physician, is needed, it can be added under the "More" section.Any extra custom fields created in your Account will also be stored under "More."
Sharing & Privacy:
After entering the client's general information, click on the Sharing & Privacy tab. Here, you can select the client's preferred contact methods for marketing purposes and indicate whether the client agrees to your privacy policy.

NOTE: Essential client notification messages, such as appointment confirmations and reminders, are mandatory and cannot be disabled on a per-client basis.
You can update a client's communication preferences after they are created by following the steps outlined in this article.
Location and Owner:
In the top right corner of the screen, you can designate the client's primary location and owner.
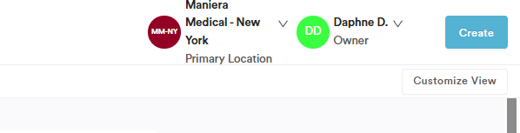
Customize View:

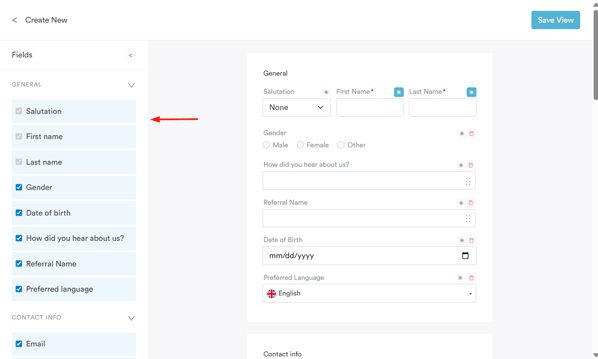
Final Steps:
Click "Create" in the top right corner to complete the client creation process.NOTE: We suggest reading our Clients article for a more in-depth exploration of this topic.
For more guides, refer to related articles below, select additional guides, or use the search bar at the top of the page. These guides will help you get the most out of your Pabau account.
Additionally, to help you fully utilize and understand your Pabau account, we recommend exploring additional guides and resources offered at the Pabau Academy. It offers in-depth video tutorials and lessons, offering a holistic learning experience that can equip you with the essential skills for achieving success with Pabau.