When building a medical form in Pabau, each component has an Advanced Settings option that gives you greater control over how fields behave and what information they collect.
Step 1: Log in to Your Pabau Account
Start by logging into your Pabau account using your login credentials. You will receive your 2FA code on your Email or SMS depending on how you've set it up. Once logged in, you will be taken to your main dashboard.
Step 2: Navigate to Setup
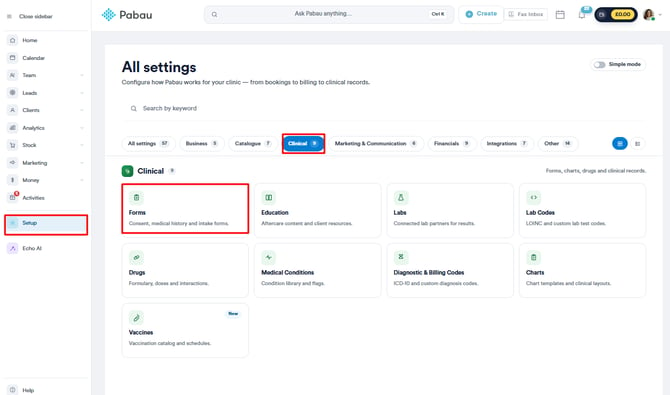
From the main dashboard, click on Setup in the left-hand navigation menu, then select Forms from the Clinical section.
Step 3: Open a Form Template
Find the medical form template you want to edit and click on it to open the form builder.
Step 4: Select a Component
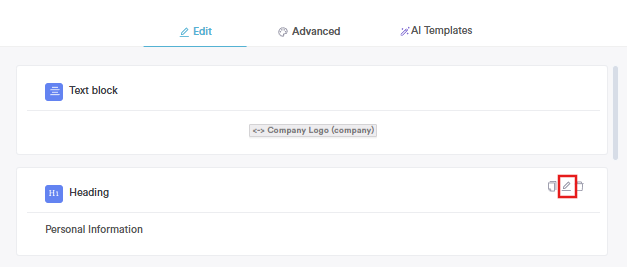
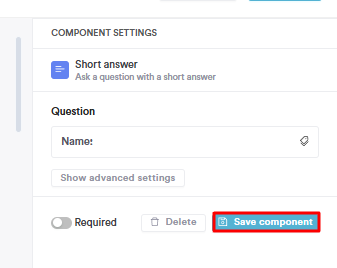
Click on any component within the form — for example, a Short answer field — to open its Component Settings panel on the right-hand side.
Step 5: Open Advanced Settings
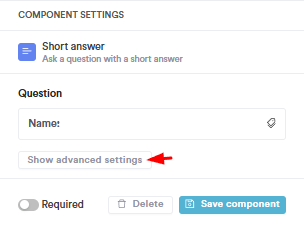
In the Component Settings panel, click Show advanced settings below the Question field. The panel will expand to reveal additional configuration options.
To collapse the panel, click Hide advanced settings.
Step 6: Configure the Advanced Settings
You will see three options available under Advanced Settings:
Input Type
Select the format that matches the type of information you want to collect in this field:
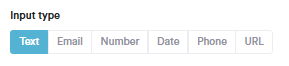
| Input Type | Use For |
|---|---|
| Text | General written answers, names, notes |
| Email address format | |
| Number | Numerical values only |
| Date | Date picker input |
| Phone | Phone number format |
| URL | Website links |
Linked Field
The Linked field setting connects this component to an existing field in the client's record. When a linked field is set, the answer submitted in the form will automatically populate the corresponding field in Pabau — saving your team from manually transferring information.
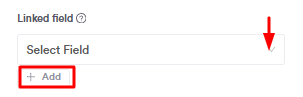
Click the Select Field dropdown, choose the relevant field from the list, and click + Add if you need to link to more than one field.
Default Value
The Default value setting pre-fills the field with a value when the form loads. You can use merge tags here to pull in dynamic data automatically — for example, entering [APPOINTMENTNAME] will populate the field with the name of the linked appointment.
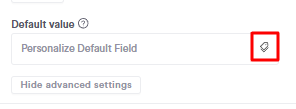
NOTE: Using merge tags in the Default value field reduces the amount of information clients need to fill in manually.
Step 7: Save Your Changes
Once you have finished configuring the component, click Save component to apply your changes.
When all components are set up, click Save Form in the top right corner to save the full form template.

By following these steps, you can easily configure your advanced settings for components in the medical form templates.
For more guides, refer to related articles below, select additional guides, or use the search bar at the top of the page. These guides will help you get the most out of your Pabau account.
Additionally, to help you fully utilize and understand your Pabau account, we recommend exploring additional guides and resources offered at the Pabau Academy. It offers in-depth video tutorials and lessons, offering a holistic learning experience that can equip you with the essential skills for achieving success with Pabau.