Please note: Pabau GO requires an iPhone or iPad running iOS 17 or later. Earlier versions aren't supported.
Step 1: Navigate to Clients
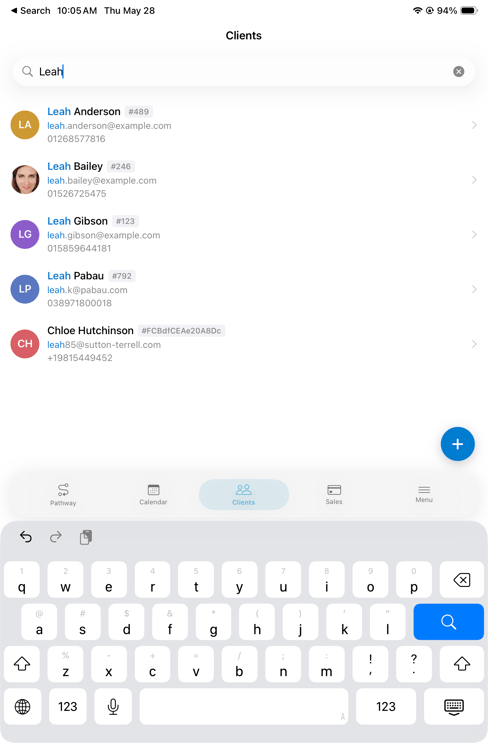
In your Pabau GO app, tap on “Clients” in the menu, at the bottom of your screen.

Step 2: Select Client
At this stage, you’ll see your full client list. You can scroll through it or use the search bar at the top to quickly find a client by typing in their name.
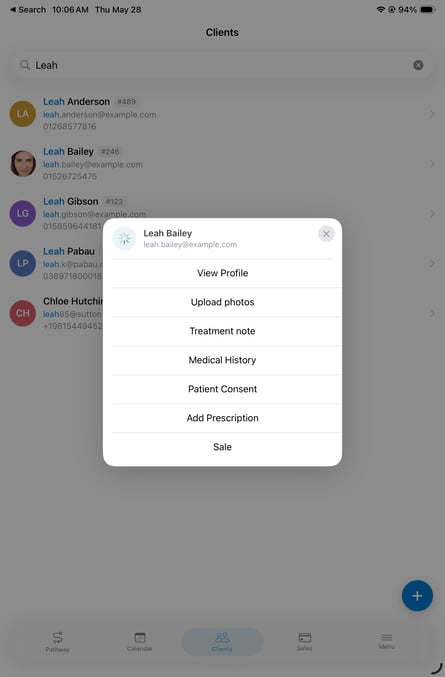
Once you see their name, tap on it, then select "View Profile" to open their client card.
Step 3: Switch to the Photos Tab
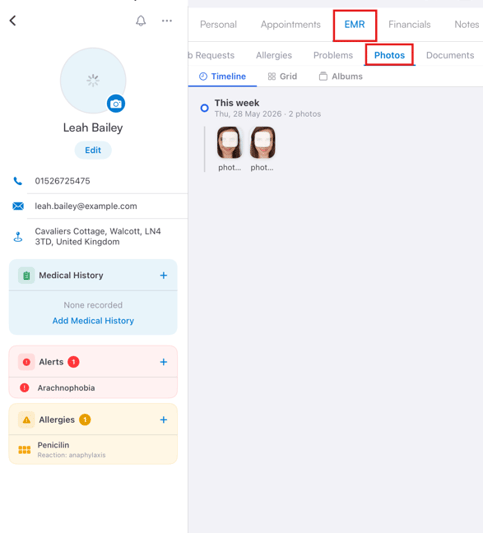
To view uploaded photos for that specific client, tap the "Photos" sub-tab under EMR.
Step 4: Select Photos
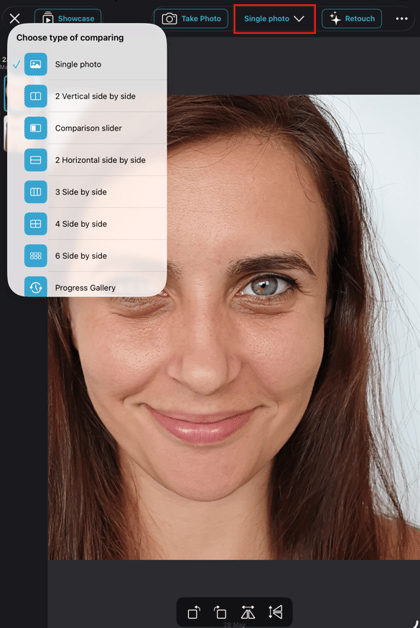
To select photos, simply tap on an image — it will open the image and list all uploaded images on the left side of the screen.
Then, proceed to tap the "Single Photo" option listed at the top right corner. This will reveal all available types of photo comparison tools.
Step 4: Side by Side Comparison
Select the “Side by Side” option to compare the images next to each other. Then, drag and drop the photos from the left side of the screen.
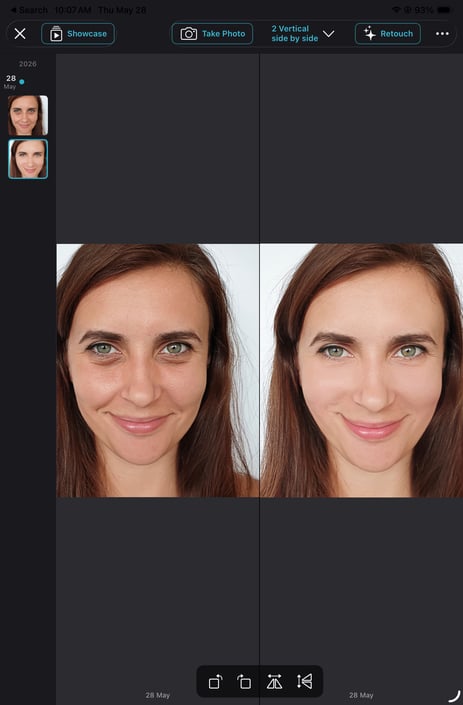
By following these steps, you can compare before and after photos of clients in your Pabau GO iOS app.
For more guides, refer to related articles below, select additional guides, or use the search bar at the top of the page. These guides will help you get the most out of your Pabau account.
Additionally, to help you fully utilize and understand your Pabau account, we recommend exploring additional guides and resources offered at the Pabau Academy. It offers in-depth video tutorials and lessons, offering a holistic learning experience that can equip you with the essential skills for achieving success with Pabau.