
In our system, you can set up the link between your Xero account, and your Pabau CRM clinic. This integration will allow you to receive all of your invoices that are generated in Pabau CRM, to your Xero account. This includes any changes made to those invoices, as well as payments.
The sync between Pabau CRM and your Xero account is an automatic set-and-forget process, which has to be established once, the reason being that you have to establish the first authorization link that will grant Pabau CRM the necessary permission to do the sync.
To set up the Xero integration, follow the steps below:
-
Login in Xero;
-
Create a new Xero application, by visiting My apps on Xero
-
Log in with your credentials (if asked);
-
You will be redirected to this page:
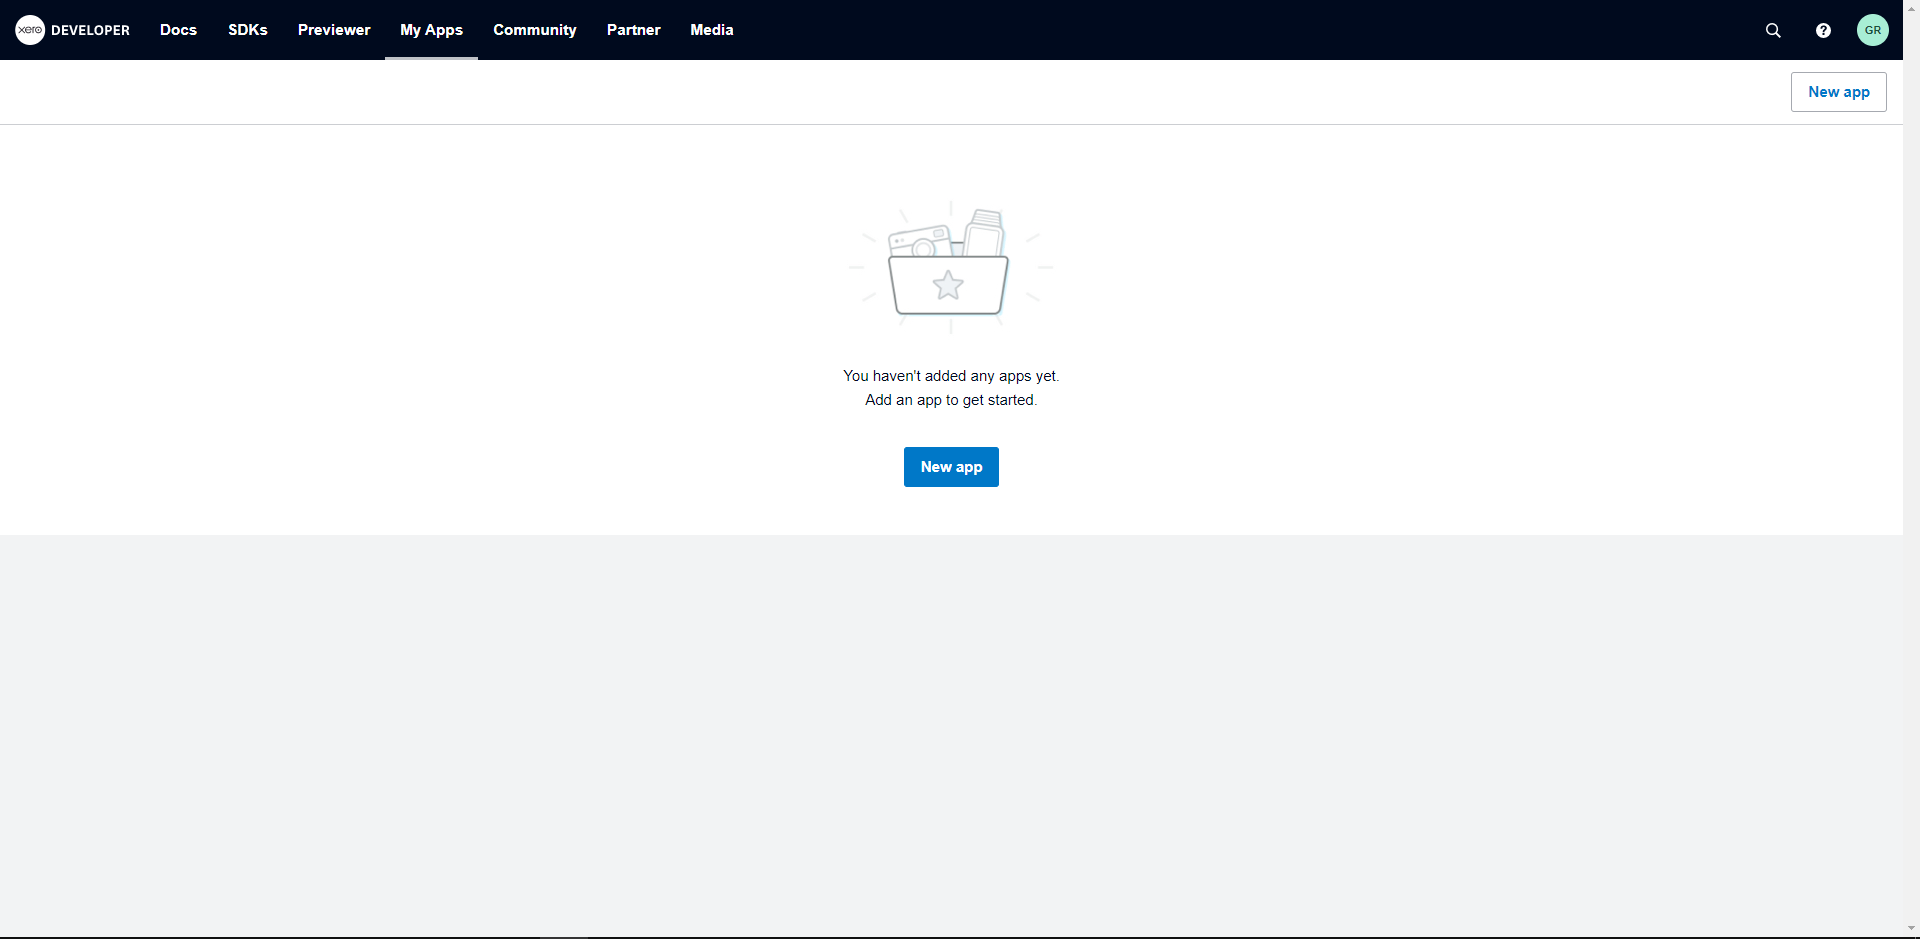
4. Click on the "New App" button.
*You can safely ignore any previously related apps to Pabau CRM, or delete them.
5. Now you will see this small window pop-up:
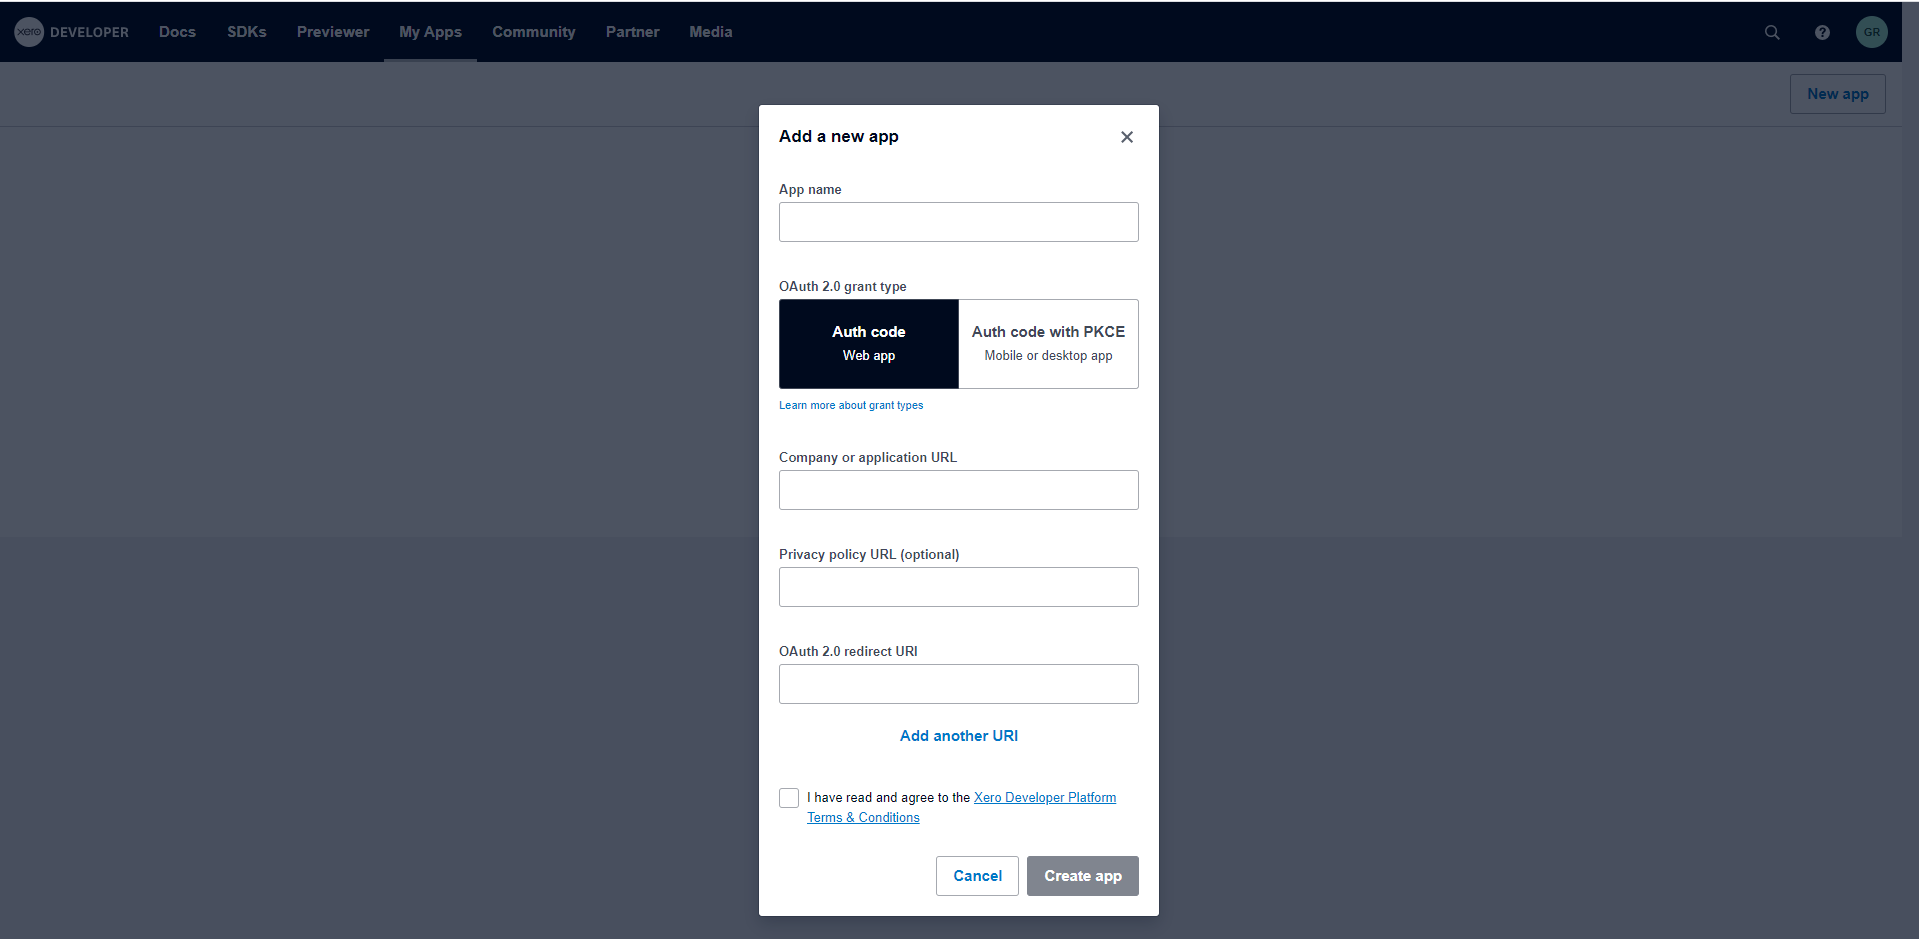
6. Fill in the pop-up form with the details listed below (make sure to pay close attention):
NOTE: Do not use PabauCRM2.0 for the app name, that's just an example, please use any name instead!
Important: Regarding OAuth 2.0 redirect URI: https://crm.pabau.com/modules/xero/authenticate.php - crm.pabau.com is dynamic, and depends on your account's URL. For example, if the URL you see in the address bar is clinic.pabau.me, then the URL you need to use is https://clinic.pabau.me/modules/xero/authenticate.php
7. After filling in the form, click on the Create App button;
8. You will now be redirected to the newly created App details page, which looks like in the screenshot below:
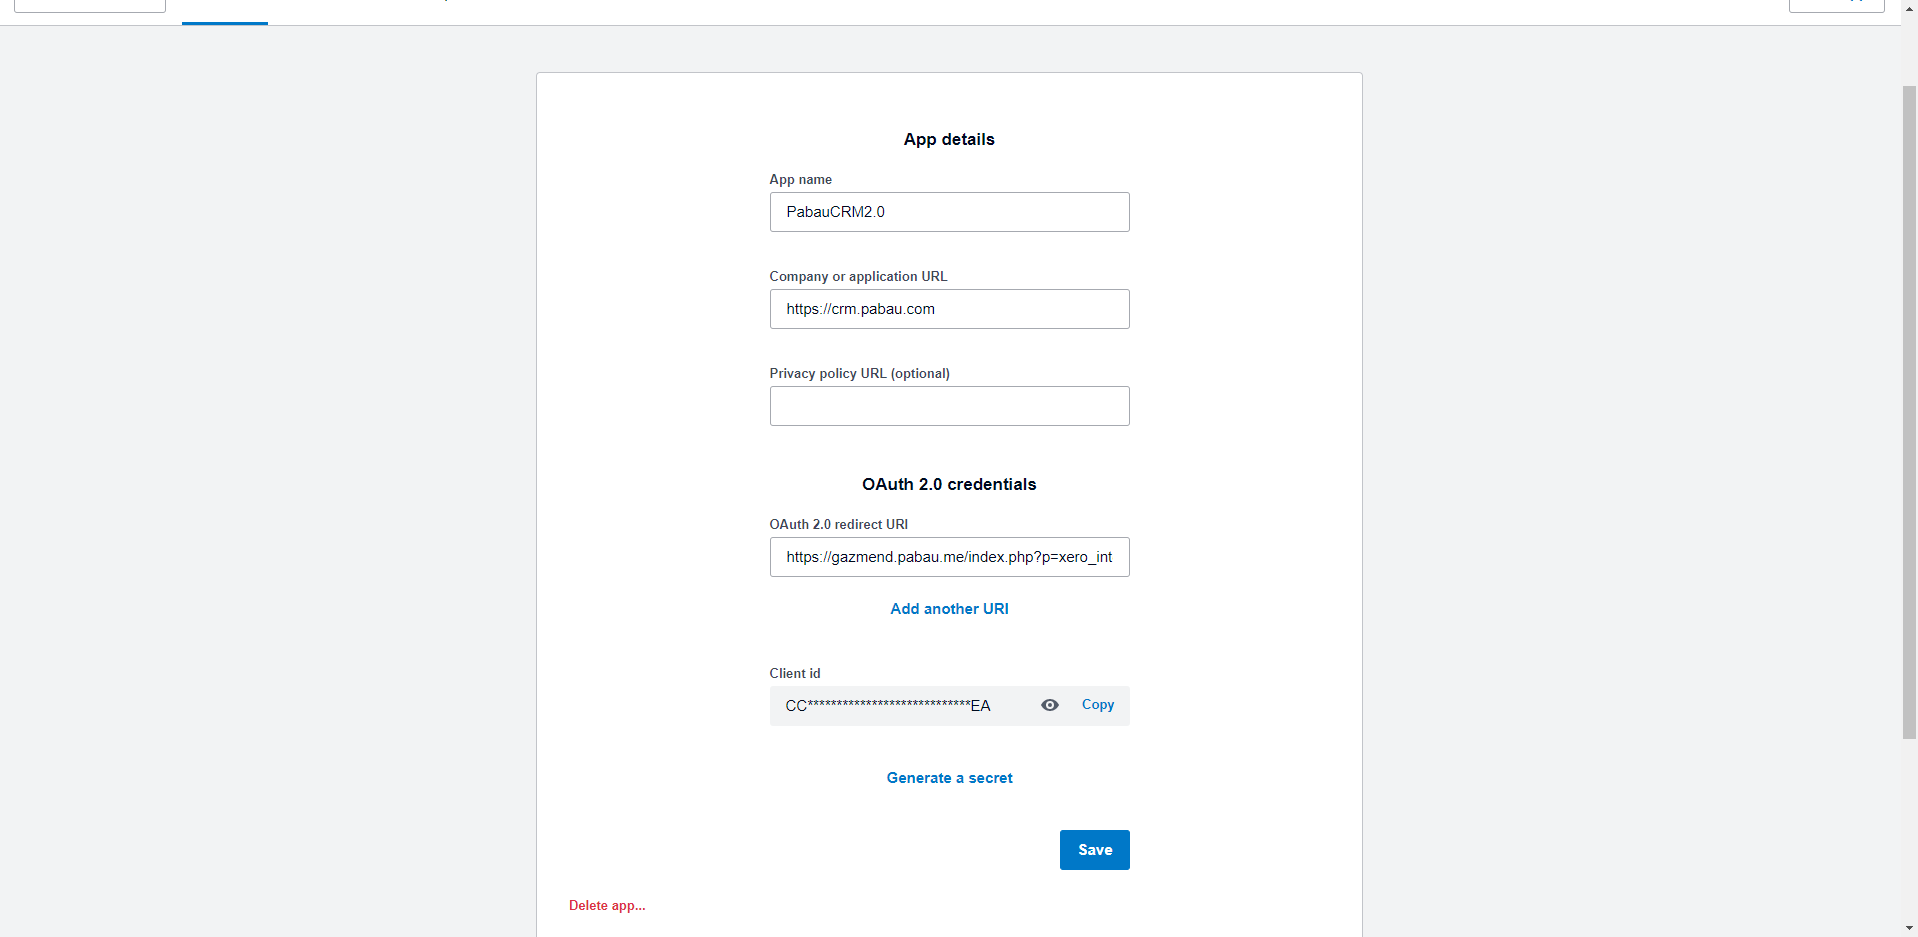
9. A Client ID will be automatically generated;
10. Click on Generate a secret to create a secret key for the app;
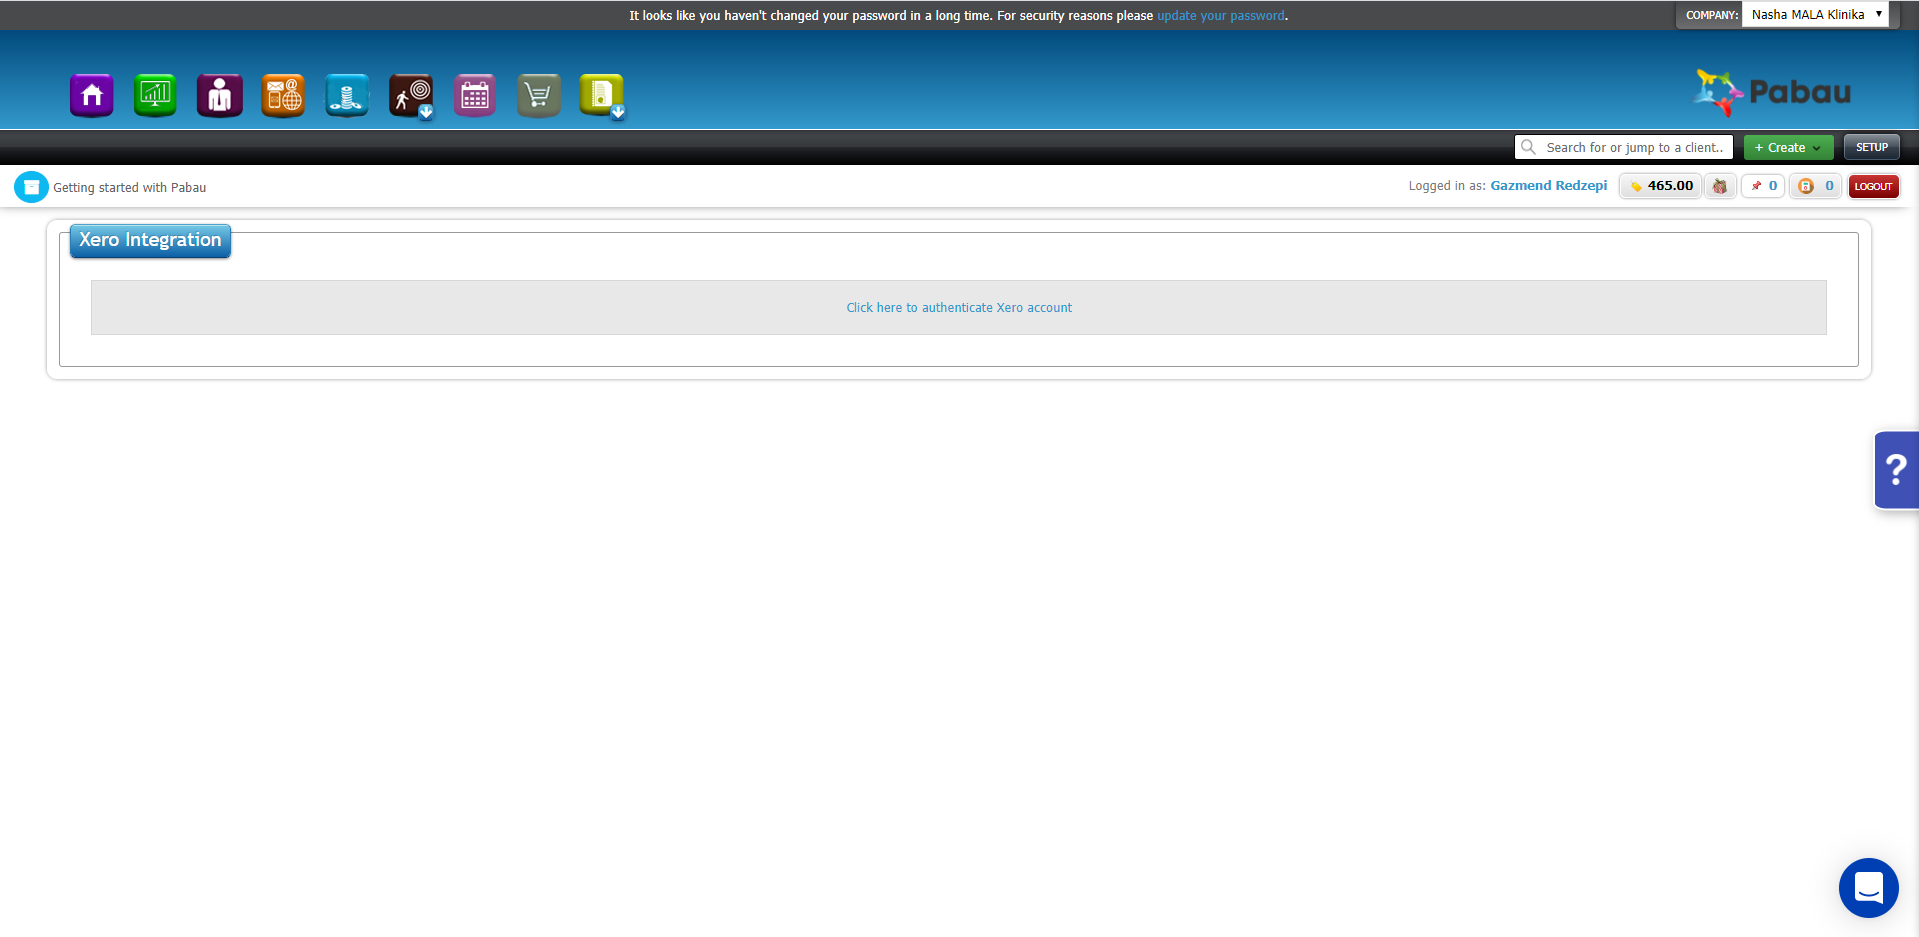
11. Open Pabau, and go to Setup > Integrations > Xero;
12. Click on the Connect button;
13. Copy Client ID and Client Secret key to the integration form in our system, and click on Generate sync link to continue:

14 Click Click here to authorize Xero account button to be redirected to Xero authentication form;
15. Continue to login with your credentials, if needed. You should see the screen below, which explains what permissions you are to grant to the Pabau:
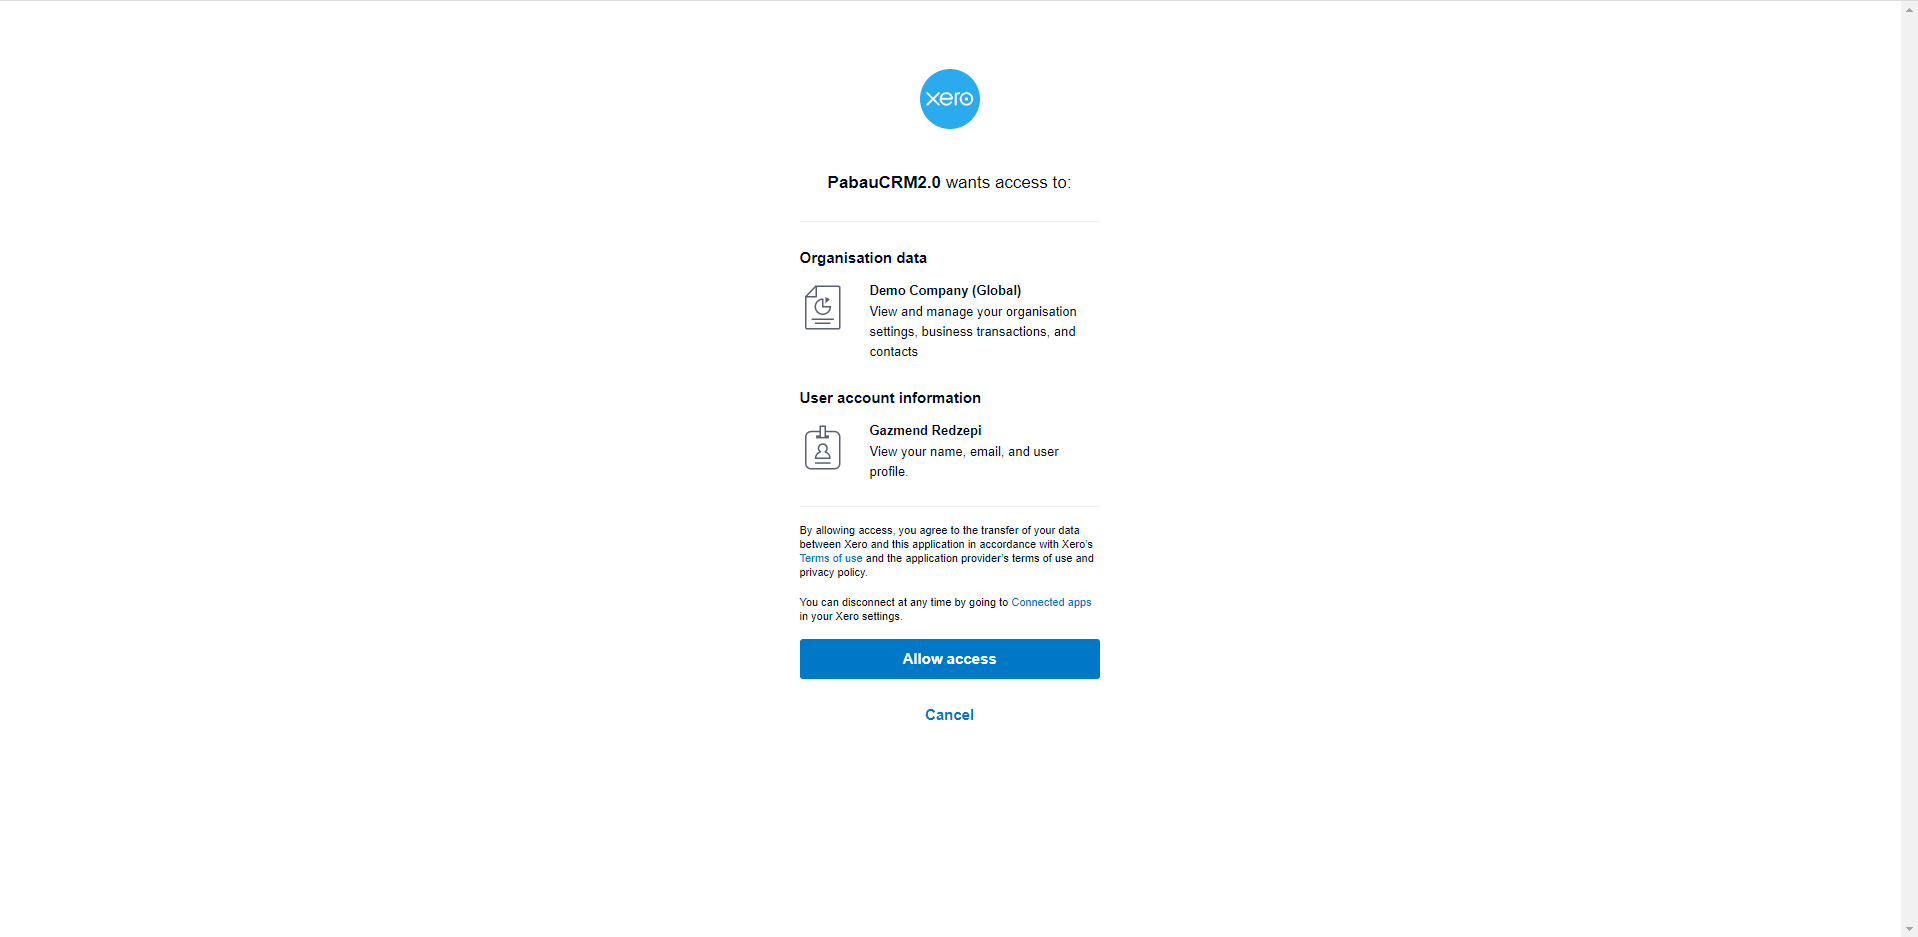
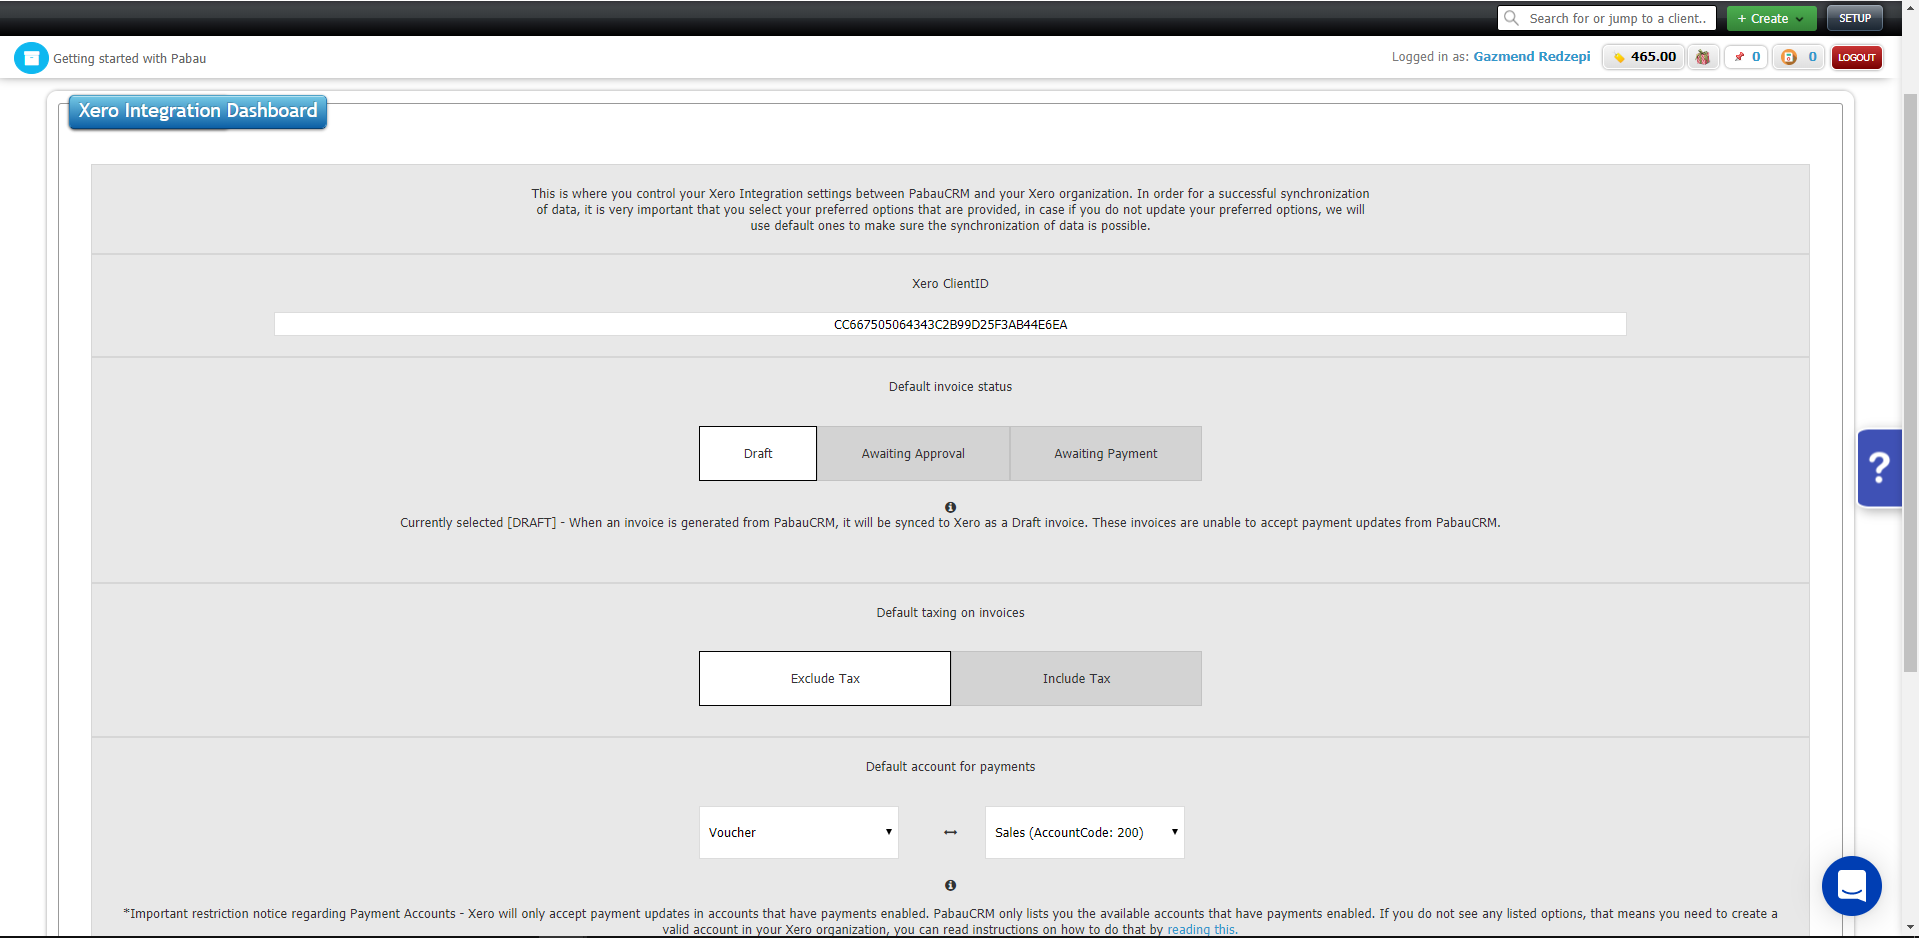
16. Click on the Allow access button, and it will redirect you back to your Xero Integration dashboard with your settings:
Congratulations! You have successfully synced your Xero account to your Pabau CRM clinic.
Click here to learn more about the Xero Integration Dashboard screen, and the options it offers.
We also have a separate article for troubleshooting. Click here, in case if you encounter any errors while setting up the integration.
Did this answer your question?