You can easily setup an Email Newsletter Campaign with Pabau by using this guide.
We have a good video here which demos how to use the new newsletter system:
1. Click on 'Marketing'.

2. Click on 'Newsletter Manager'.

3. In the 'Dashboard', you can see the existing newsletter campaigns, as well as start new ones.

4. When you want to create a new campaign, just click on the 'Start Campaign' button in the right upper corner.
5. Now select to which recipients you will send this email. This list can be created by accessing the contacts list and selecting the clients or by running a specific report that will show you the wished contacts.
Please click here to go through the steps on how to create a new list.

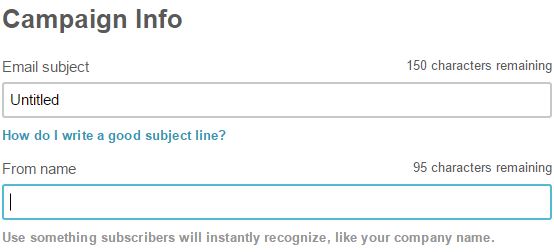
6. After you choose a list, now click on the 'Setup' button at the bottom of the page so that you name your campaign and enter the From name.

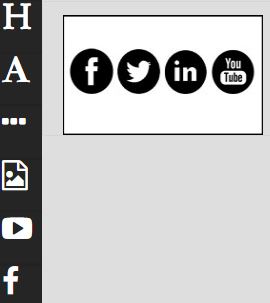
7. In the 'Design' section, you can arrange how your e-mail will look like by dragging and dropping the items needed for creating the layout of the email. By clicking on the buttons on the left, you can add in and edit the title, text blocks, buttons, images and layout, You Tube videos, social media buttons...

For example, if you need to add in a header, you should click on the 'H' icon on the left, select the display of the header, and drag it right on the work area. In order to edit the text which says 'Enter your title here!' you need to click it, click on 'Content' on the right and change the text, as well as click on 'Apply and close'.
A similar procedure is when adding a photo. You should click on the 'Image' icon on the left (the fourth one), choose the desired layout (just one image, one image with text, two images with text and so on) and drag it right on the work area. In order to edit the picture, you need to click it (the one that says 350x150), click on 'Content' on the right, and click on the three dots right next to Image URL. In the dialog window, browse the picture, click on upload and then click on the blue arrow so that the picture will be displayed in the work area. Also, in 'Content' you can edit the width and height of the picture, in pixels.
When it comes to adding in text, you should click on the 'A' icon on the left, select the display of the text and drag it right on the work area. Then, click on 'Content' on the right, and here you can type in or paste your text.
If you need to put in a button, you can click on three dots icon on the left, select the display of the button and drag it right on the work area. Then, click on 'Content' on the right, and here you change the text on the button, put in the hyperlink instead of # and click on 'Button style' if you want to edit the color, size and font. Make sure to click 'Apply and close'.
When you're finished with the design and layout of the various items on the work area, you can click on 'Preview' in the upper part (the icon has an eye right next to it), and see how it's going to be displayed on a computer, tablet or mobile phone. When you're done, click on 'Save & Confirm', and your campaign is ready to be sent.
Another option that we have is for you to choose a template that you have previously created so that you do not have to create a new campaign but use something that was previously created.
(The template should be created in Setup --> Data --> Template Archive --> Email.)
Once this email template is created it will be available to select from the "Choose Template" field in the top center on the email newsletter design page.

Please note* Any merge tags inserted in the template will not work except name merge tags.
You can also add a .html email template that was created by a designer!
Check it out in our guide and see how to create a '.html Design in Mailchimp Campaign'.
Another great thing is that Pabau has pre-built email templates which come with the Advanced Marketing Package. If you'd like to always have the perfect design, please check out the guide Why Choose Advance Marketing.
Did this answer your question?