This page offers a detailed overview of all payments processed within a selected time frame - helping you track revenue, client payments, and transaction details efficiently.
Step 1: Navigate to the Payments Page
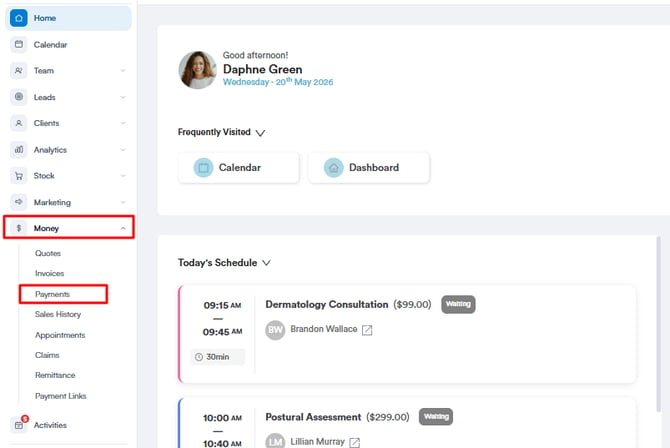
Log in to your Pabau account, and from the left sidebar menu, click on ''Money'', then select ''Payments'' to open the Payments page.
Step 2: Understanding the Payments Overview
The Payments Overview screen displays a comprehensive list of all payments made, with tools to filter, search, and manage payment records.
Here’s a breakdown of the key elements on the Payments page:
Filters, Views, and Search Options

Use the tools at the top of the Payments page to organise, filter, and customise how payment data is displayed.
All Payments (Views)
Use the All payments dropdown to switch between existing views or create a new custom view.
From here, you can:
-
Apply specific filters to focus on relevant payments
-
Assign owners to a view
-
Save views for quick access in the future

This allows you to tailor the Payments list to different reporting or operational needs.
NOTE: To learn more about how to create a custom view to display specific data, please check this article.
Search Bar
Use the search field on the right to quickly find specific payments by:
-
Payment number
-
Invoice number
-
Client name

This is ideal when you need to locate a transaction quickly without applying filters.
Edit Columns
Select Edit Columns to customise which columns are shown in the payments table.
This allows you to show or hide specific data points, helping you create a clearer and more relevant view based on your workflow.

What Each Column Means
Each row in the table represents a single payment transaction. The available columns provide key details about each payment, including:

Payment No.
The unique reference number assigned to each payment. This helps with tracking, auditing, and cross-checking transactions.
Invoice No.
The invoice number linked to the payment, allowing you to easily identify which invoice the payment relates to.
Location
The clinic location where the payment was processed. This is especially useful for multi-location practices.
Payment Date
The exact date and time when the payment was recorded in the system.
Client
The client associated with the payment. This is typically the person receiving the service, shown with their name and avatar or initials.
Paid By
The name of the person who made the payment. In most cases, this matches the client, but it may differ if someone else (such as a family member or company) paid on their behalf.
Payment Method
Shows how the payment was made, for example cash, card, or package.
Created By
Indicates the staff member who recorded the payment in Pabau.
You can also reorder the columns by hovering over a column header, clicking and holding the three lines icon, then dragging the column to your preferred position. This helps you customize the table layout for your workflow.

Tips for Getting the Most Out of the Payments Page
-
Use multiple filters like date and location together to focus on specific revenue periods or clinics.
-
Search by client name or invoice number to quickly find payment details.
-
Show columns such as Payment Type and Created By to track payment methods and staff activity.
-
Reorder columns to keep your most important data visible and easy to access.
-
Use the Filter By option to monitor specific payment statuses or methods.
By following these steps and tips, you’ll be able to efficiently track and manage your payments, ensuring accurate financial oversight for your clinic.
For more guides, refer to related articles below, select additional guides, or use the search bar at the top of the page. These guides will help you get the most out of your Pabau account.
Additionally, to help you fully utilize and understand your Pabau account, we recommend exploring additional guides and resources offered at the Pabau Academy. It offers in-depth video tutorials and lessons, offering a holistic learning experience that can equip you with the essential skills for achieving success with Pabau.