Step 1: Access the Sales History Report
To open the report, first log in to your Pabau account and navigate to the left-hand side menu. Click on "Money," and then select Sales History.
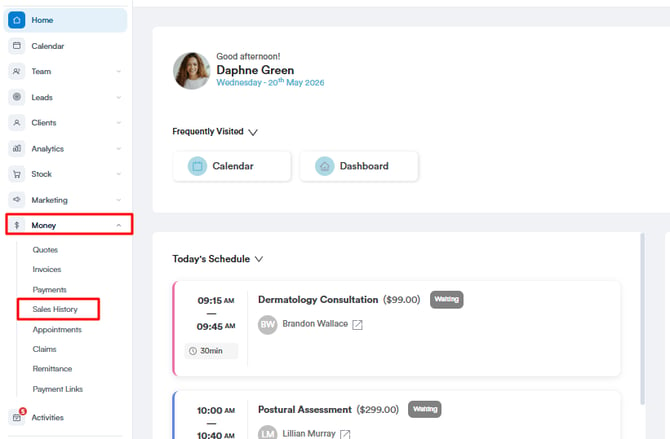
This will open the full report, showing all sales for your selected date range and location.
Step 2: Understand the report layout
The report displays all line items from invoices issued in the system. Each row includes key details, such as:
-
Invoice No – The unique reference number for the invoice
-
Invoice Date – The date the invoice was raised
-
Item Name – The product or service sold
-
Item Employee – The staff member who performed the service
-
Location – Where the sale took place
-
Item Client – The client associated with the sale
-
Quantity – Number of items or services sold
-
Payment Method(s) – How the invoice was paid (e.g., Card, Cash, Self Pay)
-
Unit Price – The price per item
-
Tax Amount – Any tax included
-
Disc % – Discount applied (if any)
Use the controls at the top of the screen to manage and refine your sales history. You can switch between saved views using the All sales history dropdown, search for specific sales using the search bar, and customise which information is displayed by selecting Edit Columns. This helps you quickly focus on the data that matters most to you.

Step 3: How self-paid sales appear in this report
When a client completes a payment using Self Pay, the sale will appear in the Sales History Report just like any other transaction. You’ll see the full details of the sale, including the service name, invoice number, employee, and payment method used.
However, because Self Pay transactions are treated as standalone payments—similar to a deposit—they won’t appear under the Financials tab inside the client’s profile. This is expected behavior and doesn’t affect your ability to track the transaction.
The Sales History Report ensures that all self-paid sales are still clearly recorded and visible for reporting, reconciliation, and financial oversight.
Step 4: How to make a self-paid sale
To record a self-paid sale in Pabau, click the "Create" button at the top of the screen and select Sale from the dropdown menu. Choose the client, add the relevant product or service, and then select "Self Pay" as the payment method to complete the transaction.
NOTE: Need help with this step? Click here to read the full guide on performing a sale.


Step 5: Find the sale in the report
After completing the sale, return to the Sales History Report. The self-paid transaction should now appear at the top of the list, showing the most recent invoice.
You can use the client’s name, the invoice number, or the date to quickly locate the sale in the report.

While the Sales History Report is especially helpful for tracking Self Pay transactions, it also includes all other sales made in the system, regardless of the payment method used.
Whether you’re reviewing card payments, cash sales, vouchers, or deposits, this report gives you a complete view of your clinic’s financial activity. If you ever need to locate a payment that doesn’t appear directly on a client card, this is the best place to find it.
For more guides, refer to related articles below, select additional guides, or use the search bar at the top of the page. These guides will help you get the most out of your Pabau account.
Additionally, to help you fully utilize and understand your Pabau account, we recommend exploring additional guides and resources offered at the Pabau Academy. It offers in-depth video tutorials and lessons, offering a holistic learning experience that can equip you with the essential skills for achieving success with Pabau.