
Step 1: Navigate to the Clients Tab
Start by logging into your Pabau account using your login credentials. Then, navigate to the left sidebar menu and click the 'Clients' tab to expand it. This will reveal the 'Cases' sub-tab.

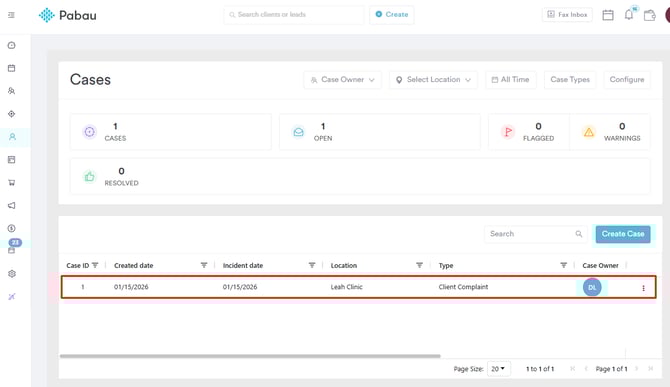
Step 2: View Case Details
When you access the Cases page, you’ll see all cases created so far. Click on any case to view its details.
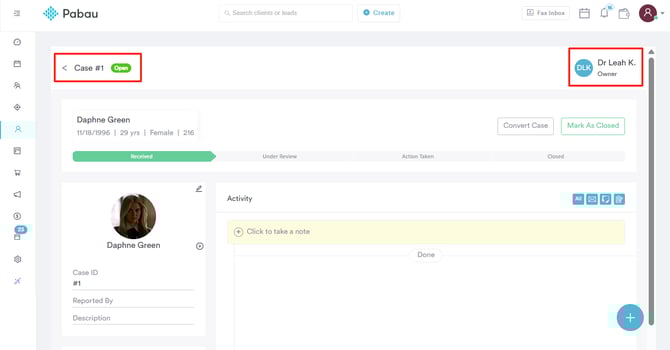
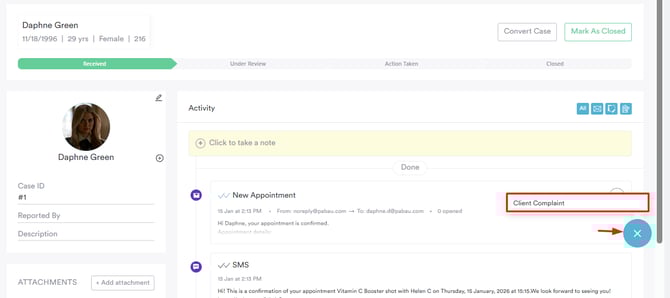
When you open a case, you’ll get a full view of its details. The case number appears at the top left, and the case owner is shown at the top right of the screen.
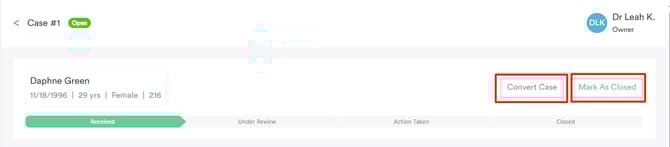
Right below, on the top-right side of the screen, you’ll see two options:
-
Convert Case: Use this option to turn the case into another type of record or workflow if it needs to be reclassified. For example, a client complaint case could be converted into an internal escalation or follow-up task.
-
Mark as Closed: Click this when the case has been fully resolved. This updates the case status, ensuring it’s no longer active but still saved for records and reporting.
Step 3: Update Case Stage
To update the case stage, simply click the appropriate stage name from the options displayed at the top of the screen. The case will move to the selected stage automatically.
The stages shown are based on the case type assigned to the case.

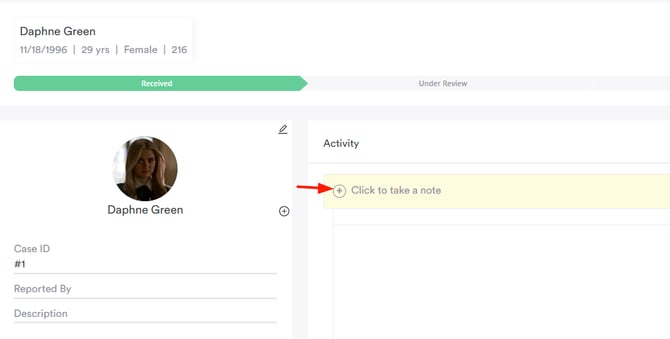
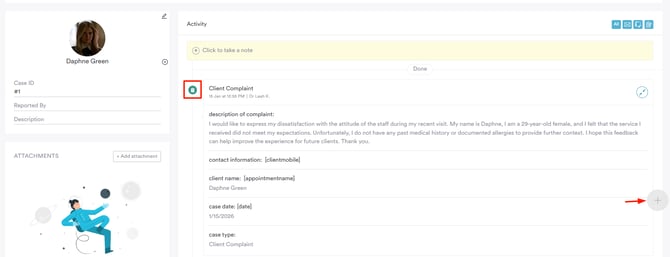
Step 4: Add Note
To add notes about the case, click the plus sign (+) on the client’s Activity screen and start entering any relevant information.
Any activities happening in the client card will also reflect on this screen.

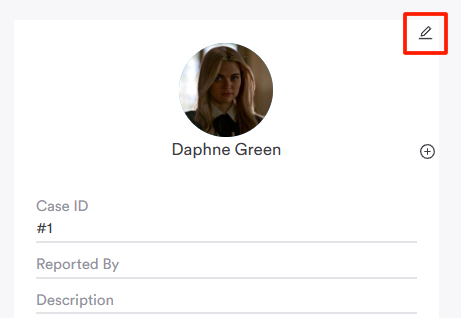
Step 5: Edit Case
To edit case information, click the pen icon in the top-right corner of the client’s image, and a pop-up window will open.
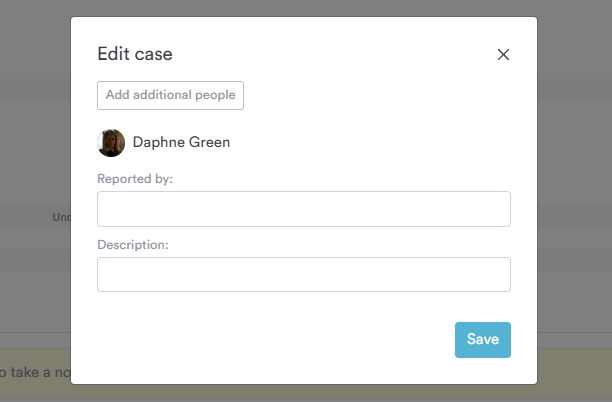
From here, you can:
-
Add additional clients involved
-
Enter or update the Reported By information
-
Enter or update the Case Description
Step 6: Add Attachments
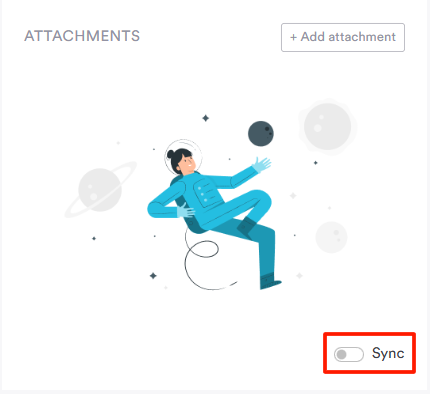
When you scroll down, you’ll find the option to add attachments related to the case on the left-hand side.
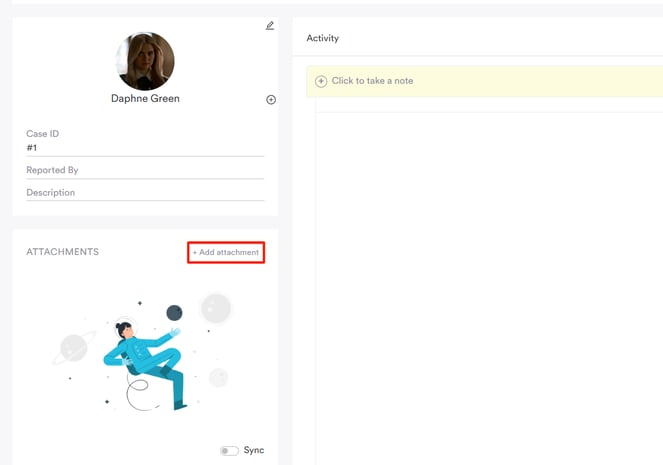
Clicking 'Add Attachment' opens a pop-up window where you can choose to upload a file either from the client record or directly from your device.
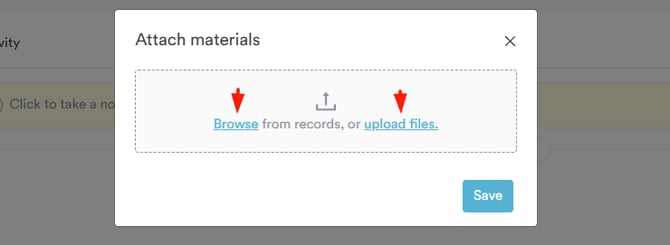
After selecting the file, click the 'Attach' button to finalize.
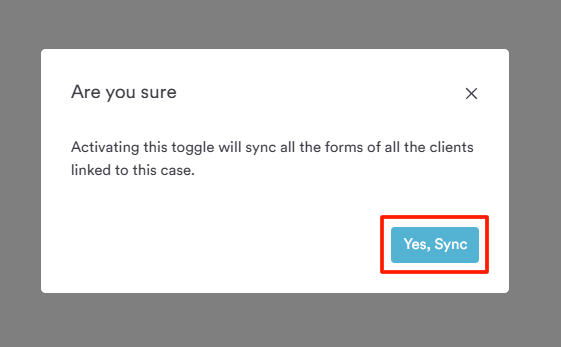
If you want attachments to be automatically added to the case, enable the Sync toggle.
A confirmation pop-up will appear, as activating this option will sync all documents linked to the case.
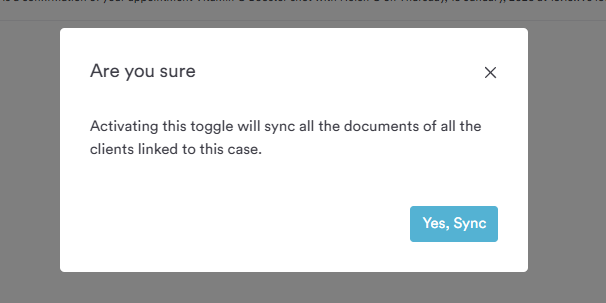
To finalize, click 'Yes, Sync.'
Step 7: Add Forms
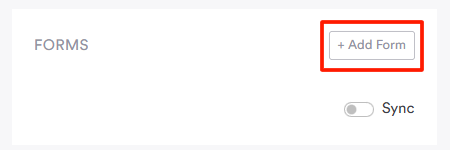
Below the attachments section, you’ll also see the option to attach forms. To add a form to the case, click the 'Add Forms' button.
A pop-up window will open where you can select which form to attach to the case from the client record. Clicking the Search form field opens a dropdown showing all forms saved on the client card.

Once you've selected the form, click the 'Save' button to attach the form.
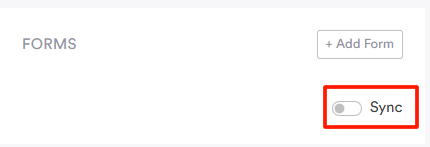
To automatically attach any forms saved in the client card to this case, enable the Sync toggle.
A confirmation prompt will appear. Click 'Yes, Sync' to finalize and automatically attach the forms to the case.
Step 8: Link Appointments
Below the forms section, you’ll find the Appointments section. Here, you can link any relevant appointments to the case by clicking the '+ Add Appointment' button.

A pop-up window will appear where you can search for relevant appointments by clicking the Search appointment field. A dropdown will display all appointments for that client—simply select the one you want to link.
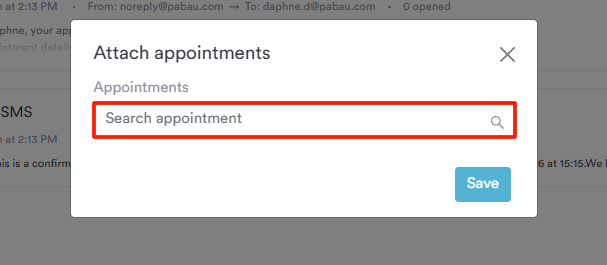
Click 'Save' to attach the form.
Step 9: Fill Out Case Form
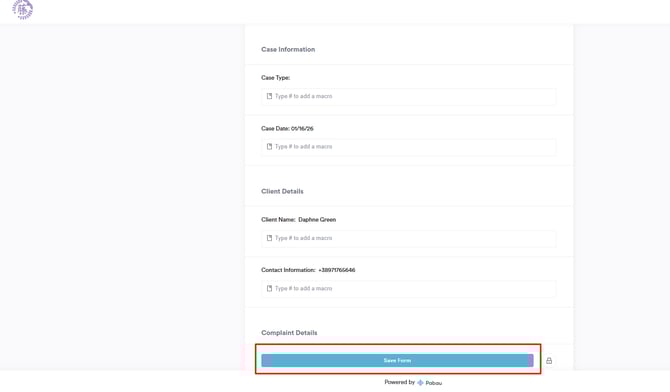
At the bottom-right of the screen, click the blue plus sign (+) to access available case forms. Select the form you want to fill out from the list of forms you’ve created in the system.
Clicking the form will redirect you to a new page where you can fill out the case information. Once you’ve entered all the details, click 'Save Form' to finalize.
After saving the form, return to the case, and it will be recorded in the Activity section. The blue plus sign icon will now appear greyed out, indicating that the form has been added.
By following these steps, you can manage your cases in Pabau.
For more guides, refer to related articles below, select additional guides, or use the search bar at the top of the page. These guides will help you get the most out of your Pabau account.
Additionally, to help you fully utilize and understand your Pabau account, we recommend exploring additional guides and resources offered at the Pabau Academy. It offers in-depth video tutorials and lessons, offering a holistic learning experience that can equip you with the essential skills for achieving success with Pabau.