Table of Contents:
1. Configure and Enable Reviews
2. Enable Request Feedback Notification
3. Automate Feedback Requests After Appointments
Configure and Enable Reviews
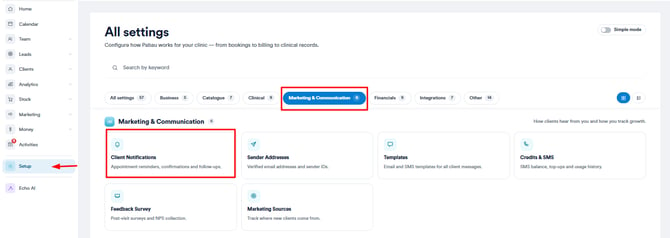
Step 1: Navigate to Setup
Start by logging into your Pabau account using your login credentials, then, navigate to the Setup button located on the bottom left corner of the screen. Click on the "Feedback Survey" tab located on the "Marketing & Communications" section.

Step 2: Configure Survey
Once you access the "Feedback Survey" page, you can begin configuring your survey's theme and questions.
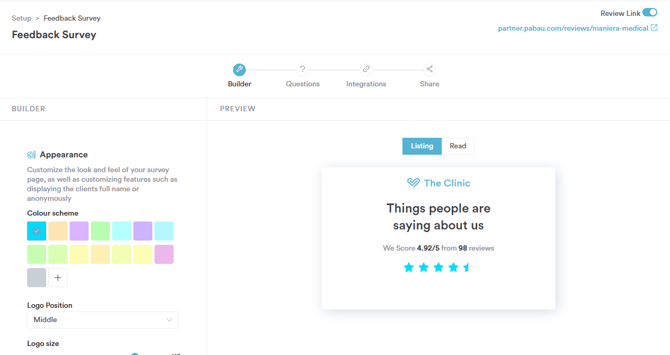
NOTE: For detailed instructions on how to customize these settings, please refer to the following guide.
Step 3: Enable Reviews
After you've finished configuring your reviews, head to the top right corner of the screen and enable the 'Review Link' toggle.

Step 4: Save Settings
Once you've reached the final configuration step, click the 'Save Settings' button in the bottom right corner to apply your new settings and enable client reviews.
Enable Request Feedback Notification
Step 1: Access Client Notifications
Expand the "Communications" tab located under the "Marketing & Communications" section to reveal the "Client Notifications" sub-tab.
Step 2: Enable Request Feedback
You'll view all available automated client notification types, one of which is the "Request Feedback" notification.

To enable the notification, navigate to the top right corner and hover over the "Enable Confirmation" button.
This action will reveal options to activate Email Feedback Requests, SMS Feedback Requests, or Both.

Step 3: Save Changes
Once you have made your selection, be sure to click the "Save" button on the top right corner to apply the update.
Automate Feedback Requests After Appointments
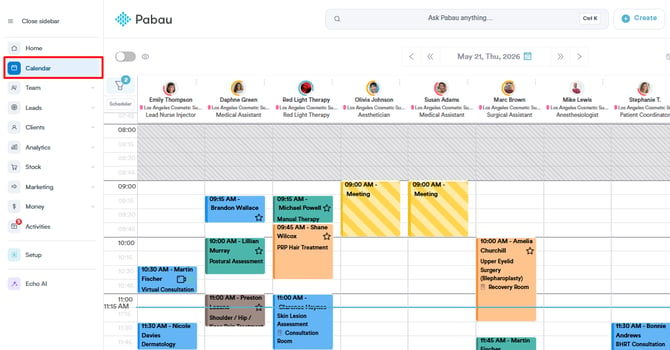
Step 1: Navigate to the Calendar
To access your Calendar, navigate to the main menu on the left-hand side and select the "Calendar" option.
Step 2: Configure Calendar Settings
Click the cogwheel/gear icon in the top right corner of the calendar, and then choose "Settings" from the menu that opens.
Step 3: Switch to the Appointment Settings
Click on the "Appointment Settings" tab to continue. Here you can customize your calendar's behavior by defaulting the communication checkbox to be automatically selected when booking.
Selecting the 'Request feedback (Default)' checkbox will also automatically enable the 'Communication' checkbox.

This ensures that a feedback request is automatically sent to clients after their appointment is completed. By following these steps, you can enable client reviews on your Pabau account.
For more guides, refer to related articles below, select additional guides, or use the search bar at the top of the page. These guides will help you get the most out of your Pabau account.
Additionally, to help you fully utilize and understand your Pabau account, we recommend exploring additional guides and resources offered at the Pabau Academy. It offers in-depth video tutorials and lessons, offering a holistic learning experience that can equip you with the essential skills for achieving success with Pabau.