
Step 1: Log in to Your Pabau Account
Start by logging into your Pabau account using your login credentials. Once logged in, you will be taken to your main dashboard.
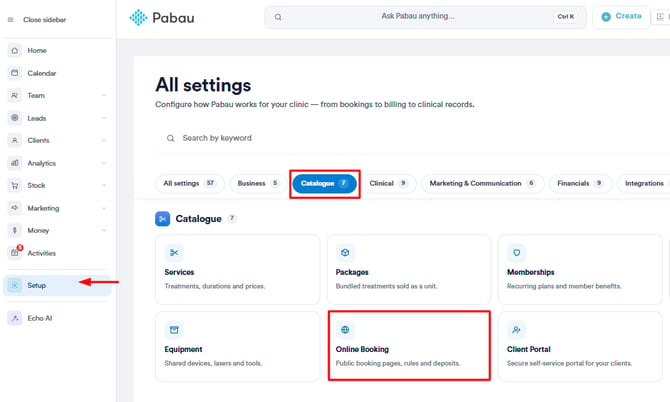
Step 2: Navigate to Online Booking
From the main dashboard, click Setup in the left-hand sidebar. On the Setup page, select the Catalogue tab, then click Online Booking.
Step 3: Open the Customization Settings
On the Online Booking page, you will see an overview of your booking activity, channels, and your unique booking portal link in the top right corner. Click the Customize button to open the full customization editor.

The editor is split into four tabs: General, Service & Categories, Location, and Team. There is also a live preview on the right side of the screen that updates as you make changes.
Step 4: Configure General Settings
The General tab covers the overall appearance and behavior of your booking page.
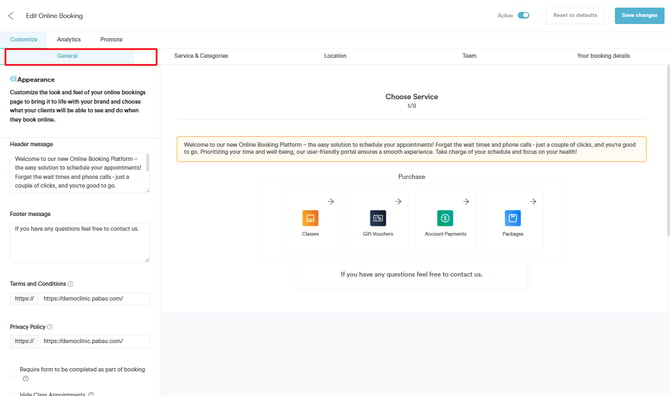
Appearance
- Header message — Add a welcome message that appears at the top of your booking page.
- Footer message — Add a message at the bottom, such as a contact prompt.
- Terms and Conditions — Enter a URL linking to your clinic's terms.
- Privacy Policy — Enter a URL linking to your privacy policy.
- Background Colour — Choose a background colour that matches your clinic's branding.
Booking Options
- Require form to be completed as part of booking — Clients must complete a form before confirming their appointment.
- Hide Class Appointments — Remove the Classes option from the booking page.
- Hide Gift Voucher Purchase — Remove the Gift Vouchers option.
- Hide Account Payments — Remove the Account Payments option.
- Hide Package Purchase — Remove the Packages option.
- Allow appointment cancellations — Clients can cancel their own appointments online.
- Allow appointment reschedule — Clients can reschedule their own appointments online.
- Allow Waitlist — Clients can join a waitlist if no slots are available.
- Consider Room availability when booking appointments — The system will factor in room availability when showing available slots.
- New Booking Notification — Select a staff member to be notified when a new booking is made.
- Time interval — Set the time interval between available booking slots (e.g. every 30 minutes).
Step 5: Configure Service & Categories
The Service & Categories tab controls what your clients see when choosing a service.
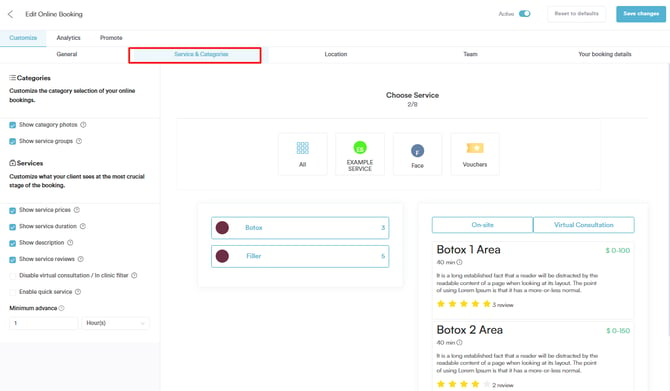
Categories
- Show category photos — Display images alongside each service category.
- Show service groups — Group services together for easier navigation.
Services
- Show service prices — Display the price of each service on the booking page.
- Show service duration — Display how long each service takes.
- Show description — Show the service description to clients.
- Show service reviews — Display client reviews for each service.
- Disable virtual consultation / In clinic filter — Remove the option for clients to filter between virtual and in-clinic appointments.
- Enable quick service — Allow clients to book without going through the full selection process.
- Minimum advance — Set how far in advance a client must book (e.g. at least 1 hour before the appointment).
Step 6: Configure Location Settings
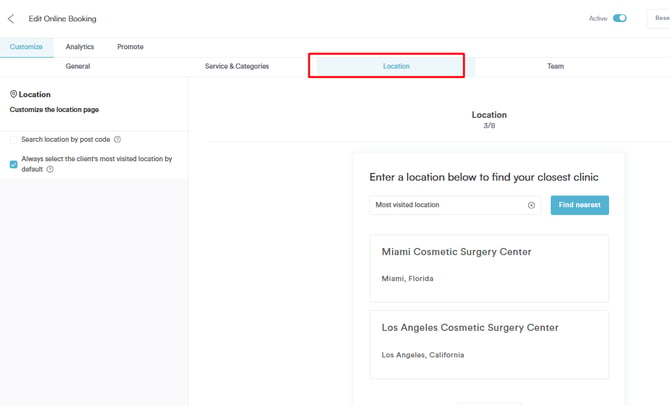
The Location tab controls how clients select a clinic when booking.
- Search location by post code — Clients can search for their nearest clinic by entering a post code.
- Always select the client's most visited location by default — The booking page will pre-select the location the client visits most often, making the process faster for returning patients.
Step 7: Configure Team Settings
The Team tab controls how staff members are displayed during the booking process.
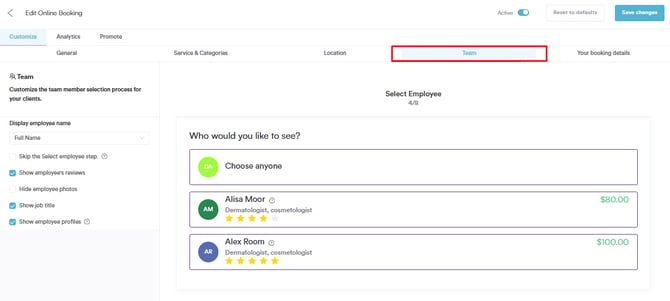
- Display employee name — Choose how staff names appear: Full Name, First Name, Initials, or Anonymous.
- Skip the Select employee step — Remove the staff selection step entirely and assign appointments automatically.
- Show employee's reviews — Display star ratings and reviews for each staff member.
- Hide employee photos — Remove staff profile photos from the booking page.
- Show job title — Display each staff member's job title alongside their name.
- Show employee profiles — Allow clients to view a full profile for each staff member before booking.
Step 8: Configure Your Booking Details Page
The Your booking details tab controls the final step of the booking flow — where clients review their appointment and enter their details.
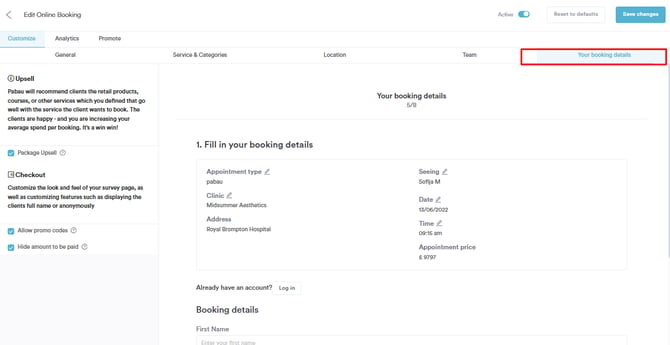
Upsell
- Package Upsell — Pabau will suggest relevant packages to clients based on the service they are booking, helping increase average spend per booking.
Checkout
- Allow promo codes — Clients can enter a promo code at checkout to apply a discount.
- Hide amount to be paid — The total price will not be shown to clients during checkout.
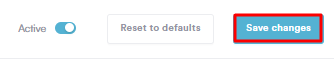
Step 9: Save Your Changes
Once you have finished configuring all settings, click Save changes in the top right corner to apply your updates. Your online booking page will reflect the changes immediately.
NOTE: You can also learn about this topic by watching a lesson on Pabau Academy.
In addition, we suggest reading our Online Bookings article for a more in-depth exploration of this topic.
For more guides, refer to related articles below, select additional guides, or use the search bar at the top of the page. These guides will help you get the most out of your Pabau account.
Additionally, to help you fully utilize and understand your Pabau account, we recommend exploring additional guides and resources offered at the Pabau Academy. It offers in-depth video tutorials and lessons, offering a holistic learning experience that can equip you with the essential skills for achieving success with Pabau.