
There is an easy way to upload photos to client's records in just few steps.
For that purpose, you will need to have the Pabau App downloaded on your iOS device, whether that's an iPad or an iPhone.
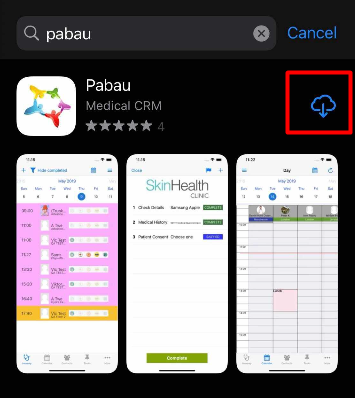
To download the app, please:
1. Go in the "App Store"

2. Type in 'Pabau' and download it
3. Once the application will be downloaded, open it and enter your email address and password in order to log in.
There are two ways to upload photos to clients' profiles. One is from the "Journey" section, and the other one is directly from Client's Profile. We will elaborate the steps on how to upload a photo using both ways.
Uploading Photos from "Journey"
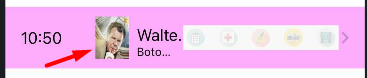
If the client is booked for an appointment, his name will appear in the 'Journey' section.

To upload photos from here, please follow the steps below:
1. Click on client's appointment.
2. Complete the first three steps (Check Details, Medical History and Patient Consent), click on "Complete" and enter your 4 digit pincode. The screen that will appear afterwards, will be displayed like the below screenshot
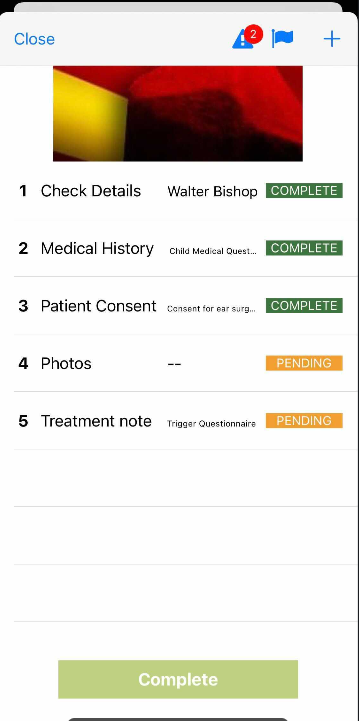
3. Click on "Photos"
Note: if you are using the application for the first time to take photos, the system will display the following notification
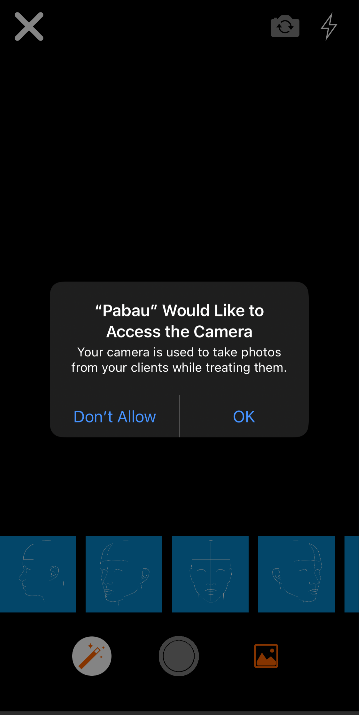
4. Click on "OK"
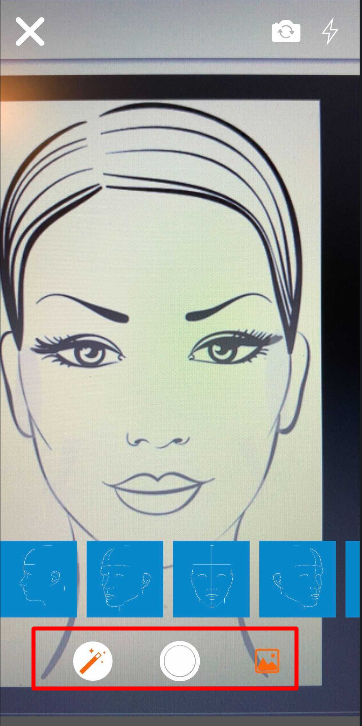
5. The camera will be open and at the bottom of the screen, you may find the three options to:
-
hide/display the face diagrams
-
take a photo (with following options to Retake or Use Photo. These options will appear once you take the photo)
-
to upload photo from the client's card
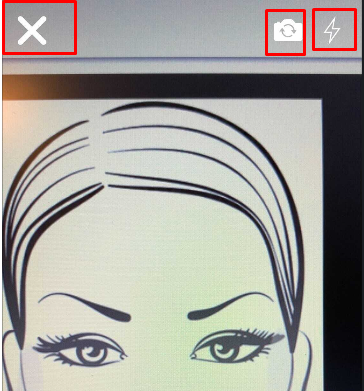
While in this screen, you can either switch the camera, turn on/off the flash or close the photo taking window.
5. Take the photo by clicking the middle white circle and if you are happy with it select Use Photo at the bottom right
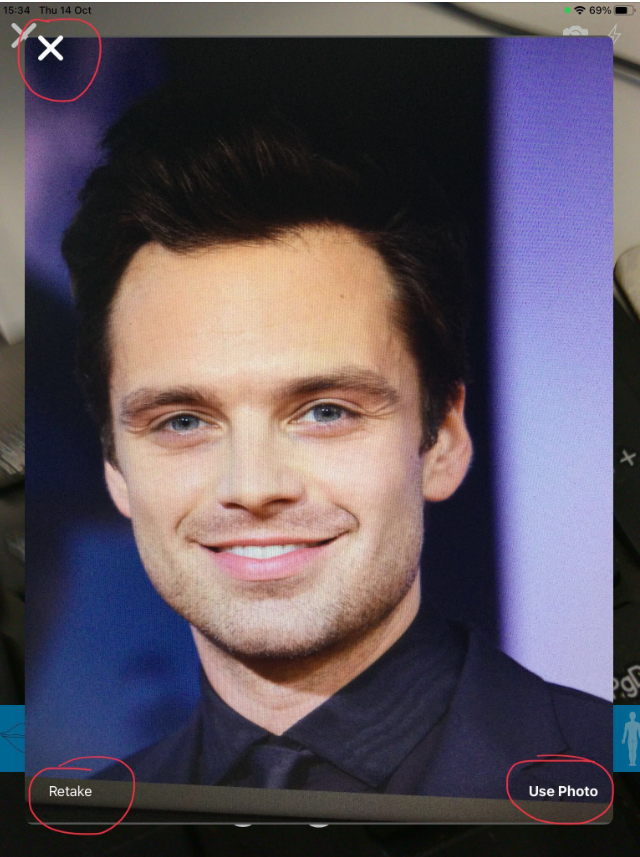
This will take you back to the Photo taking screen to be able to take another photo
Once you have taken all the photos you need click the "X" button on the top left to continue
6. If you click on the "X" button, white screen with the following options will appear to add the photos:
-
"Close" button - to completely close the current window
-
"Client Details" - to quickly access the client's profile
-
"Skip" button - to skip this step of the journey
-
"+" button - to choose between the "Take a picture", "Choose from Photos", "Chart Templates"
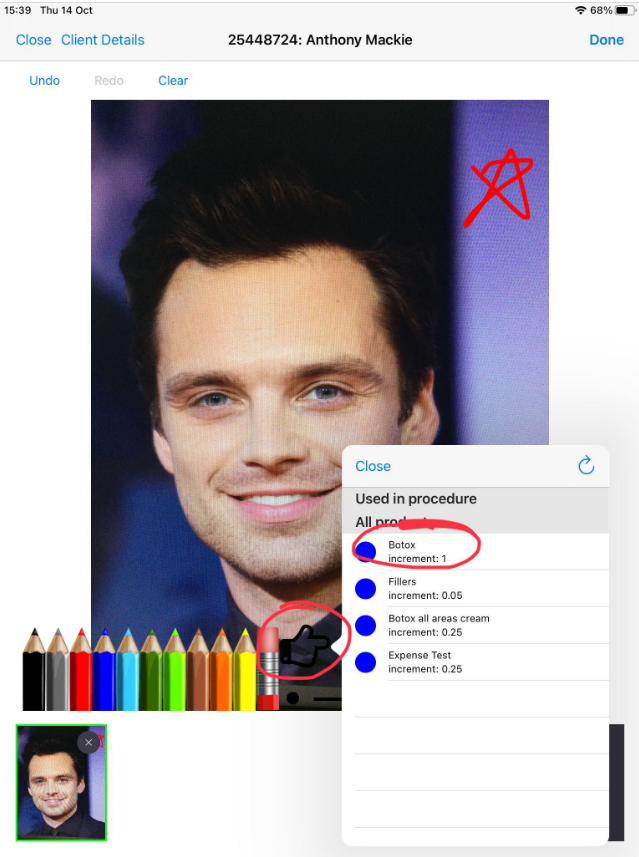
-
If you have selected a photo to use you will see it here and be able to draw on it and add injectables sites by clicking the hand icon and choosing the injectable type, then just click to add the markers

Note: in the "Chart Template" option, you will be able to find all charts which you have previously added into your system (Setup --> Data --> Body Charts.)
The "Choose from Photos" option gives you the possibility to select photos from your phone's gallery.
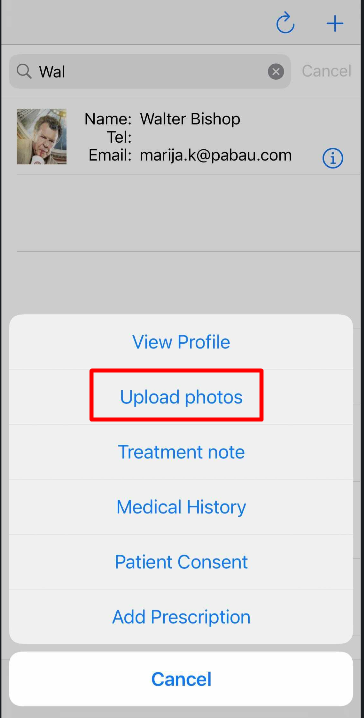
Uploading Photos From Client's Card
If a client is not booked for an appointment, or you would like to upload photos to his client card which are not linked with his today's appointment, you can upload photos directly from a client's card.
1. For that, you will need to click on "Contacts" and search for the patient in question

2. As soon as you click on client's name, choose 'Upload Photos'
3. Now, follow the steps explained in the "Uploading Photos from 'Journey" section.
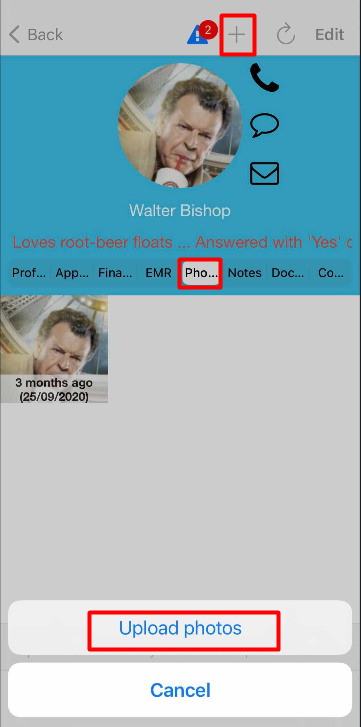
4. You can also click on the patient name and instead of pressing on "Upload photos", click on "View Profile".
5. Once in the Client Profile, click on the "Photos" tab and then, press on the "+" sign
 Did this answer your question?