In one of our previous guides, we explained how to set up a webhook.
If you are already using webhooks or plan to start using in the future, in this guide we will discuss how to trigger an automatic email to be sent when the webhooks URL gets data from Pabau.
As an example, I will be using Zapier.
1. You have created a Webhook in Pabau, as explained in the guide above.
2. Next thing, log into your Zapier account and make a new Zap.
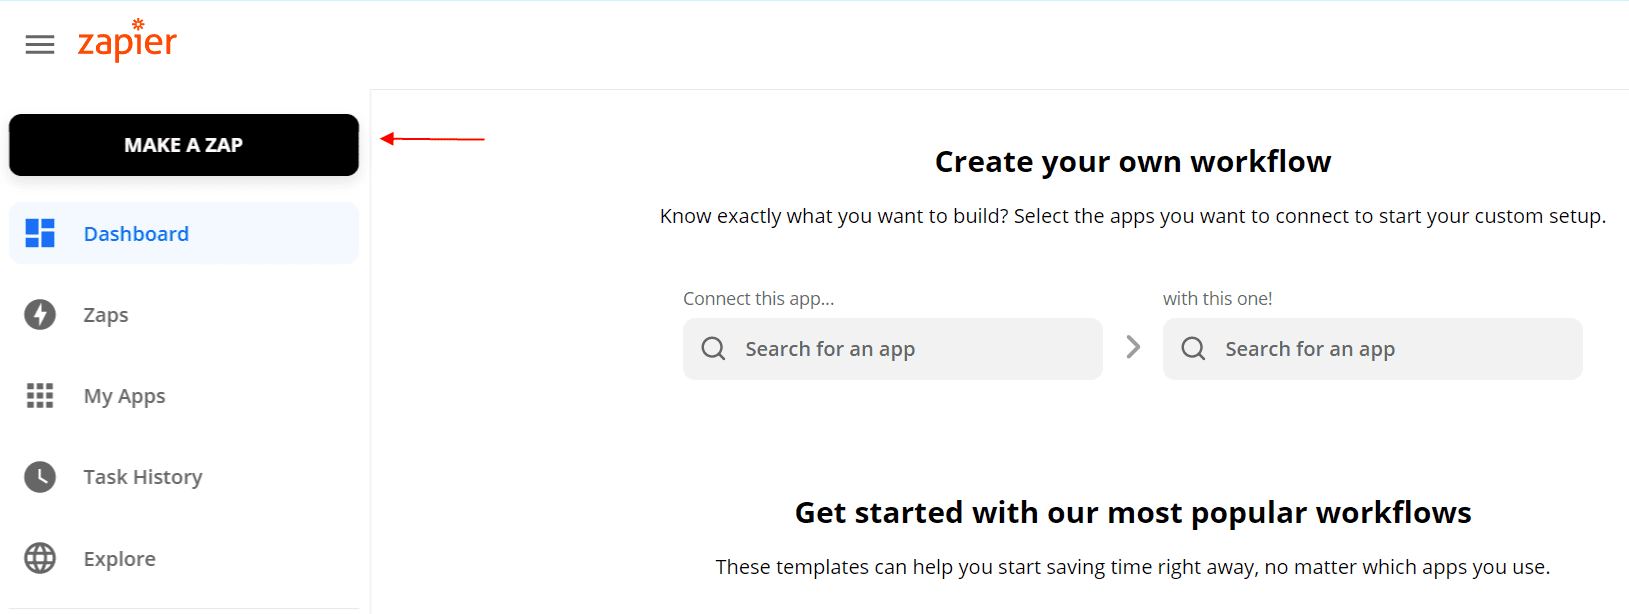
3. Name your Zap and choose 'Webhooks by Zapier' in the 'Choose App & Event' field.
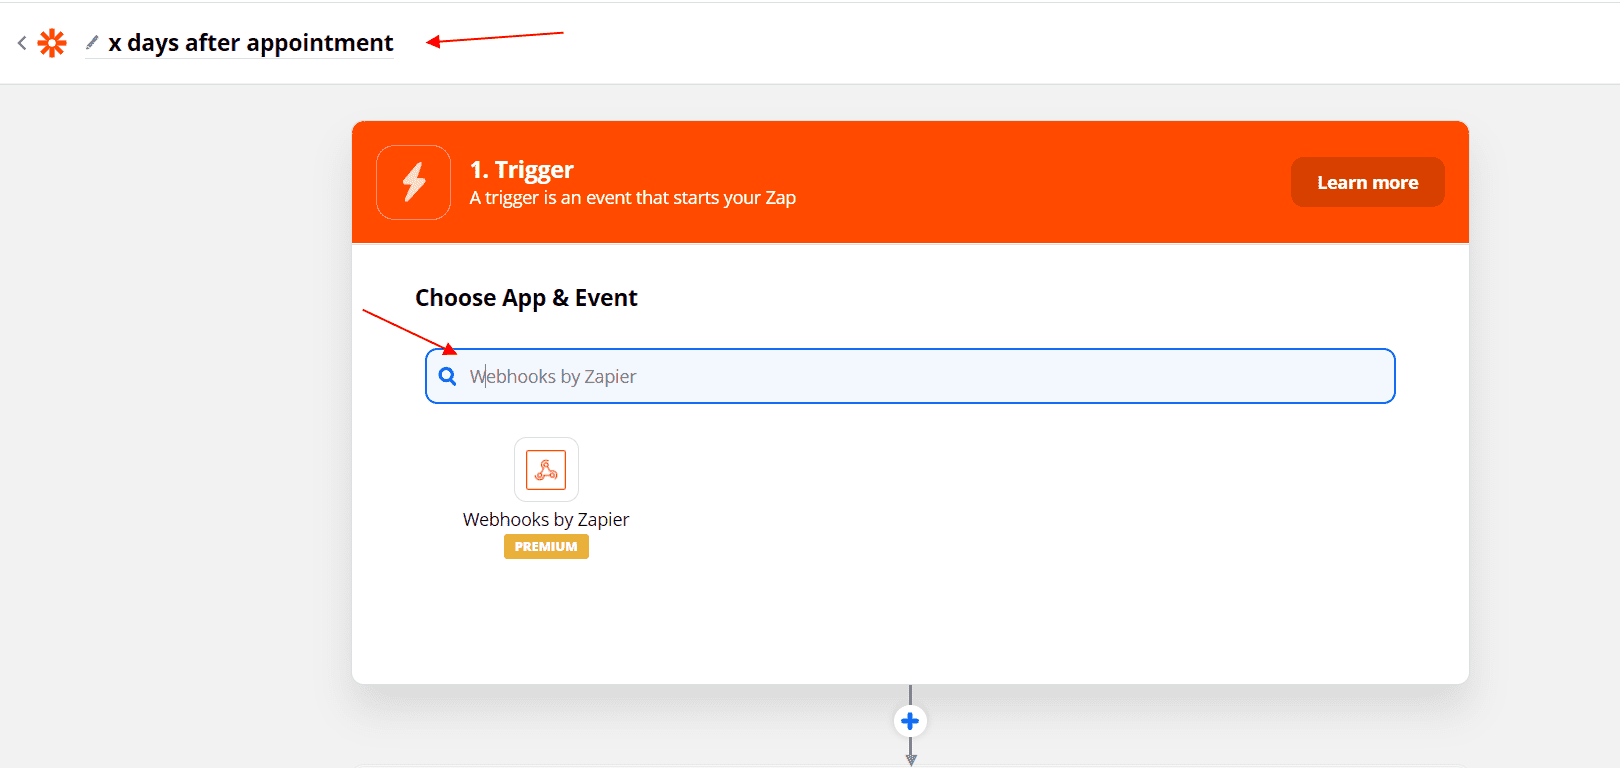
4. Choose 'Webhooks by Zapier' for your App and 'Catch Hook' for the trigger event:
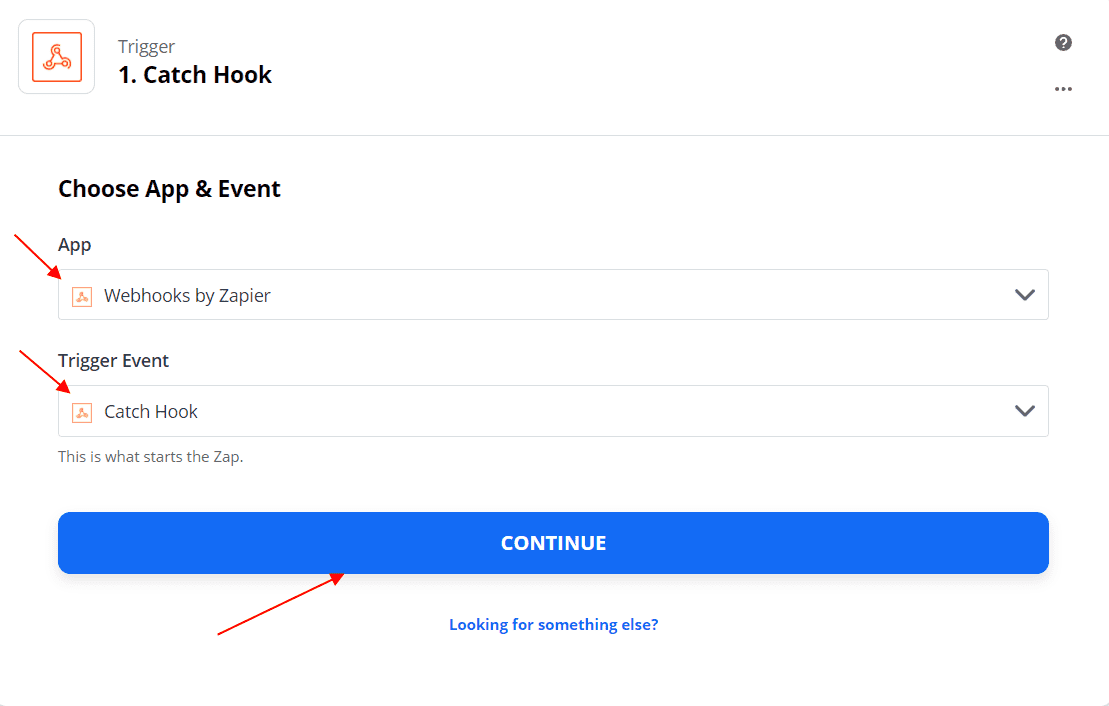
5. Copy the 'Custom Webhook URL', paste it into the Webhook you have previously created in Pabau, and save it.
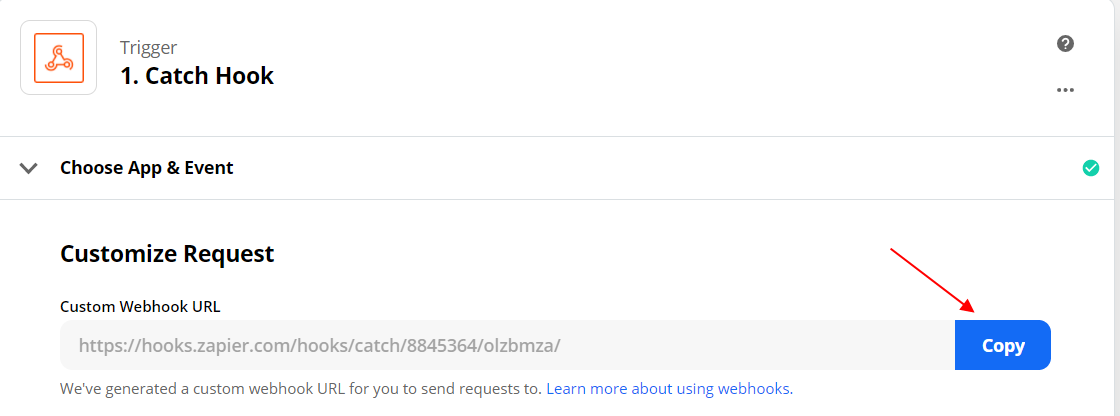
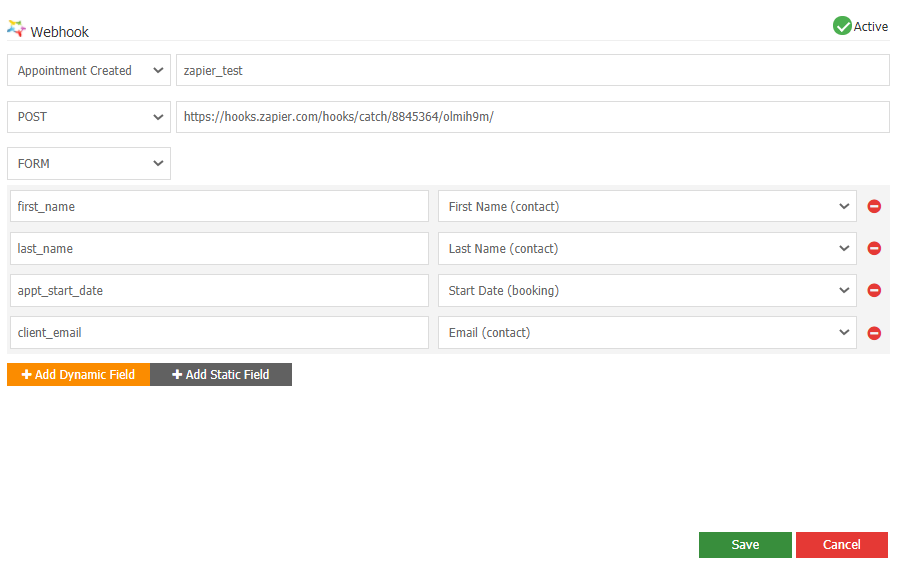
6. You could test your trigger by clicking on 'Test Trigger' from Zapier.
For the test to be successfully done, go into Pabau - open the Calendar, and create an appointment.
This is an optional step, feel free to skip it.
7. Next, click ' Choose an action' in Zapier and select the app you would like to send emails from (I have chosen Gmail as my email provider.)
Select 'Send Email' as an action event and click 'Continue.'
8. Sign in to your email account and click 'Continue' again.
9. Next step is to choose another action and trigger event which will delay the sending of the email.

In this step, you could customize the way clients will receive your emails, by adding an address in CC, BCc, subject of the email, what address will they reply to, etc.
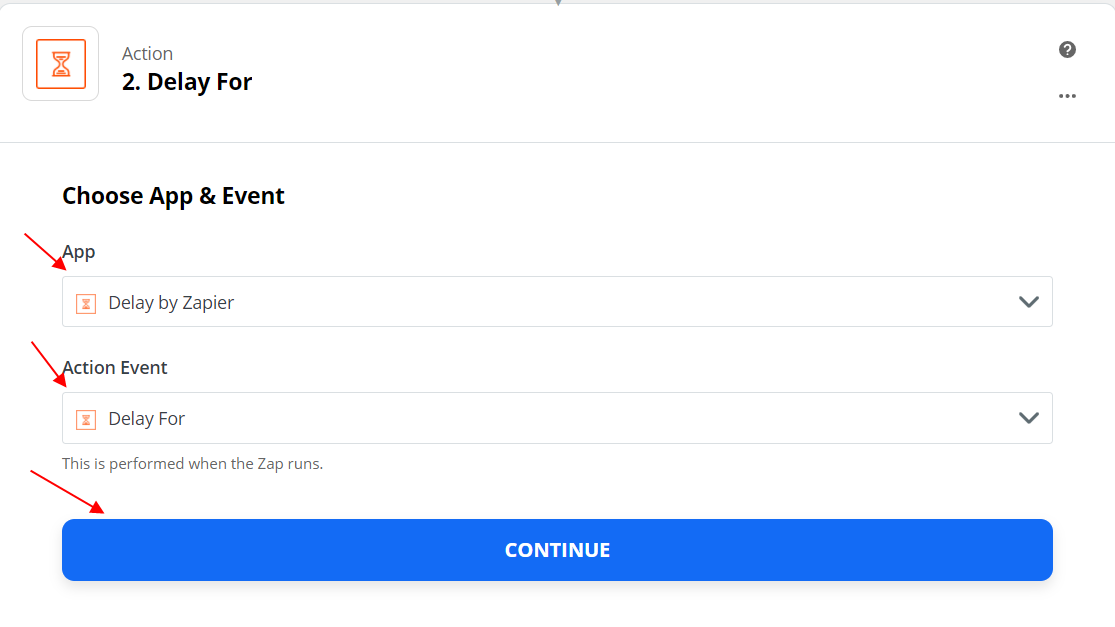
10. Choose 'Delay by Zapier' as your app and 'Delay For' as your action event.
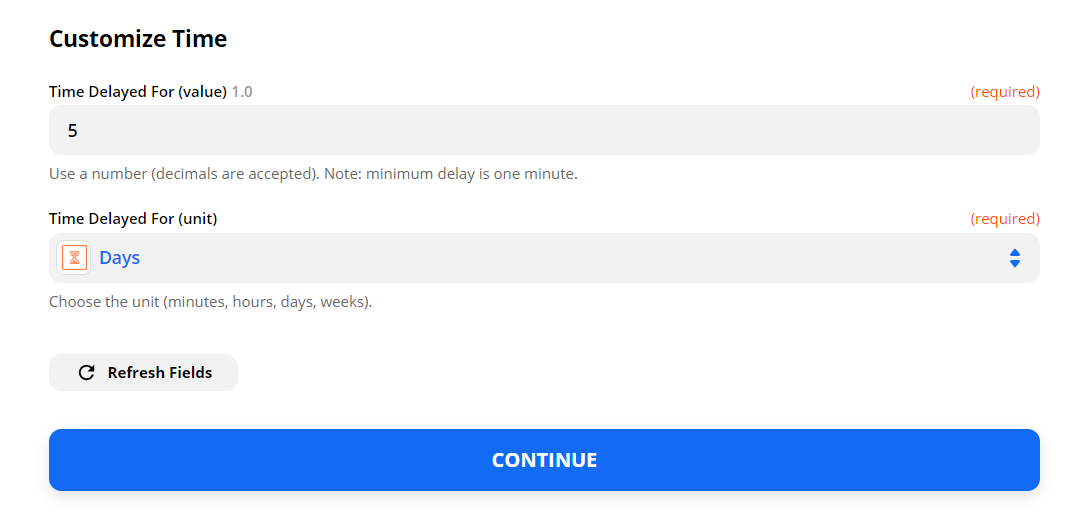
11. Customize the delay period of the event 'Send Email' (minutes, hours, days, weeks..)
12. Test your trigger by creating a new appointment in Pabau and see what email you get, and when.
