
In this guide, we will help you to successfully put a letter into queue and send it out to your clients later on.
Please refer to our how to successfully create a letter guide on how to use a Word template to create and upload a letter into your Pabau system.
First, you need to have the "Letter Queue" permission granted in order to be able to access this part of the system. Along with the "Letter Queue" permission, you need access to "Contacts" (from the main menu), as the "Letter Queue" is accessible from "Contacts".

Please ask one of the Admins in your account to grant you this access. If you have Admin rights, please follow the instructions below:
-
Click on the "Staff" icon from the main menu

-
Next, please click on "Staff Manager"

-
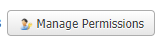
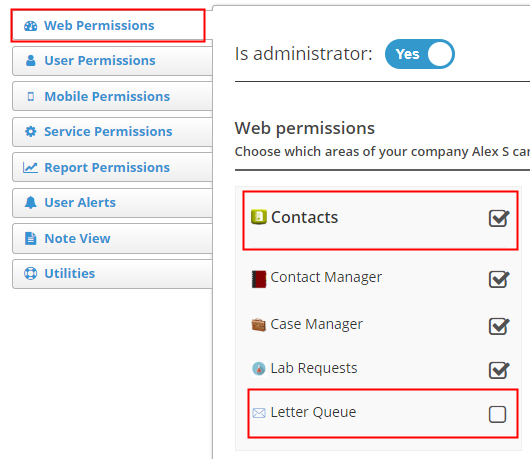
Click on your profile on the left-hand side and choose "Manage Permissions."
-
From the "Web Permissions" section, please make sure you have "Contacts" box ticked and of course, the box next to "Letter Queue."
Once you have access to this part of the system, here is how you can put a letter into queue and how to find it afterwards.
1. Open the client card of the person you would like to send a letter to.
2. Click on the "Create" button in the top-right corner and choose "Send Letter" from the drop-down menu.
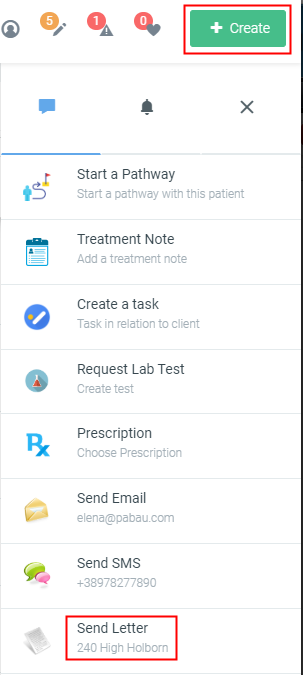
*Please make sure the client has a valid address entered in the "Details" section in his/her client card, otherwise the "Send Letter" button will be grayed out.
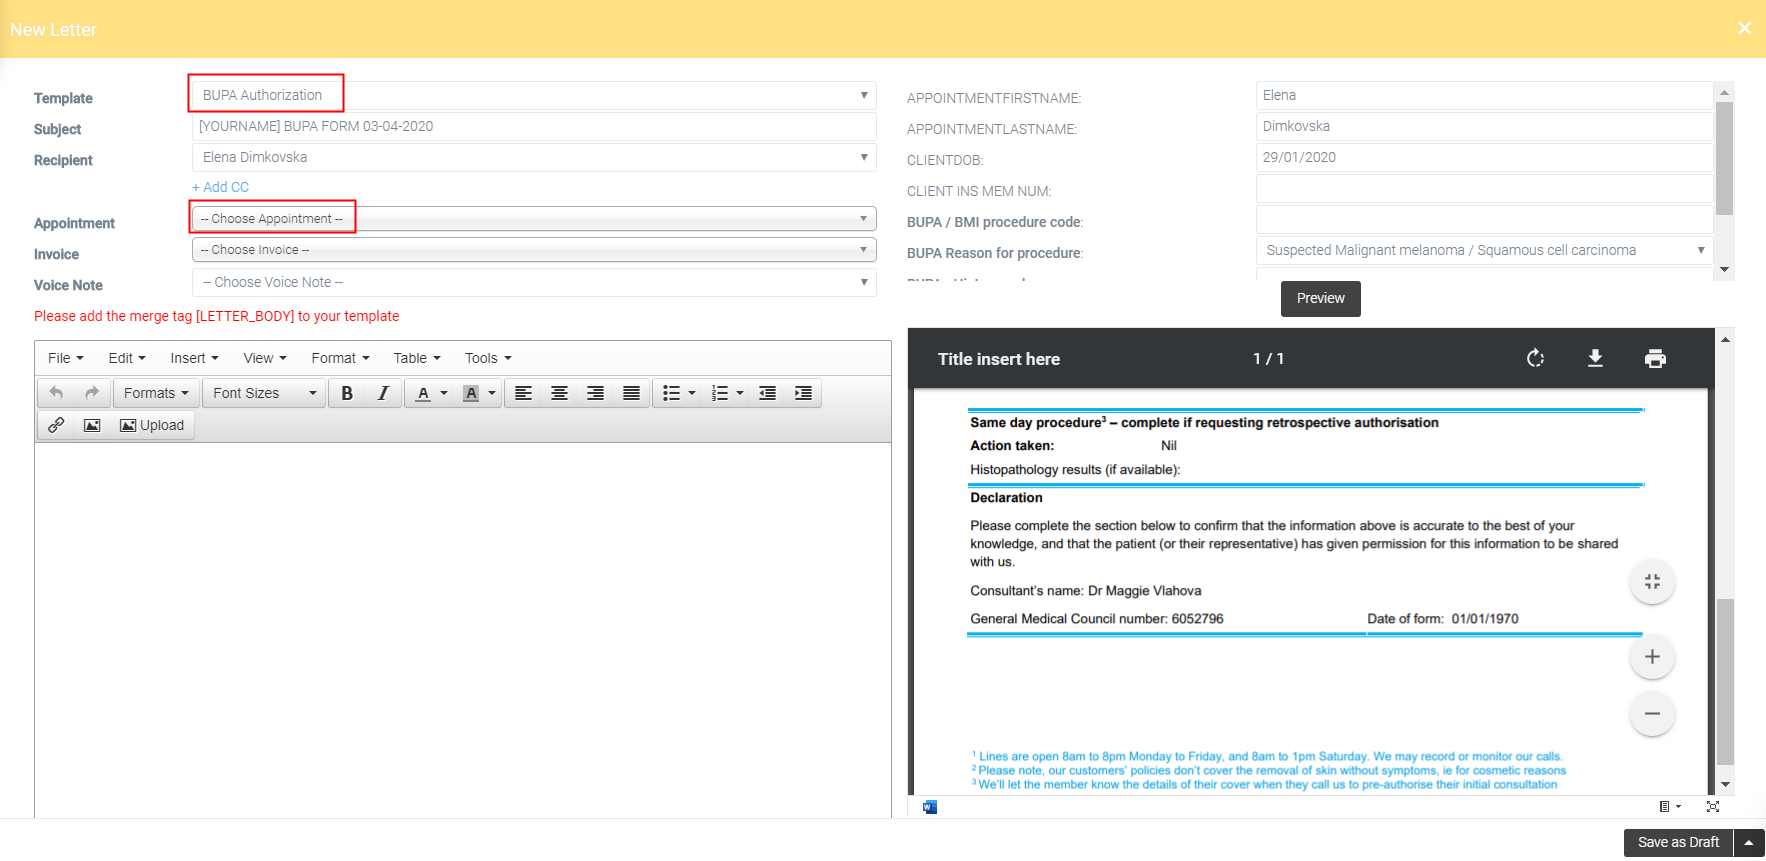
2. On the next window, please choose the letter template you would like to use, as well as the appointment (if the letter is linked to any of the patient's appointments), and enter the rest of the details.
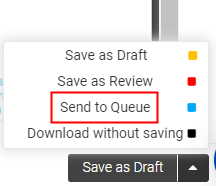
3. Last step to take is to click on the arrow right next to the "Save as Draft" button in the bottom-right corner, and choose "Send to Queue" option, as per the photo below:
Once you click the option, you will receive a "Success! Letter sent to queue" pop-up.
To access the queued letters:
-
Click on the "Contacts" icon from the main menu.

2. Next, click on the "Letter Queue" option.

Here you will see a list of all the queued letters:

The last thing to do is check the box right next to the letter you would like to send and a new button "Print Selected" will pop-up.

If you click on the "Print Selected" button, you would be able to open the letter as a pdf and print it out.
By going through these simple steps, your queued letter is now ready to be sent out!