Step 1: Navigate to Setup
Start by logging in to your Pabau account using your login credentials. Then, navigate to the left sidebar menu and click the cogwheel icon at the bottom to access the Setup page.
%201.png?width=637&height=299&name=How%20to%20Enable%20Two-Factor%20Authentication%20(2FA)%201.png)
Step 2: Access Business Details
In the Business section of the Setup page, click the ''Business Details'' tab.
%202.png?width=637&height=308&name=How%20to%20Enable%20Two-Factor%20Authentication%20(2FA)%202.png)
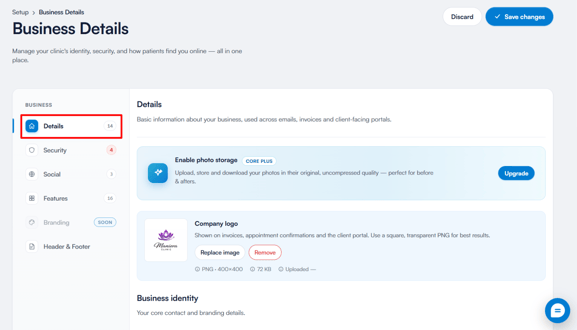
Step 3: Upload Your Logo
In the ''Details'' section, navigate to the Company logo area and select ''Replace image'' to upload your clinic's logo to your Pabau account.
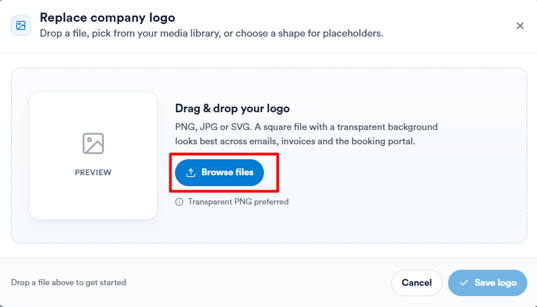
A popup will appear where you can drag and drop your logo file or click Browse files to select it from your device.
Step 4: Preview Logo
Once you select the image, you'll preview how it will look in your account. You can zoom in or out to fit it within the screen borders and click the 'Save' button to review it.
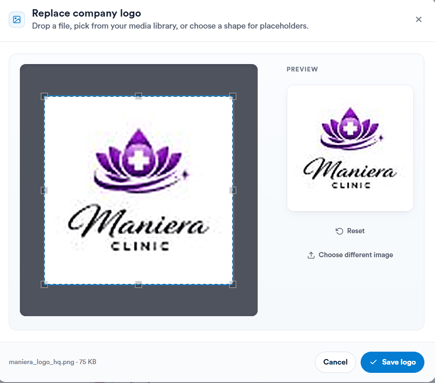
NOTE: If your logo does not fit the screen borders, contact our Customer Care team at customercare@pabau.com to resize it.
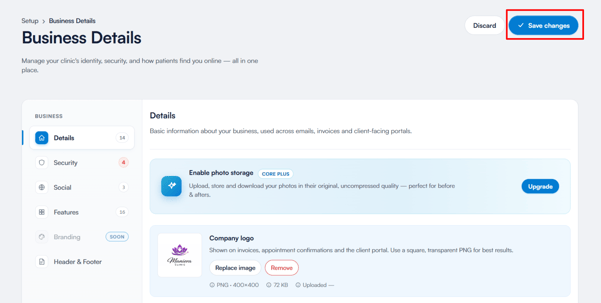
Step 5: Save Changes
Any changes in the business details section must be saved to appear in your account. After uploading your logo, be sure to click the ''Save Changes'' button at the top right corner to finalize the action.
By following these steps, you can upload a logo to your Pabau account.
For more guides, refer to related articles below, select additional guides, or use the search bar at the top of the page. These guides will help you get the most out of your Pabau account.
Additionally, to help you fully utilize and understand your Pabau account, we recommend exploring additional guides and resources offered at the Pabau Academy. It offers in-depth video tutorials and lessons, offering a holistic learning experience that can equip you with the essential skills for achieving success with Pabau.