With Invoice Automation in Pabau, you can now automatically send reminders to clients with outstanding payments. This feature helps you reduce admin work, improve cash flow, and ensure nothing slips through the cracks. Whether you want to send gentle nudges or firm follow-ups, you’re in full control with customizable rules and filters.
NOTE: If you're on the Advanced Marketing plan, you can create unlimited automations — unlike the standard plan, which allows only two active automations at a time. To explore the enhanced capabilities of Marketing Plus, refer to this article for more information.
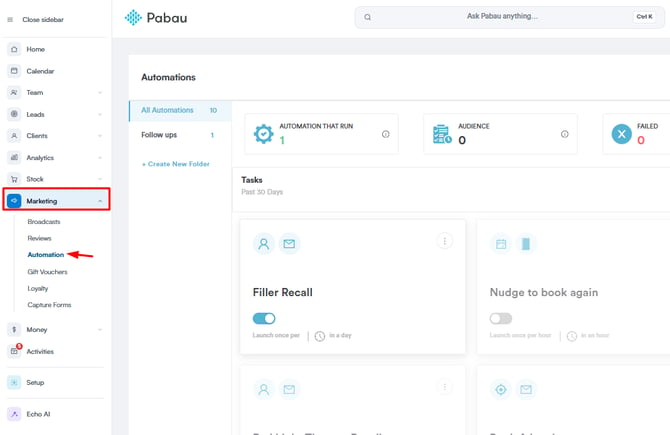
Step 1: Navigate to Automations
Log in to your Pabau account and navigate to the Marketing section in the left sidebar menu. Click on "Automation" to proceed.
Step 2: Create New Automation
To initiate the creation of a new automation, click the "Create Automation" button in the top right corner.

Step 3: Choose Automation Object
Proceed to start an automation from scratch. In the next stage, where you can choose the object you wish to perform an automation against, select "Invoices" to filter out the invoices.

Step 4: Choose Automation Type
On the next page, you'll be prompted to select if you wish to create an SMS Automation or email automation. Proceed to select the email option.

Step 5: Configure Settings
In this tab, if you are creating an email automation, you should provide the internal automation title and the email subject that will be visible to clients.
You can also schedule the automation's frequency and prevent multiple sends to the same client.

Step 6: Configure Audience
This step is crucial in setting up your automation. Navigate to the 'Audience' tab and click the 'Create' button to add filters.

- Show clients that match ALL of these conditions - filters clients that match all the conditions you add; if one condition does not match, it won't show the client. In this case, we recommend adding the condition "Client Active is Active" in this filter to show only active clients.
- And match ANY of these conditions - filters any conditions you add. In this case, we recommend adding the condition "Invoice Payment Status is Unpaid" and "Invoice Payment Status is Part-Paid."
Once you add the correct filters, ensure to enter a filter name; you won't be able to save the changes without one. After adding the name, the blue 'Save' button will appear at the bottom right of the screen.

After you save the filter, the results will show on the Audience tab depending on what you selected. So, for example, in this case, any client that has an invoice with an unpaid status will be included. and the filter will be saved below for future use.

Step 7: Configure Design
You can choose from various templates provided by Pabau, or you can create your own by coding it. You'll find the option to code your template by scrolling down the Design tab.
If you prefer to use a template from Pabau, you can manually enter all its components by dragging and dropping them onto the page.
Alternatively, if you've created a template elsewhere, you can directly enter its HTML code. Additionally, you can manually enter components in the 'Code Your Own' template.

Step 8: Include Invoice Link
To include a link to the invoice in your automation, click on the message component where you'd like the link to appear. On the right-hand side, a settings panel will appear — look for the "Special Links" option.
Click it, then choose "Invoice Pay Link" to include in the component. This will insert a dynamic link that takes each client directly to their portal to view and pay their outstanding invoice.

Step 9: Activate Automation
Switch to the Review tab to confirm if you have completed your automation setup. Check to ensure all required fields are filled out for activation. Once everything is in order, click the "Turn On" button to activate it.
Clicking the "Save" button will save your automation without activating it. This means it will be stored in your list of automations but will not run until you manually trigger it to do so.

By following these steps, you can successfully set up invoice automations in Pabau.
For more guides, refer to related articles below, select additional guides, or use the search bar at the top of the page. These guides will help you get the most out of your Pabau account.
Additionally, to help you fully utilize and understand your Pabau account, we recommend exploring additional guides and resources offered at the Pabau Academy. It offers in-depth video tutorials and lessons, offering a holistic learning experience that can equip you with the essential skills for achieving success with Pabau.