Step 1: Navigate to Calendar
Log into your Pabau account and navigate to the Calendar where you manage your appointments.

Step 2: Access the Waitlist Feature
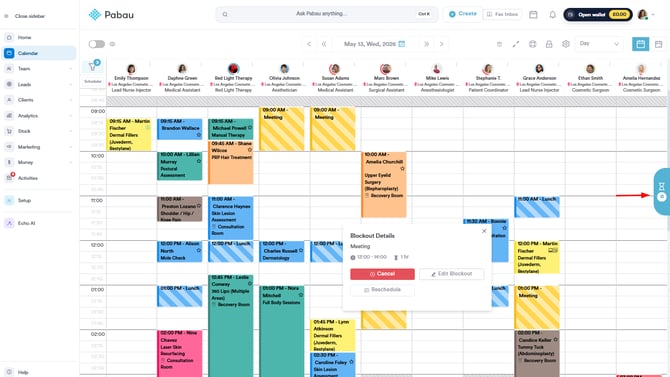
Once you open Calendar, click the "Waitlist" button on the right-hand side of the screen. A panel will then appear on the right side of your screen, allowing you to manage the waitlist feature.
Step 3: Locate the Client
In the waitlist panel, view all clients listed under the "Waiting" tab or use the filter options to quickly find the client you wish to notify.

Step 4: Send the Self-Book Notification
Find the client for whom an opening has become available, then click the notification button to notify them that they can book the appointment.


NOTE: Before sending the notification, make sure that waitlist notifications are enabled under Client Notifications in the Setup. To customize the template that will be sent to clients when there is a slot available, follow the steps in this guide.
Once the notification is sent, the client will receive an email to inform them that they can book the available appointment slot.
Now that you know how to send notifications to clients, you can easily manage the waitlist and ensure clients are notified when an appointment slot becomes available.
For more guides, refer to related articles below, select additional guides, or use the search bar at the top of the page. These guides will help you get the most out of your Pabau account.
Additionally, to help you fully utilize and understand your Pabau account, we recommend exploring additional guides and resources offered at the Pabau Academy. It offers in-depth video tutorials and lessons, offering a holistic learning experience that can equip you with the essential skills for achieving success with Pabau.