
Step 1: Navigate to the Client Card
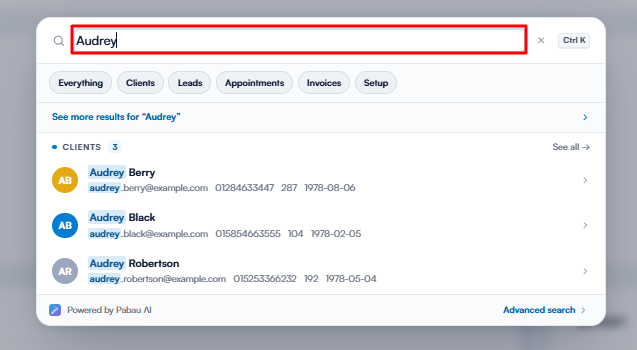
Start by logging into your Pabau account using your login credentials. Then, navigate to the search bar at the top of the screen to search for the client. Type at least three letters of the client's name for their client card to pull up.
Step 2: Expand the Chart/EMR Tab
Click the Chart/EMR section to expand it, and the Photos sub-tab will be revealed, displaying all uploaded photos.

Step 3: Select the Photo or Album You Wish to Send
Locate the photo or album you wish to send to the client. Hover over the item to reveal the options menu represented by the three dots. Click this menu and choose ''Send as Email''.

Step 4: Compose and Send the Email
Once the ''Send as Email'' option is selected, the email window will open with the chosen photos or album automatically attached. You can compose your message, update the subject line if necessary, and confirm the client’s email address.

When you are ready, click "Send" to deliver the email to the client.
By following these steps, you can easily share photos or albums with your clients via email, enhancing communication and providing clear visual updates.
For more guides, refer to related articles below, select additional guides, or use the search bar at the top of the page. These guides will help you get the most out of your Pabau account.
Additionally, to help you fully utilize and understand your Pabau account, we recommend exploring additional guides and resources offered at the Pabau Academy. It offers in-depth video tutorials and lessons, offering a holistic learning experience that can equip you with the essential skills for achieving success with Pabau.