Step 1: Navigate to the Client Card
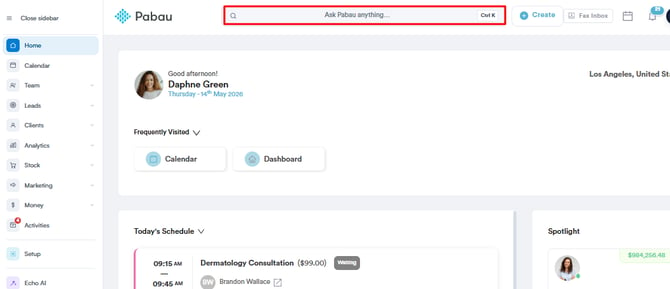
Start by logging in to your Pabau account using your login credentials. Then navigate to the Search bar at the top of the page and proceed to type at least three letters of the client's name. Pabau will filter the results as you type.
Step 2: Switch to the Appointments Tab
After selecting the client, in the client card, you will find the Appointment's tab. This tab includes all the appointments that have been scheduled for the client.

Step 3: Locate the Appointment
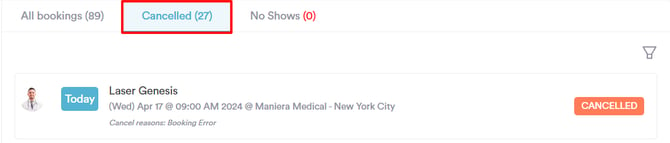
Locate the appointment that you would like to reinstate back into the calendar.
Note: You can find all canceled appointments in the "Canceled" sub-tab.
Step 4: Hover Over the Appointment
When you hover over the appointment, the "Reinstate" button will be revealed on the far right side. Clicking on the button will instantly reinstate the appointment in the calendar.

Step 5: Check the Calendar
After reinstating the appointment in the calendar, you can verify its successful reinstatement by clicking on the three dots on the far right side of the appointment and selecting "View Appointment."

This action will direct you to the calendar, where you can review the appointment.
By following these steps, you will be able to reinstate a canceled appointment back into the calendar.
For more guides, refer to related articles below, select additional guides, or use the search bar at the top of the page. These guides will help you get the most out of your Pabau account.
Additionally, to help you fully utilize and understand your Pabau account, we recommend exploring additional guides and resources offered at the Pabau Academy. It offers in-depth video tutorials and lessons, offering a holistic learning experience that can equip you with the essential skills for achieving success with Pabau.