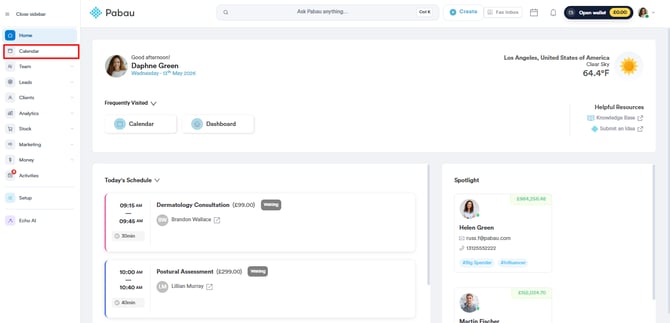
Step 1: Navigate to Calendar
Begin by logging into your Pabau account and in the left sidebar menu, locate and click on "Calendar" to access your schedule.
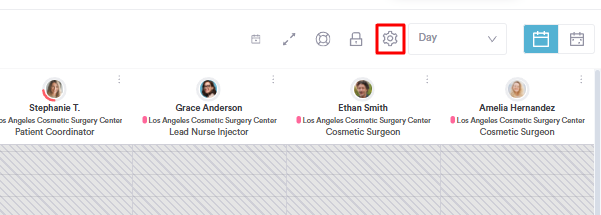
Step 2: Open Calendar Settings
In the top right corner of the calendar, next to the calendar view mode, you'll find a cogwheel icon. Click on this icon to open the calendar settings options.
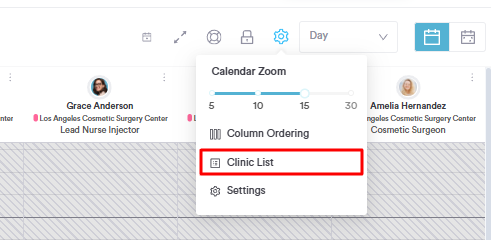
Step 3: Access Print Options
Within the calendar settings, click on the "Clinic List" option. This will open a side panel where you can customize the information that will appear on the printed version of your clinic list.
Step 4: Customize Printing Preferences
After opening the ''Clinic List'', a panel will appear on the right side of the screen where you can fully customize how the daily clinic list is displayed before printing.

Here’s a breakdown of the available options:
-
Date Selector
At the top of the panel, choose the date for which you want to print the list.
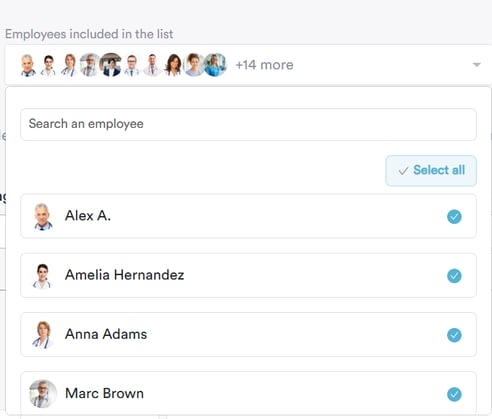
- Employee Dropdown
Select one or multiple employees whose appointments you want to include. This is helpful if you're printing the list for individual practitioners or departments.
-
Column Filters
You can choose which details to include in the printout by ticking or unticking various columns. Available options include:-
Time
-
Location
-
Date of birth
-
Address
-
Mobile number
-
And more
-
![]()
-
Day Summary
Use the dropdown to show or hide the day summary. When enabled, this section provides a high-level overview of the day's appointments and practitioners.
-
Break Page After Summary
Choose whether to insert a page break after the summary section. This is useful if you want the detailed list to begin on a new page.
-
Show Locations
Filter appointments by clinic location. You can select one or more locations to include only the relevant data.
Once you've configured your preferences, the Clinic List view will update to reflect your selections. If the summary is enabled, you'll see:
-
A count of total appointments
-
A count of practitioners with scheduled appointments

Below the summary, the appointment details will be listed based on the selected columns and filters, ready for review or printing.

Step 5: Print the Clinic List
To print the configured list, click the ''printer icon'' located in the top-right corner of the Clinic List panel. If preferred, you can also choose to email the list directly to selected staff members from the same panel.

NOTE: To learn how to email the clinic list to staff members, please refer to this article.
This will open your browser’s print preview window, where you can adjust how the list will appear before printing or saving.

Here’s what you can configure:
-
Destination
Choose where to send the document — for example, to a physical printer or to save it as a PDF. -
Pages
Select whether to print all pages or a specific range. -
Layout
Choose between Portrait or Landscape orientation depending on how you want the list formatted. -
Colour
Decide whether to print in Colour or Black and White.
Click ''More settings'' to fine-tune additional options:
-
Paper size (e.g., A4, Letter)
-
Pages per sheet (e.g., print multiple pages on one sheet)
-
Margins (Default, None, Minimum, or Custom)
-
Scale (Adjust the size of the content to better fit the page)
- Options (Enable or disable headers and footers or include background graphics, such as logos or shaded sections)
Once everything looks correct, click the final ''Print'' button to print the list — or choose ''Save as PDF'' if you'd prefer to store it digitally.
By following the outlined steps, you can customize the clinic list to include relevant information and efficiently manage your daily appointments.
For more guides, refer to related articles below, select additional guides, or use the search bar at the top of the page. These guides will help you get the most out of your Pabau account.
Additionally, to help you fully utilize and understand your Pabau account, we recommend exploring additional guides and resources offered at the Pabau Academy. It offers in-depth video tutorials and lessons, offering a holistic learning experience that can equip you with the essential skills for achieving success with Pabau.