
Step 1: Navigate to the Point of Sale
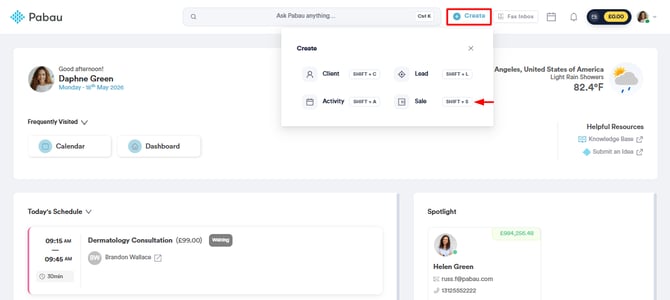
Once you've logged in to your Pabau account, navigate to the top of the page and find the "Create" button next to the search bar. From there click on it and select Sale. Alternatively, press the hotkeys Shift + S to open the Point of Sale.
Step 2: Select a Client
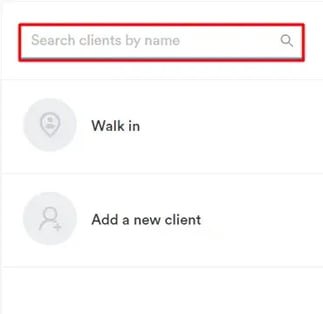
Start by selecting the client on the right side of the screen. You can also create a new client or create a sale for a walk-in client.
Step 3: Choose a Category
On the left-hand side of the screen, you'll find various categories to choose from based on what you want to sell:
- For retail sales, use "Products."
- Perform service-related sales with "Services."
- Sell courses and packages through "Packages."
- Allow clients to add funds to their client card for later use under "Account."
- Find gift vouchers under "Gifts."
-
Add the consumables used during appointments under "Consumable."
Clicking on any category will display the items associated with it in the center of the screen. To add any of them to the cart, click on them, and they'll appear on the right side of the screen.
Step 4: Proceed with Payment
On the right side of the screen, we can preview everything added to the cart, and the total amount of the sale. Click on Continue to continue to the payment method step.
Choose the desired payment method, then on Collect or Charge, depending on the method, and click on Confirm Payment to complete the transaction.


If you prefer not to use your real card for testing, you can use the test cards provided by Stripe by following the instructions here.
NOTE: Payments can be partial, and split between different methods. If so, input the correct amount, and repeat the process if necessary. You can choose multiple different methods for the same sale. All added payments will be recorded on the bottom right side of the screen.
For more guides, refer to related articles below, select additional guides, or use the search bar at the top of the page. These guides will help you get the most out of your Pabau account.
Additionally, to help you fully utilize and understand your Pabau account, we recommend exploring additional guides and resources offered at the Pabau Academy. It offers in-depth video tutorials and lessons, offering a holistic learning experience that can equip you with the essential skills for achieving success with Pabau.