Table of Contents
1. How to Download Photos From the Client Card
1.1. How to Download Photos in Bulk
2. How to Share Photos From the Client Card
2.1. How to Share Photos in Bulk
How to Download Photos From the Client Card
Step 1: Navigate to the Client Card
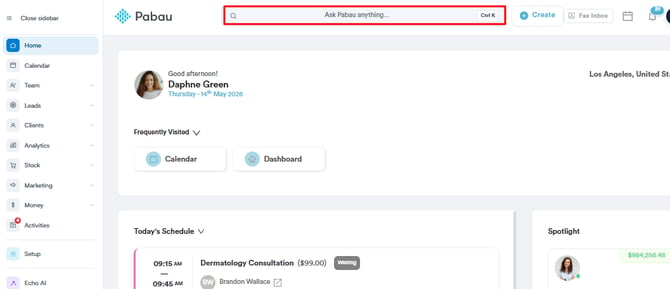
Start by logging into your Pabau account using your login credentials. Then, navigate to the search bar at the top of the screen to search for the client. Type at least three letters of the client's name for their client card to pull up.
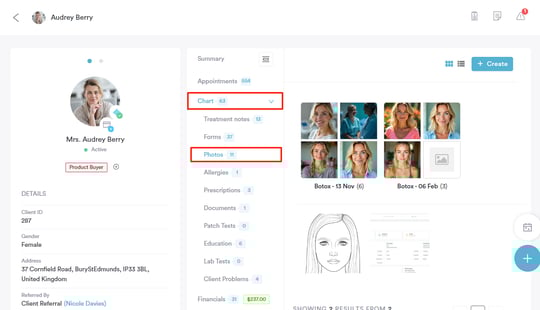
Step 2: Expand the Chart/EMR Tab
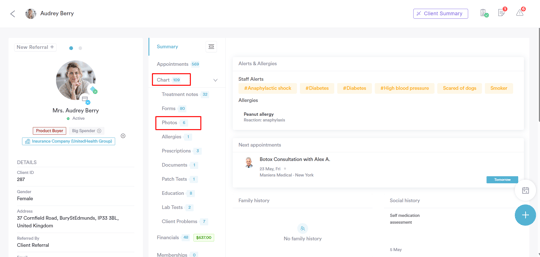
Click the Chart/EMR section to expand it, and the Photos sub-tab will be revealed, displaying all uploaded photos. Here’s a guide on how you can upload them.
Step 3: Select Photo
Select the photo you want to download to open it in full screen.
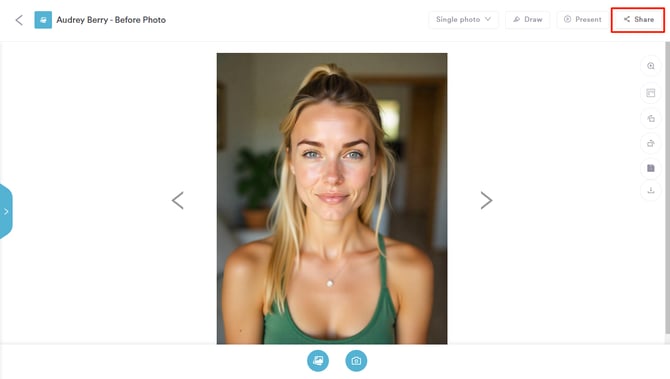
Step 4: Download Photo
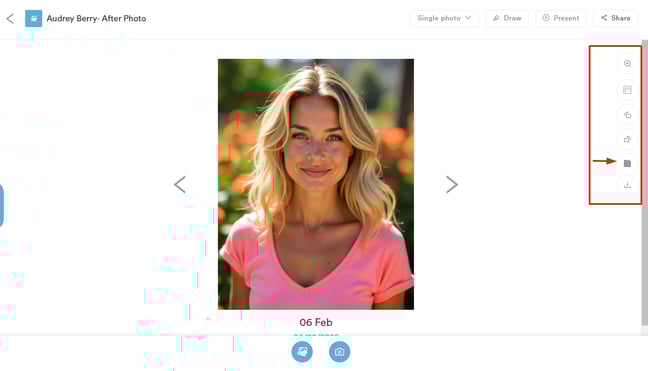
Once you view the full-size image, you’ll see a list of available actions on the right side of the screen. Navigate to the 'Download' option to save the image to your desktop.
How to Download Photos in Bulk
Step 1: Access Client Photos
Once you're in the client card, expand the EMR/Charts tab to reveal the 'Photos' sub-tab, where all the uploaded client images will be listed. If you've created albums, click on the album containing the photos you want to share.

NOTE: If you haven’t created albums yourself, Pabau automatically organizes photos into folders labeled by the upload date.
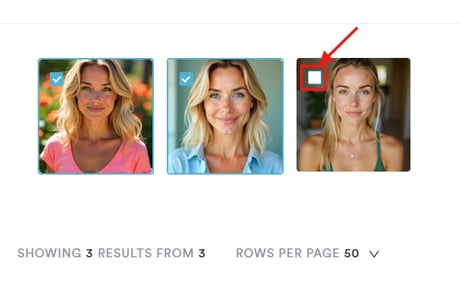
Step 2: Select Photos
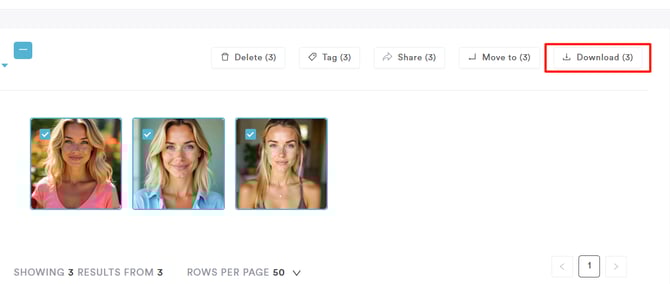
To download photos in bulk, select each one by ticking the box in the top right corner of the photos.

Step 3: Download Photos
Once you've selected the photos, the download option will appear in the top right corner of the screen. Clicking this option will download the photos to your device.
By following these steps, you can download photos from the client card in bulk.
How to Share Photos From the Client Card
Step 1: Navigate to the Client Card
Start by logging into your Pabau account using your login credentials. Then, navigate to the search bar at the top of the screen to search for the client. Type at least three letters of the client's name for their client card to pull up.
Step 2: Expand the Chart/EMR Tab
Click the Chart/EMR section to expand it, and the Photos sub-tab will be revealed, displaying all uploaded photos. Here’s a guide on how you can upload them.
Step 3: Select Photo
Select the photo you want to share with the client and it will open in full screen.
Step 4: Navigate to the Share Photo
Once you view the full-size image, you’ll see a list of available actions in the top right corner of the screen. Navigate to the 'Share' option to share the image.
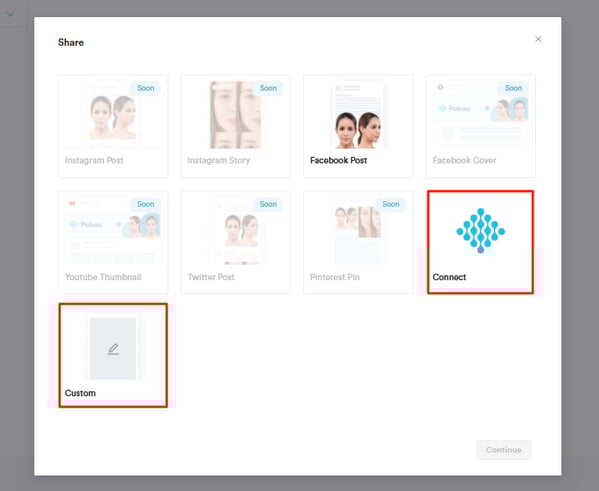
Step 5: Share Photo to Client Portal
When you click the Share button on a photo, the Share modal will appear with the following options:
-
Connect
-
This new option shares the photo directly to the client’s Connect portal under Client Portal > Photos.
-
After selecting Connect and clicking Continue, the modal closes and a confirmation message appears:
-
✅ “Photo shared successfully to the Client Portal.”
-
❌ If the share fails: “Failed to share photo. Please try again.”
-
-
-
Custom
-
Opens a pop-up providing a link to the photo and a preview in the Pabau Gallery.
-
This option does not share the photo to the Connect portal and is solely for manual sharing.
-
This separation makes it clear which option shares to the client portal and which is for custom/manual sharing.
Clients can find the shared photo on their client portal under the 'Photos' tab.

By following these steps, you can share photos with clients.
How to Share Photos in Bulk
Step 1: Access Client Photos
Once you're in the client card, expand the EMR/Charts tab to reveal the 'Photos' sub-tab, where all the uploaded client images will be listed. If you've created albums, click on the album containing the photos you want to share.

NOTE: If you haven’t created albums yourself, Pabau automatically organizes photos into folders labeled by the upload date.
Step 2: Select Photos
To share photos in bulk, select each one by ticking the box in the top right corner of the photos.
Step 3: Share Photos
Once you've selected the photos, the share option will appear at the top of the screen.
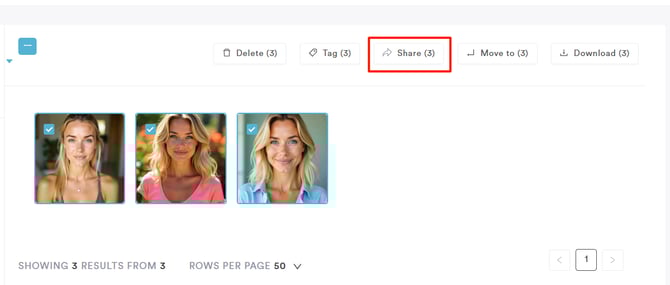
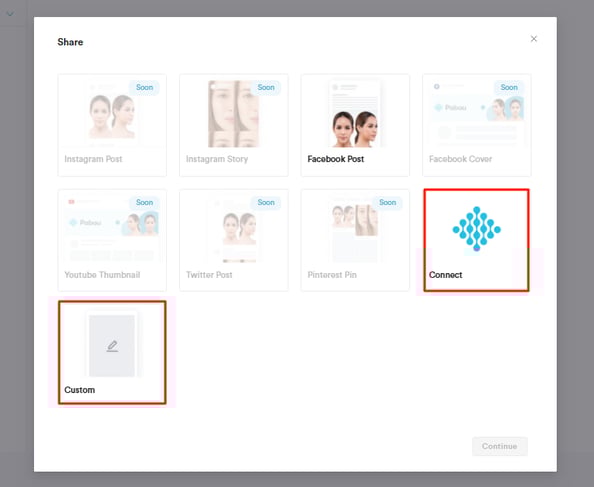
When you click the Share button, the Share modal will appear with the following options:
-
Connect
-
This new option shares the photos directly to the client’s Connect portal under Client Portal > Photos.
-
After selecting Connect and clicking Continue, the modal closes and a confirmation message appears:
-
✅ “Photos shared successfully to the Client Portal.”
-
❌ If the share fails: “Failed to share photos. Please try again.”
-
-
-
Custom
-
Opens a pop-up providing a link to the photos and a preview in the Pabau Gallery.
-
This option does not share the photos to the Connect portal and is solely for manual sharing.
-
This separation makes it clear which option shares to the client portal and which is for custom/manual sharing.
By following these steps, you can share photos in bulk with your clients.
For more guides, refer to related articles below, select additional guides, or use the search bar at the top of the page. These guides will help you get the most out of your Pabau account.
Additionally, to help you fully utilize and understand your Pabau account, we recommend exploring additional guides and resources offered at the Pabau Academy. It offers in-depth video tutorials and lessons, offering a holistic learning experience that can equip you with the essential skills for achieving success with Pabau.