Step 1: Navigate to Price Lists
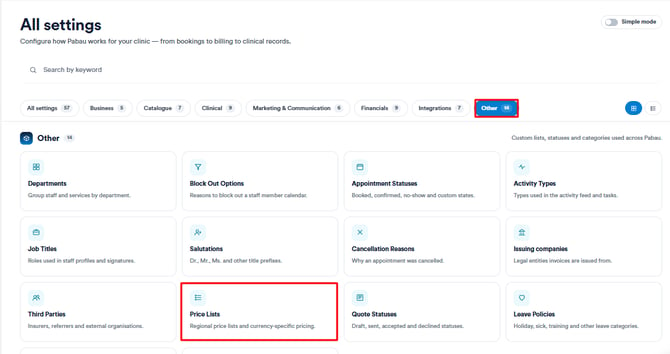
Start by logging into your Pabau account. Click on Setup in the left sidebar menu, then click on Other, and then on Price Lists.
Step 2: Create a Price List
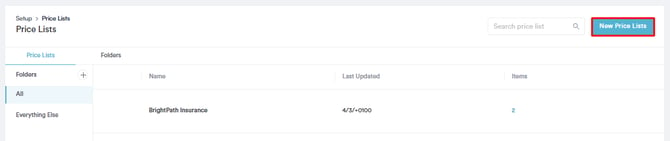
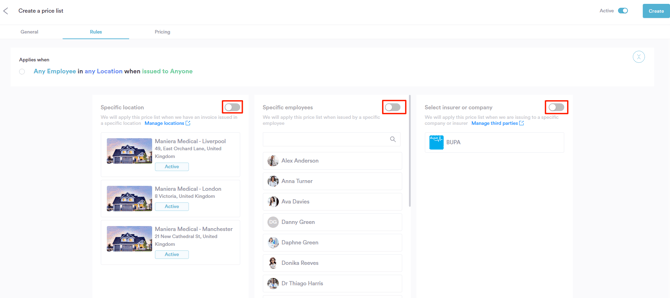
Click on the New Price List button in the top right corner. In the General tab, enter a name for the price list.
In the Rules tab, you can define when this price list should be applied. You can choose to apply it:
-
Only when an invoice is created at a specific location
-
Only when issued by a specific staff member
-
Only when billing a specific company or insurance provider
If you don’t want to set any restrictions, simply toggle off the options for location, employee, or company.
NOTE: To create insurance providers or companies, please refer to the related article on managing third parties.
In the Pricing tab, assign the correct price for each service, based on the rules you set in the previous step. When you add a price, a green line will appear next to the service, confirming that it’s been added to the price list.

When booking an appointment in the calendar, you can choose a payer for the service and apply the correct price list. This ensures the invoice reflects the agreed-upon rates for that insurance company or third-party organization.

NOTE: For details on how to bill third-party payers, check out the article on invoicing third parties.
By following these steps, you can easily create and manage price lists in your Pabau account, making it simple to bill insurance and third-party payers accurately.
For more guides, refer to related articles below, select additional guides, or use the search bar at the top of the page. These guides will help you get the most out of your Pabau account.
Additionally, to help you fully utilize and understand your Pabau account, we recommend exploring additional guides and resources offered at the Pabau Academy. It offers in-depth video tutorials and lessons, offering a holistic learning experience that can equip you with the essential skills for achieving success with Pabau.