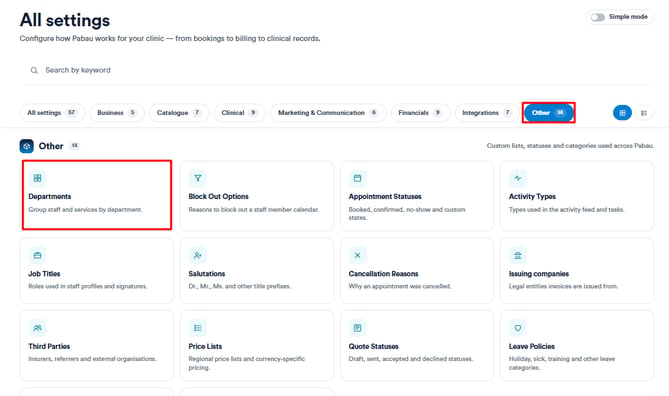
Step 1: Navigate to Departments
Start by logging into your Pabau account. Once you're in, click on Setup in the left sidebar menu, then click on Objects under "Other", and select Departments.
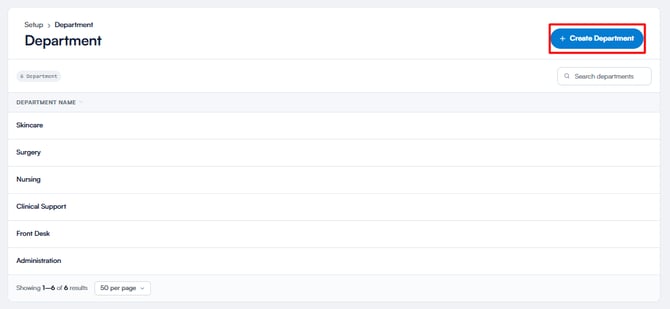
Step 2: Create a Department
Click "Create Department" in the top-right corner, enter a name for the department, and click "Create."
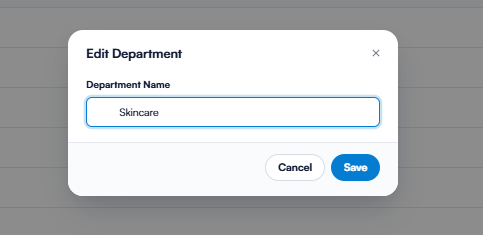
Step 3: Edit or Delete Department
To edit a department, click on it, make your changes, and click "Save."
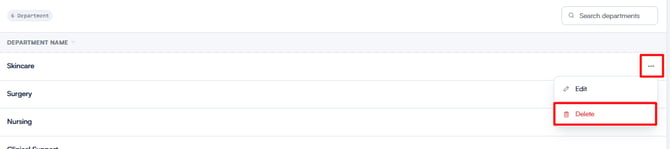
To delete a department, click on it, choose "Delete", and confirm in the prompt that appears.
Step 4: Assign a Department to a Team Member
After you've set up your departments, go to Team in the left menu, then click Team again.
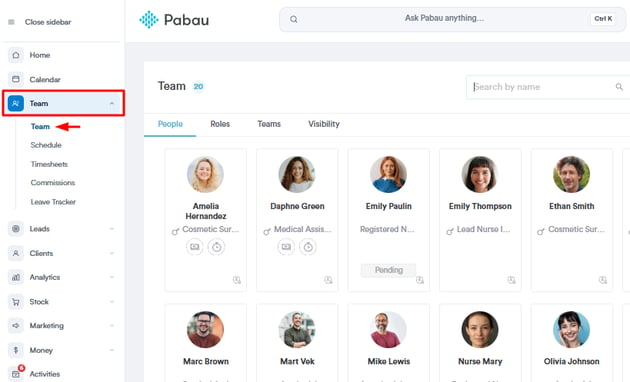
Select the team member whose department you want to assign or update. In the Department field, choose the right department and click "Save Changes" in the top-right corner.
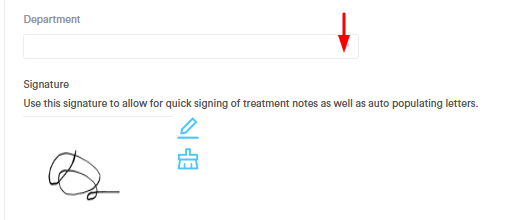
If you don’t see the Department field in the team member’s profile, click Customize Fields in the top-right corner, then select "Add Fields". Locate "Department", click on it, and save your changes.

By following these steps, you can easily create, edit, and assign departments in your Pabau account.
For more guides, refer to related articles below, select additional guides, or use the search bar at the top of the page. These guides will help you get the most out of your Pabau account.
Additionally, to help you fully utilize and understand your Pabau account, we recommend exploring additional guides and resources offered at the Pabau Academy. It offers in-depth video tutorials and lessons, offering a holistic learning experience that can equip you with the essential skills for achieving success with Pabau.