
Step 1: Navigate to Appointment Statuses
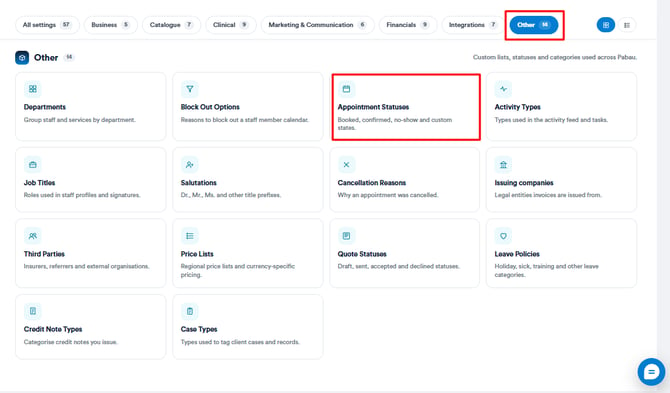
Start by logging into your Pabau account. Once you're in, click on Setup in the left sidebar menu, then click on "Other", and select Appointment Statuses.
Step 2: Create an Appointment Status
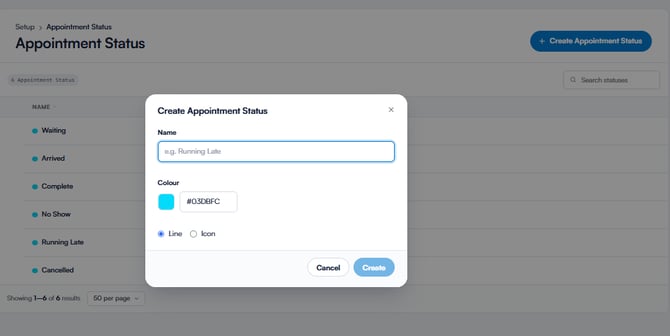
Click the Create Appointment Status button in the top-right corner.
Give your status a name, choose whether it will be shown as a line or an icon, pick a color, and then click Create.
Step 3: Edit, Delete or Reorder Appointment Statuses
-
To edit a status: Click on it, make your changes, then click Save.
-
To delete a status: Click on it, choose Delete, and confirm in the pop-up.
-
To reorder statuses: Click and hold the three-line icon next to a status, then drag it to rearrange the order.

The order you set here will match how statuses appear in the appointment menu on your calendar.
By following these steps, you can easily set up and manage appointment statuses in your Pabau account.
For more guides, refer to related articles below, select additional guides, or use the search bar at the top of the page. These guides will help you get the most out of your Pabau account.
Additionally, to help you fully utilize and understand your Pabau account, we recommend exploring additional guides and resources offered at the Pabau Academy. It offers in-depth video tutorials and lessons, offering a holistic learning experience that can equip you with the essential skills for achieving success with Pabau.