Step 1: Navigate to Activity Types
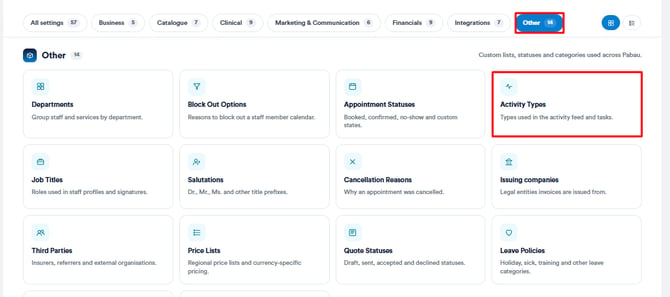
Start by logging into your Pabau account. Once you're in, click on ''Setup'' in the left sidebar menu, then click on "Other", and select ''Activity Types.''
When you open the Activity Types page, you'll see a list of all activity types created in your system. Each entry is displayed in a table format with the following columns:
-
Name
The name of the activity type (e.g., "Call Client", "Send Invoice Reminder"). This is how it will appear when creating or viewing activities. -
Subject
The default subject line that will be applied when this activity type is selected. It helps quickly identify the purpose of the activity. -
Active
Indicates whether the activity type is currently active. Inactive types won't be available for selection when creating new activities. -
ID
A system-generated unique identifier for the activity type. This can be useful for referencing the activity in reports, automations, or when working with support.
Step 2: Create an Activity Type
Once there, go to the ''Create Activity Type'' button in the top right.
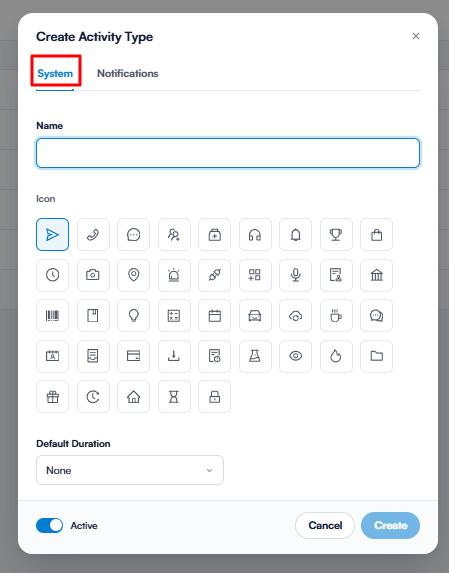
A pop-up will appear where you'll view two tabs:
1. System
On the system tab, you have the following options:
- Name: Enter a clear, descriptive name for the activity (e.g., "Call Client", "Invoice Follow-Up", "Inventory Check").
- Default Duration: Set how long this activity usually takes (e.g., 15 minutes, 30 minutes, 1 hour).
- Icon: Choose an icon that visually represents the activity.
2. Notifications
The notifications tab, allows you to automate reminders when an activity is created, either for the client/lead or for a staff member.
You’ll find two toggles here:
-
Client/Lead Notification
Turn this on to notify the client or lead when this activity is created. -
Employee Notification
Enable this to send a notification to the assigned staff member.By default, the message reads:
You have an activity due for [ActivitySubject] for client [ClientName].

Once done, click Create to save your new activity type.
Step 3: Edit Activity Types
To edit an activity type, click on it, make the necessary changes, then click on "Save."
NOTE: To learn how to use activity types, refer to this article.
By following these steps, you can create and manage activity types in your Pabau account.
For more guides, refer to related articles below, select additional guides, or use the search bar at the top of the page. These guides will help you get the most out of your Pabau account.
Additionally, to help you fully utilize and understand your Pabau account, we recommend exploring additional guides and resources offered at the Pabau Academy. It offers in-depth video tutorials and lessons, offering a holistic learning experience that can equip you with the essential skills for achieving success with Pabau.