Table of Contents:
1. How to Create a Pre-Care Template and Automatically Send It to a Client
2. How to Send the Pre-care Template From the Client Card
How to Create a Pre-Care Template and Automatically Send It to a Client
Step 1: Navigate to Setup
Start by logging into your Pabau account using your login credentials. Then, navigate to Setup located on the bottom left corner of the sidebar menu. Click the Marketing & Communications section. This action will reveal the Templates tab.

Step 2: Create a Template Group
In the Templates page, create a Template Group to categorize your pre-cares. Click on the "New Group" button on the right.

A pop-up will appear where you can type the group's name (e.g., "Injectables Pre-cares") and click the "Create" button to finalize.

Step 3: Create a New Template
Next, click on the "Create Template" button to get started with the template creation process. You'll be prompted to first choose the type of template you need, whether it's Email, SMS, or Letter. In this case, select the "Email" option.

Step 4: Input Template Details
To view the available fields, click the arrow on the far right of the Details tab to expand it. Then, fill in the following:
-
Template name – Enter an internal name for your template (this won’t be visible to clients).
-
Template group – Click the second field to open a dropdown menu of your template groups. Select the "Precare" group you created earlier.
- Related services – Link this template to the services it applies to. This ensures the Precare message is sent automatically when those services are booked.
-
Subject – Add a subject line that will appear in the message when it's sent.

Step 5: Write Text for the Template
Write the body of the text for the pre-care template and include a merge tag for the medical form you wish your clients to fill out. To do so, click on the tag icon, then "Forms," and choose the relevant form to add to your email.

This action will generate a merge tag in the email body. When clients receive the email, they can click the link to be redirected to Pabau Connect, where they can view and fill out the medical form.
You can also include other merge tags to personalize the template, such as client name and business name, logo, phone number, and location.

Step 6: Add to Client Pathway (optional)
The pre-care templates can also be added to the Client Pathway of the relevant service. To do so, navigate to the Setup section, select Services, choose the relevant service, and click on the Client Pathway tab.

In the "Before" section of the Client Pathway, click the Plus sign. Choose the Email icon to select the pre-care template. Decide whether you want to send it as soon as the appointment is booked or a specific number of days before the appointment (using the Automations feature). Click "Save" in the top right corner.

NOTE: You can learn more about Automations by watching this lesson on Pabau Academy, or reading this article.
Step 7: Book an Appointment
Finally, proceed to book an appointment as usual. Navigate to the Calendar, choose an available timeslot, and add the client's name and the relevant service.

After clicking "Book Appointment," the client will receive a confirmation email (if enabled under Client Notifications) and the pre-care template related to the booked service.
Final result:
By following these steps, you can efficiently create and send pre-care templates in Pabau 2, enhancing communication and providing clients with the necessary information prior to their appointments.
How to Send the Pre-care Template From the Client Card
Step 1: Access Client Card
Navigate to the top of the screen and type in your client's name in the search bar. The client card will show on the search results.

Step 2: Click the "Create" Button
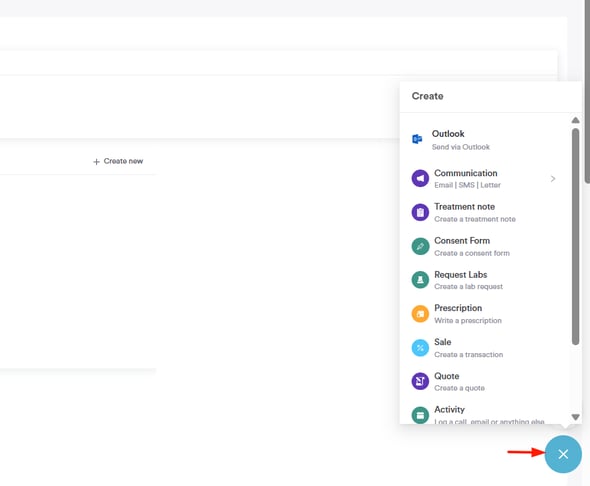
Once you access the client card, navigate to the bottom right corner of the screen and click the "Create" button represented as a blue plus sign to reveal the available actions.
Step 3: Select "Communications" Option
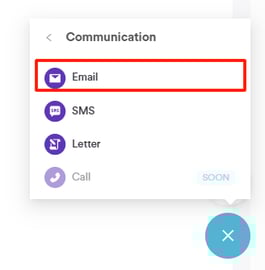
Proceed to click the "Communications" option. A dropdown will appear with available communication options. Click "Email" to continue.
Step 4: Access Templates
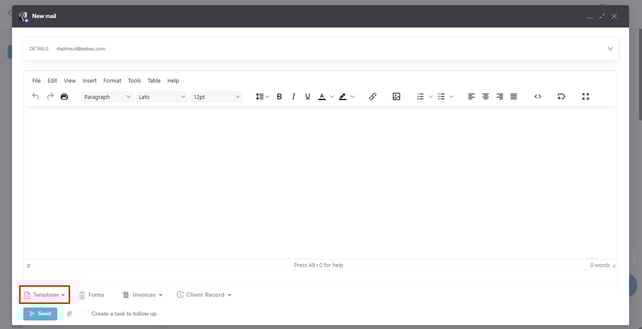
A pop-up screen will open where you can compose your email. Navigate to the bottom left corner of the window and click the "Templates" option to access all your created templates.
Step 5: Switch to Pre-cares Tab
At the top of the screen, you'll see all your created template groups. For quick access to your Pre-care templates, switch to the "Precares" tab.
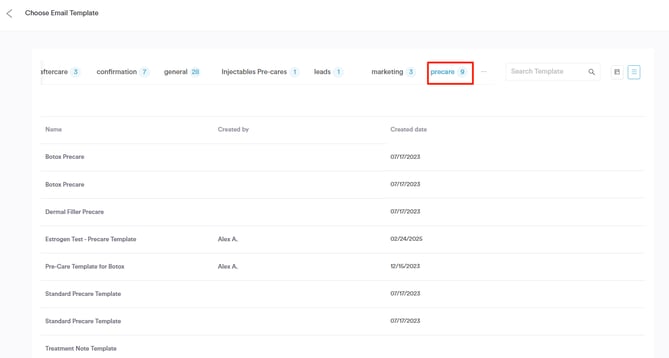
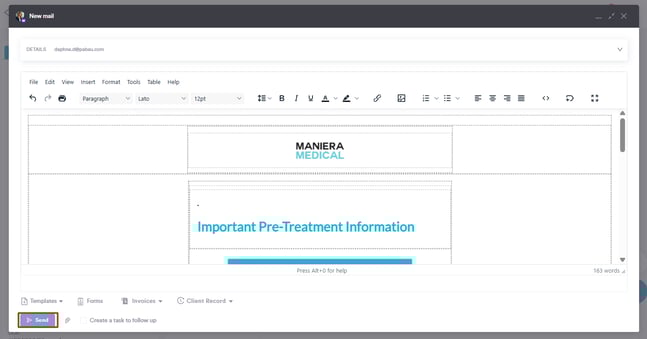
After you've selected the template, it will appear in the text box, and you can make any necessary changes. before clicking the "Send" button.
By following these steps, you can easily send pre-cares to your clients using templates.
For more guides, refer to related articles below, select additional guides, or use the search bar at the top of the page. These guides will help you get the most out of your Pabau account.
Additionally, to help you fully utilize and understand your Pabau account, we recommend exploring additional guides and resources offered at the Pabau Academy. It offers in-depth video tutorials and lessons, offering a holistic learning experience that can equip you with the essential skills for achieving success with Pabau.