Step 1: Navigate to the Client Card
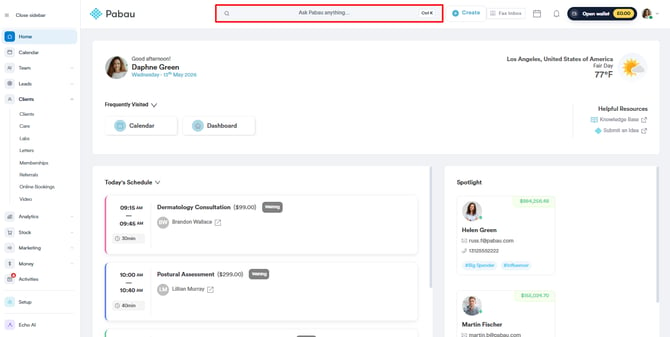
Open any client card by using the search bar at the top of the screen.
Locate the Summary tab and click on the button positioned on the right side of the tab.

Click on "Add new view" to initiate the process.
Step 2: Choose and Arrange Widgets
On the left side of the screen, you'll find a selection of widgets to build your view. Click on the widgets you want to add, and use the three-line icon on the far left of each widget to drag and drop them, arranging their order.
As you make changes, your view will be displayed on the right side of the screen.-
The Alerts & Allergies widget serves to display staff-recorded alerts via the Alerts modal within the client card. Additionally, it showcases any recorded allergies documented within the Chart/EMR tab of the client card.
-
The Next Appointment widget presents the client's upcoming appointment nearest to the current moment.
-
The Medical History, Social History, and Family History widgets extract data from corresponding SNOMED fields completed within medical forms.
-
The Problem Heading widget retrieves information entered into the Client Problems tab within the client card.
-
The Medications history widget retrieves and showcases data concerning medications documented within medical forms categorized as Prescriptions. Conversely, the Products widget displays all products sold to the client via the Point of Sale.
Step 3: Name and Save Your View
Once you've customized the view, name it in the upper left corner of the screen. Click on "Save" in the upper right corner to confirm and save your newly created view.
-
To switch between different views, click on the button on the right side of the Summary tab.
-
Hovering over a view will reveal the "Set as default view" button. Mark your preferred view to always default to that one.

By following these steps, you can efficiently create customized Summary views tailored to your specific needs.
NOTE: We suggest reading our Clients article for a more in-depth exploration of this topic.
For more guides, refer to related articles below, select additional guides, or use the search bar at the top of the page. These guides will help you get the most out of your Pabau account.
Additionally, to help you fully utilize and understand your Pabau account, we recommend exploring additional guides and resources offered at the Pabau Academy. It offers in-depth video tutorials and lessons, offering a holistic learning experience that can equip you with the essential skills for achieving success with Pabau.