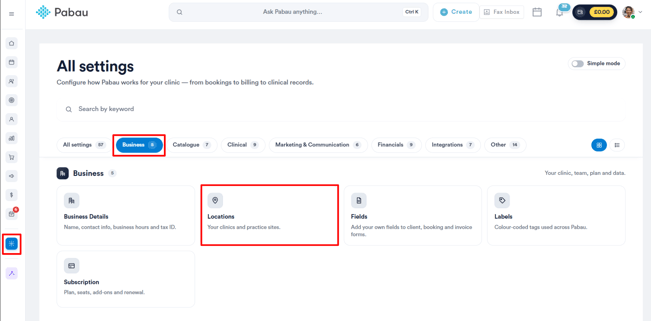
Step 1: Accessing Locations Setup
Begin by logging into your Pabau account. In the left sidebar menu, navigate to Setup, then click on Locations under the ''Business section''.
NOTE: You can also learn about this topic by watching a lesson on Pabau Academy.
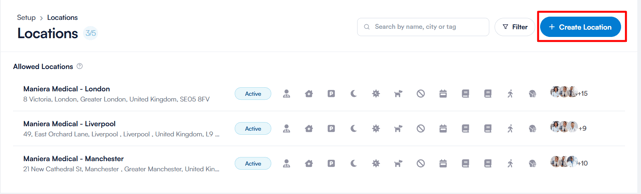
NOTE: The "Create Location" button may appear greyed out if you've reached the current location limit for your subscription. In such cases, upgrading your subscription is necessary to add more locations.
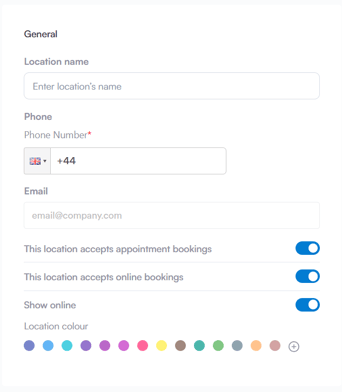
Step 3: Configuring Location Details
General Tab: Input the location name, phone number, and email address. Toggle options to specify if this location accepts appointments, online bookings, and if it should be shown online. Additionally, select a color to represent this location in the Calendar interface.
Location Tab: Enter the business address, pinpoint it on the Google Map widget, and optionally select an image for the location. The address added here will be displayed in client notifications.
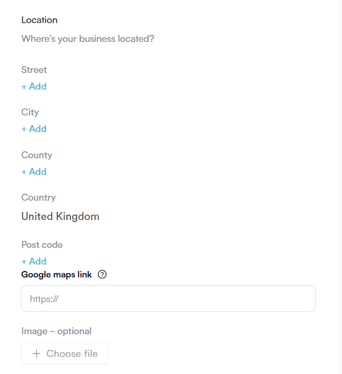
NOTE: Entering the location's address is mandatory and must be provided before you can save the settings.
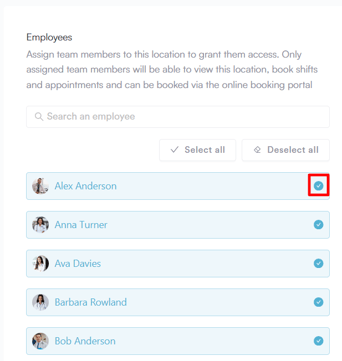
Employees Tab: In the Employees tab, designate the team members who will be working at this specific location.
Badges Tab: Choose badges related to the location to convey important information to clients when booking online.
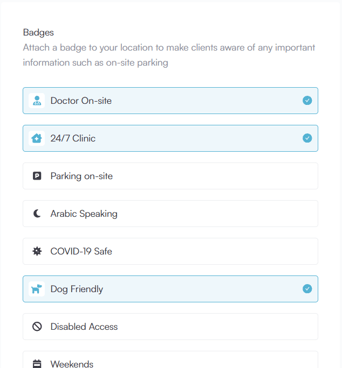
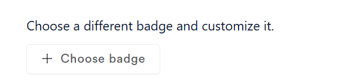
Optionally, create custom badges by clicking on "Choose badge".
Step 4: Activating the Location
Ensure the "Active" toggle in the upper right corner is enabled. Click on "Create" to confirm and finalize the creation of the new location.

By following these steps, you can efficiently set up a new location in your Pabau account, ensuring accurate scheduling and client communication.
For more guides, refer to related articles below, select additional guides, or use the search bar at the top of the page. These guides will help you get the most out of your Pabau account.
Additionally, to help you fully utilize and understand your Pabau account, we recommend exploring additional guides and resources offered at the Pabau Academy. It offers in-depth video tutorials and lessons, offering a holistic learning experience that can equip you with the essential skills for achieving success with Pabau.