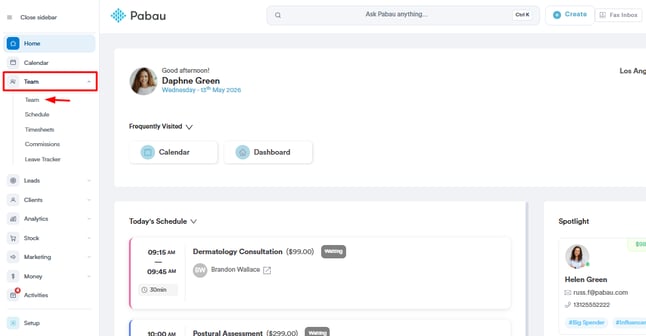
Step 1: Navigate to Team
Log in to your Pabau account, and in the left sidebar menu, go to Team, then select "Team" again, and click on the Team tab.
NOTE: To learn more on how to manage the Clinic List please refer to this article.
Step 2: Create a New Clinic List
Once you're in the ''Team'' section, click the ''Clinic List'' button in the top-right corner.

This will open the ''Clinic List'' page in a new tab, where you can view all previously created lists.
To create a new one, click ''Create New List''.

Step 3: Configure Your Clinic List
In the Clinic List setup, you can define who should be included, when the list should be generated, and what information should appear in the list.
Who
-
Employees included in the list:
Select the staff members whose bookings should appear in the list. You can select multiple employees, depending on your needs. -
Email addresses for recipients:
Add the email addresses of the people who should receive the Clinic List. You can input more than one — just separate them by pressing Enter, comma, or space after each one.

When
-
Generate on specific days:
Choose this option if your clinic operates on fixed days (e.g. every Monday, Wednesday, and Friday). -
Generate only on days with bookings (Recommended):
This is ideal if your schedule changes day to day. The system will only send the Clinic List when appointments are actually booked.

What
-
Choose which types of bookings to include in the list:
-
Past bookings (if available)
-
The current day’s bookings
-
Future bookings (Recommended)
-
-
Decide how many days of bookings the list should show.
For example, enter 1 to show just the next day’s appointments.

Step 4: Preview and Save the List
Once you’ve completed all the required fields in the Clinic List setup, you’ll have the option to preview the list before saving it.
Click ''Generate Preview'' at the bottom of the screen to view a sample of how the list will appear when sent. This enables you to verify that the correct employees, bookings, and timeframes have been selected.

When the preview meets your requirements, you can send a test email to verify how the list will appear to recipients. Once confirmed, click ''Create List'' in the top-right corner to save and activate the Clinic List.

After the list is created, it will be displayed alongside your other saved lists.

By following these steps, you will complete the setup process and successfully create and finalise your Clinic List for use.
For more guides, refer to related articles below, select additional guides, or use the search bar at the top of the page. These guides will help you get the most out of your Pabau account.
Additionally, to help you fully utilize and understand your Pabau account, we recommend exploring additional guides and resources offered at the Pabau Academy. It offers in-depth video tutorials and lessons, offering a holistic learning experience that can equip you with the essential skills for achieving success with Pabau.