With Cases in Pabau you can log, track, and manage medical complaints and internal incidents. Whether it's a client complaint, a clinical issue, or an internal matter, Cases gives your team the tools to act quickly and transparently.
Step 1: Navigate to the Client Card
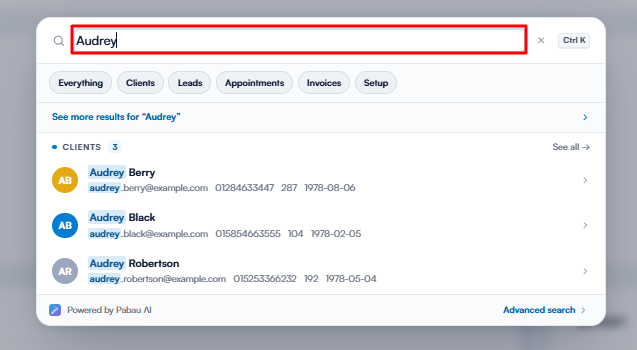
Start by logging into your Pabau account using your login credentials. Then, navigate to the search bar at the top of the page and type the client's name or last name, and their profile will be listed below.
Step 2: Switch to the Relationships/Cases Section
Once you open the client card, switch to the "Insurance" tab on top of the client's profile photo.

Step 3: Add a Case
Scroll down to the Cases section, where you'll find the "Add Case" button. Click it to begin creating a new case.

Step 4: Input Case Details
A pop-up window will appear where you can add the following information:
-
Case Title
Enter a clear and descriptive name for the case. This could include the client's name, the issue type, or the date to help you easily identify the case later.
-
Authorization Code
If the case involves an insurer or third party that issued an authorization code (such as for treatment approval), enter that code here. Leave blank if not applicable.
-
Max Sessions Allowed
Input the number of treatment sessions that are authorized for this case, especially if it's related to insurance or package coverage. For example, 6 sessions for physiotherapy.
-
Appointments
Here, you can link any relevant appointments to the case. This helps provide context and a full picture of what happened before or after the incident/complaint.
-
Files (Add File)
Upload any supporting documentation here, such as photos, treatment forms, email correspondence, or signed disclaimers. These files will be securely stored and tied directly to the case for future reference.
NOTE: Make sure to upload the files to the EMR > Documents section of the client's card first. Once uploaded, you can then attach them to the relevant case.

After you've added the case details, click the "Create" button in the bottom right corner to finalize.
Step 5: Review Case
Once the case is created, it will appear under the "Case Details" section, and the following actions will appear:
-
✏️ Pen Icon – Edit the case details:
Click this icon to update any case information, such as the case title, authorization code, number of allowed sessions, or attached files. This is useful if new information becomes available or if any corrections need to be made. -
🗑️ Trash Icon – Delete the case:
Use this icon to permanently remove a case from the system. Please note that once deleted, the case and any associated information will no longer be accessible. -
🔽 Arrow Icon – Expand to view more details:
Click the arrows to expand the case and see all recorded information, including appointment history, file attachments, and any notes related to the case. This provides a comprehensive view without navigating away from the page.

Upon expanding the case, you will view the following information:
-
Status:
This shows the current status of the case (e.g., Open, Closed). You can update the status as needed. -
Appointments:
This section lists all appointments that have been linked to the case. -
Attachments:
View all documents and files that have been associated with the case. -
Notes:
View any internal notes related to the case.

By following these steps, you can easily create cases in the client card.
For more guides, refer to related articles below, select additional guides, or use the search bar at the top of the page. These guides will help you get the most out of your Pabau account.
Additionally, to help you fully utilize and understand your Pabau account, we recommend exploring additional guides and resources offered at the Pabau Academy. It offers in-depth video tutorials and lessons, offering a holistic learning experience that can equip you with the essential skills for achieving success with Pabau.