The main step when setting up your cancellation/no-show policy is configuring your cancellation reasons to align with your policy.
After activating the cancellation policy in your Pabau account, you can specify whether a cancellation reason requires the policy to be applied.
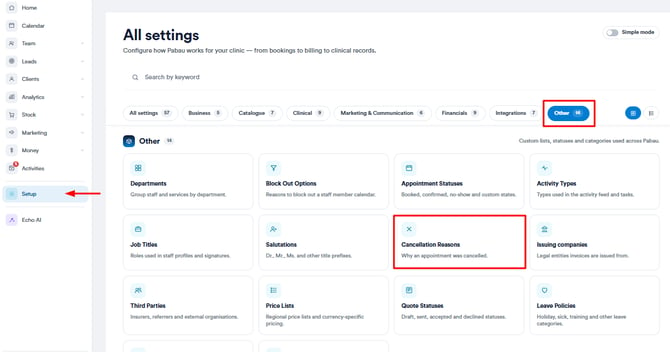
Step 1: Navigate to Setup
Navigate to Setup and find Cancellation Reasons under the Other section. You can edit the already existing cancellation reasons or create new ones.
Step 2: Apply the corresponding cancellation policy
After you've added the cancellation name and selected the cancellation type (Late Cancel or Early Cancel), it's time to apply the corresponding cancellation policy. This ensures that when a specific cancellation reason is chosen, the correct policy is enforced.
- Click Yes: The cancellation charge area will appear for the client if they meet the policy criteria.
- Click No: No cancellation charge will be applied when selecting this reason.

By following these steps, you can configure your cancellation reasons.
For more guides, refer to related articles below, select additional guides, or use the search bar at the top of the page. These guides will help you get the most out of your Pabau account.
Additionally, to help you fully utilize and understand your Pabau account, we recommend exploring additional guides and resources offered at the Pabau Academy. It offers in-depth video tutorials and lessons, offering a holistic learning experience that can equip you with the essential skills for achieving success with Pabau.