
Step 1: Access Calendar
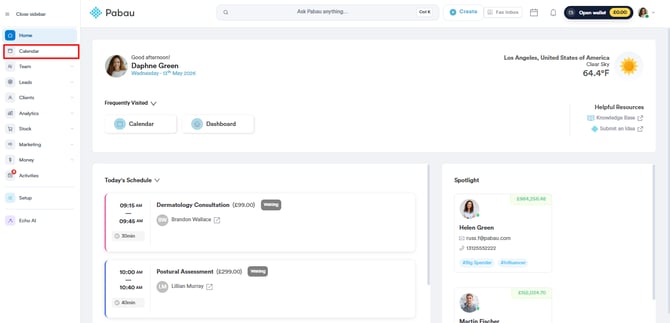
First, log in to your Pabau account, and in the left sidebar menu, click on Calendar.
Step 2: Access Calendar Settings
To access the calendar settings, click on the cogwheel icon located at the top right corner of the calendar. Then, select "Settings".

Within the Calendar Settings page, navigate to the left-hand side and click on the "Appointment Settings" tab.

Within the Appointment Settings tab, you can customize default client notifications for appointments. This includes options such as reminders, email confirmations, SMS confirmations, and feedback requests.
To activate these notifications by default for each appointment, simply check the corresponding boxes.
Conversely, if you prefer not to enable certain notifications, you can easily deselect them.

NOTE: Keep in mind that even if email and SMS confirmations, reminders, or feedback requests are enabled under Client Notifications, disabling them in Calendar Settings will turn off their checkboxes, and the messages won’t be sent—unless you manually select each option when booking the appointment.
Enabling the "Allow appointment overlap" option permits appointments to overlap on your calendar. This setting allows you to schedule two appointments that may occur simultaneously.
Step 3: Save the Changes
Once you've configured the appointment settings, click on "Save Changes" in the top right corner.
By following these steps, you'll have successfully configured your appointment settings to match your preferences.
For more guides, refer to related articles below, select additional guides, or use the search bar at the top of the page. These guides will help you get the most out of your Pabau account.
Additionally, to help you fully utilize and understand your Pabau account, we recommend exploring additional guides and resources offered at the Pabau Academy. It offers in-depth video tutorials and lessons, offering a holistic learning experience that can equip you with the essential skills for achieving success with Pabau.