
Pabau’s autosave feature protects your treatment notes by saving draft versions in the background while you type or interact with the note editor. Drafts are stored separately from the final saved note and can be resumed at any time. This ensures that even if you forget to click Save, your work won’t be lost.
Step 1: Navigate to the Client Card
Start by logging into your Pabau account using your login credentials. Then, navigate to the client card by using the search bar at the top of the screen. Type in the client name and the client will appear on the search results.

Step 2: Create a Treatment Note
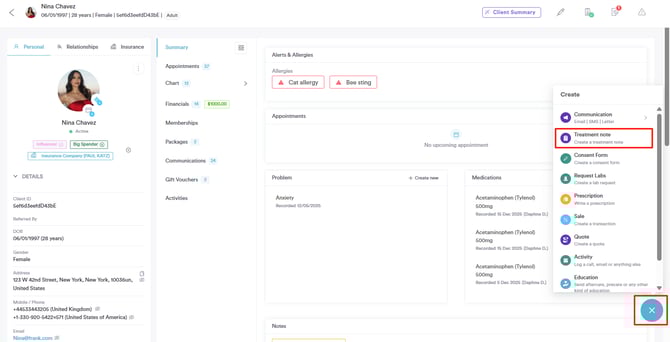
Once you access the client card, navigate to the bottom right corner of the screen and click the 'Create' button represented as a blue plus sign to reveal all available actions. Then, proceed to click the 'Treatment Note' option.
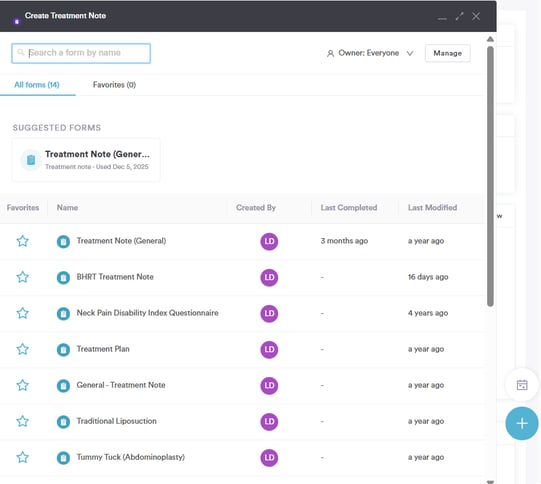
You will be then prompted to select a treatment note template before starting to fill out the note.
Step 3: Begin Typing
Once you are inside the note editor and begin typing, autosave will activate in the background without any action required from you. As you type, the system monitors your input and saves a draft automatically after a short pause in typing — ensuring your latest content is preserved without interrupting your workflow.
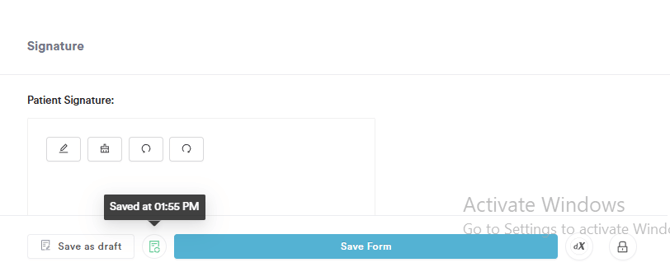
While autosave is running, you'll see a brief "Saving…" message appear near the note editor. Once the draft has been stored, this updates to "Saved at [time]" — for example, Saved at 14:22. A small spinning icon will animate during each save, and hovering over it will show you exactly when the note was last saved.
Autosave doesn't only rely on typing pauses. It will also save your draft when you:
- Click outside a text field or move focus to another part of the form
- Switch between fields in the note editor
- Change a dropdown selection or toggle a checkbox
This means your progress is captured any time you interact with the note, not just when you stop typing.
NOTE: If your connection drops while you're working, autosave will queue your changes locally. As soon as your connection is restored, the queued draft will sync automatically
Step 4: Save Form
When you have finished documenting, click the Save button as you normally would. This performs a final save and moves the note into the official patient record. The save indicator will update to "Saved successfully" to confirm the note has been finalized.

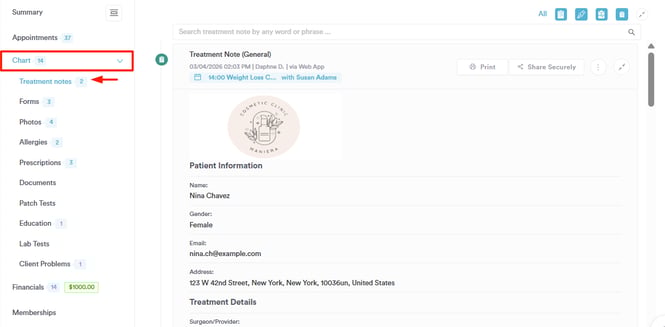
Once finalized, the note is locked into the client's record under Chart/EMR -> Treatment notes and is no longer in draft mode.
The system is designed to save frequently enough to protect your work, while avoiding unnecessary server requests that could slow things down.
For more guides, refer to related articles below, select additional guides, or use the search bar at the top of the page. These guides will help you get the most out of your Pabau account.
Additionally, to help you fully utilize and understand your Pabau account, we recommend exploring additional guides and resources offered at the Pabau Academy. It offers in-depth video tutorials and lessons, offering a holistic learning experience that can equip you with the essential skills for achieving success with Pabau.