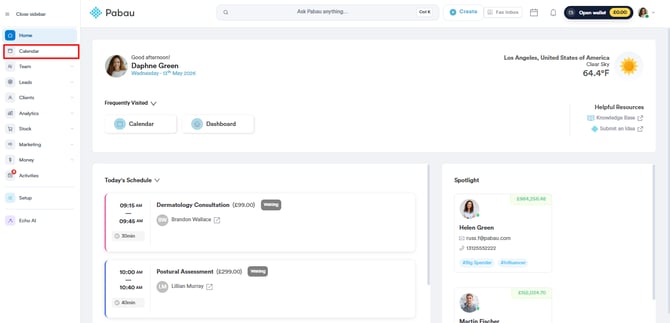
Step 1: Navigate to the Calendar
First, log in to your Pabau account, and in the left sidebar menu, click on Calendar.
Step 2: Access Calendar Settings
To access the calendar settings, click on the cogwheel icon located at the top right corner of the calendar, then select "Settings".

Within the Calendar Settings page, navigate to the left-hand side and click on the "Appearance" tab.


In the Appointment sub-tab, you can select which appointment and custom fields will be visible at a glance for each appointment. Simply check or uncheck the fields as needed.
Note that fields with greyed-out checkmarks are mandatory and cannot be removed from the appointment blocks.

The fields selected in this sub-tab will be displayed for each appointment in the calendar without needing to hover over it.
The number of fields displayed may vary depending on the size of the appointment block.
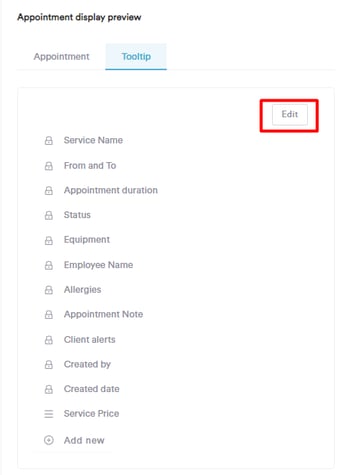
In the Tooltip sub-tab, you can choose the fields to display for each appointment when you hover over it.

Step 3: Save the Changes
After setting the calendar preferences, click "Save Changes" in the top right corner. You can repeat these steps anytime to view the adjustments in the calendar when scheduling appointments.
For more guides, refer to related articles below, select additional guides, or use the search bar at the top of the page. These guides will help you get the most out of your Pabau account.
Additionally, to help you fully utilize and understand your Pabau account, we recommend exploring additional guides and resources offered at the Pabau Academy. It offers in-depth video tutorials and lessons, offering a holistic learning experience that can equip you with the essential skills for achieving success with Pabau.