
Pabau has launched a new feature allowing clients to attend Video Consultations as well as Follow-ups on past appointments.
Please Note* - In order to use this feature both the client and practitioner need to have webcams and microphones.
- You must use Google Chrome when accessing the Video Conference.
How to Start Using Video Consultations
-
First, create a new service into the system
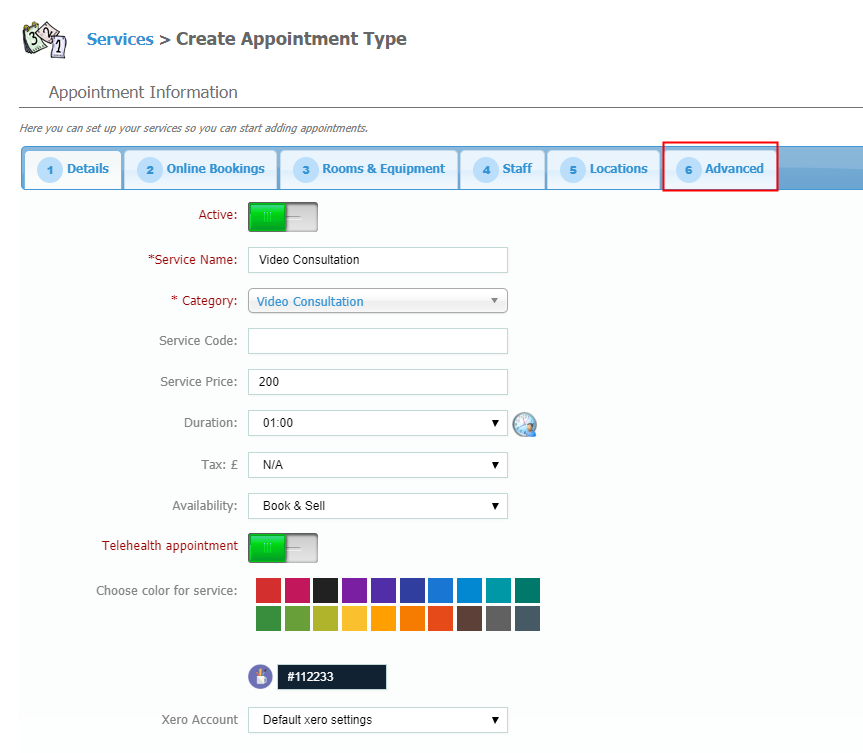
When creating the new service, toggle on the button for "Telehealth Appointment" to mark the service as video appointment before saving.
To create a new service:
-
Click on the "Create" button in the top-right corner and choose 'Service'.

-
On the next screen, please enter all details relevant to this service such as the name, the category, price and duration (in minutes, hours.) You can also define staff members available to "perform" this type of service by clicking on the "Staff" button.
Please don't forget to mark this service as "Telehealth appointment."
When you are done with entering the details, please click on the "6.Advanced" button.

2. Link the previously created service with a Pre-made template
We have already created a precare template into your system. You will just need to link the newly-created service with the pre-made template.
In the "Advanced" section, please find "Precare Templates" field and type in "A Video Conference Template."
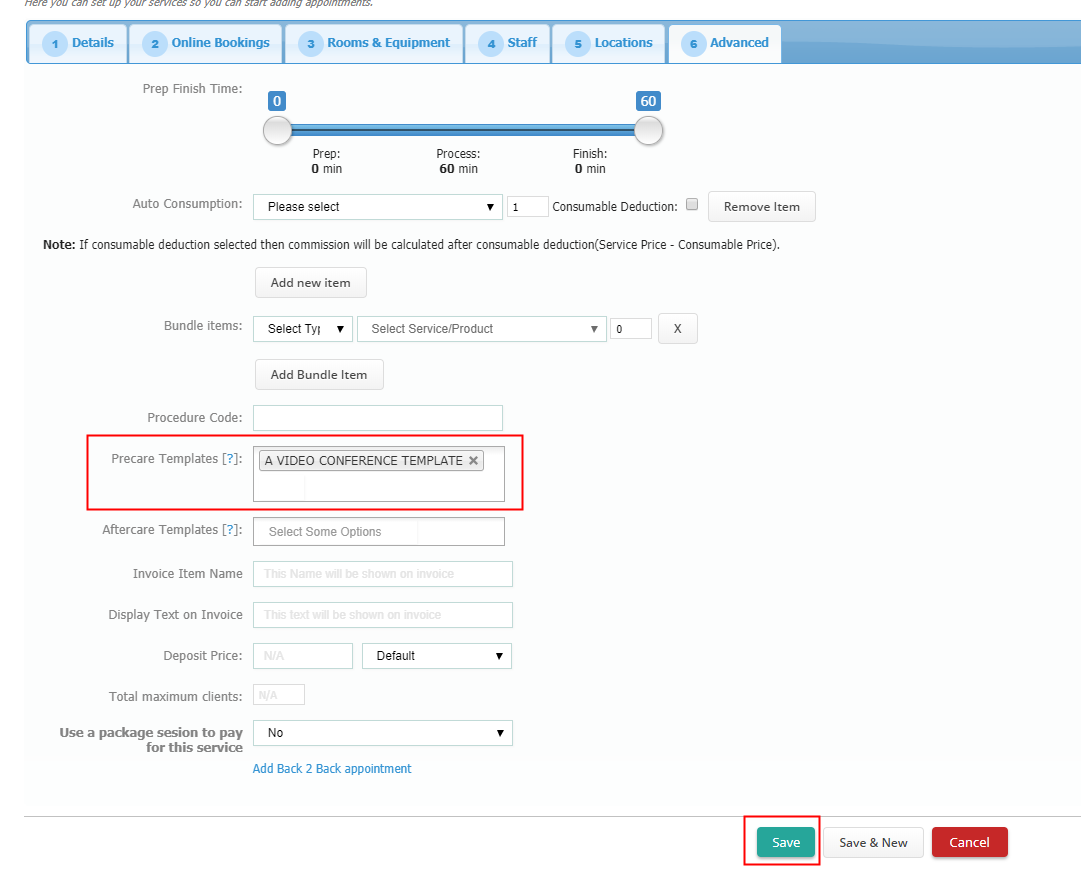
Hit "Save" after you've linked the "A Video Conference Template" with the service.
Once you have booked your clients in, this is a step that will send them a link to join the Video Consultation. As simple as that!
3. Book a client for that service
Please go to "Calendar", choose the desired time and staff and create the appointment.
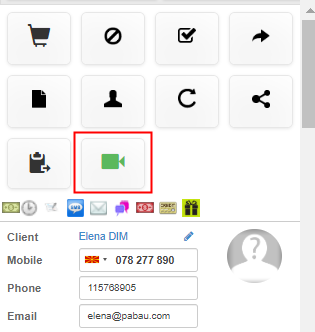
4. Join the Video Consultation
To join the Video Consultation click on the appointment in the Calendar and click on the "Video Conferencing" icon located on the left-hand side.
Once you have clicked on this icon (usually 5-10 minutes before the appointment starts), you should see the following screen:
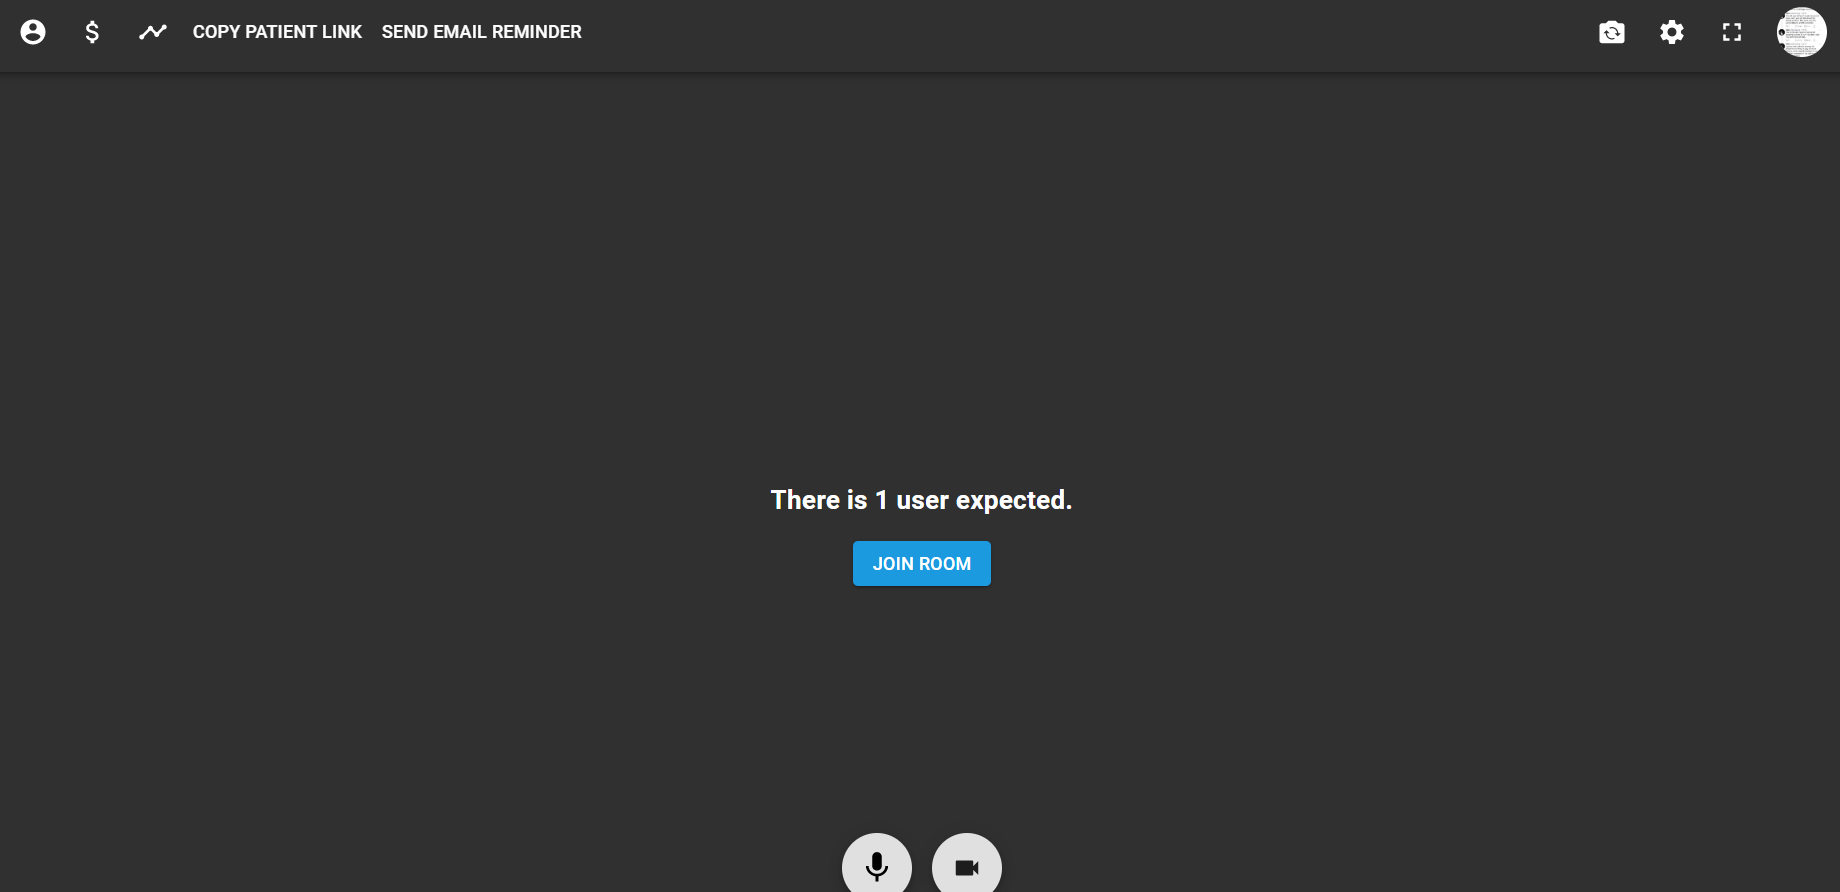
Click 'Join Room' to access the video conference call with your client(s).
Before you click 'Join Room' you can mute your microphone or block camera's access by clicking on the icons below.
Once you've joined the room, your screen should look like this:
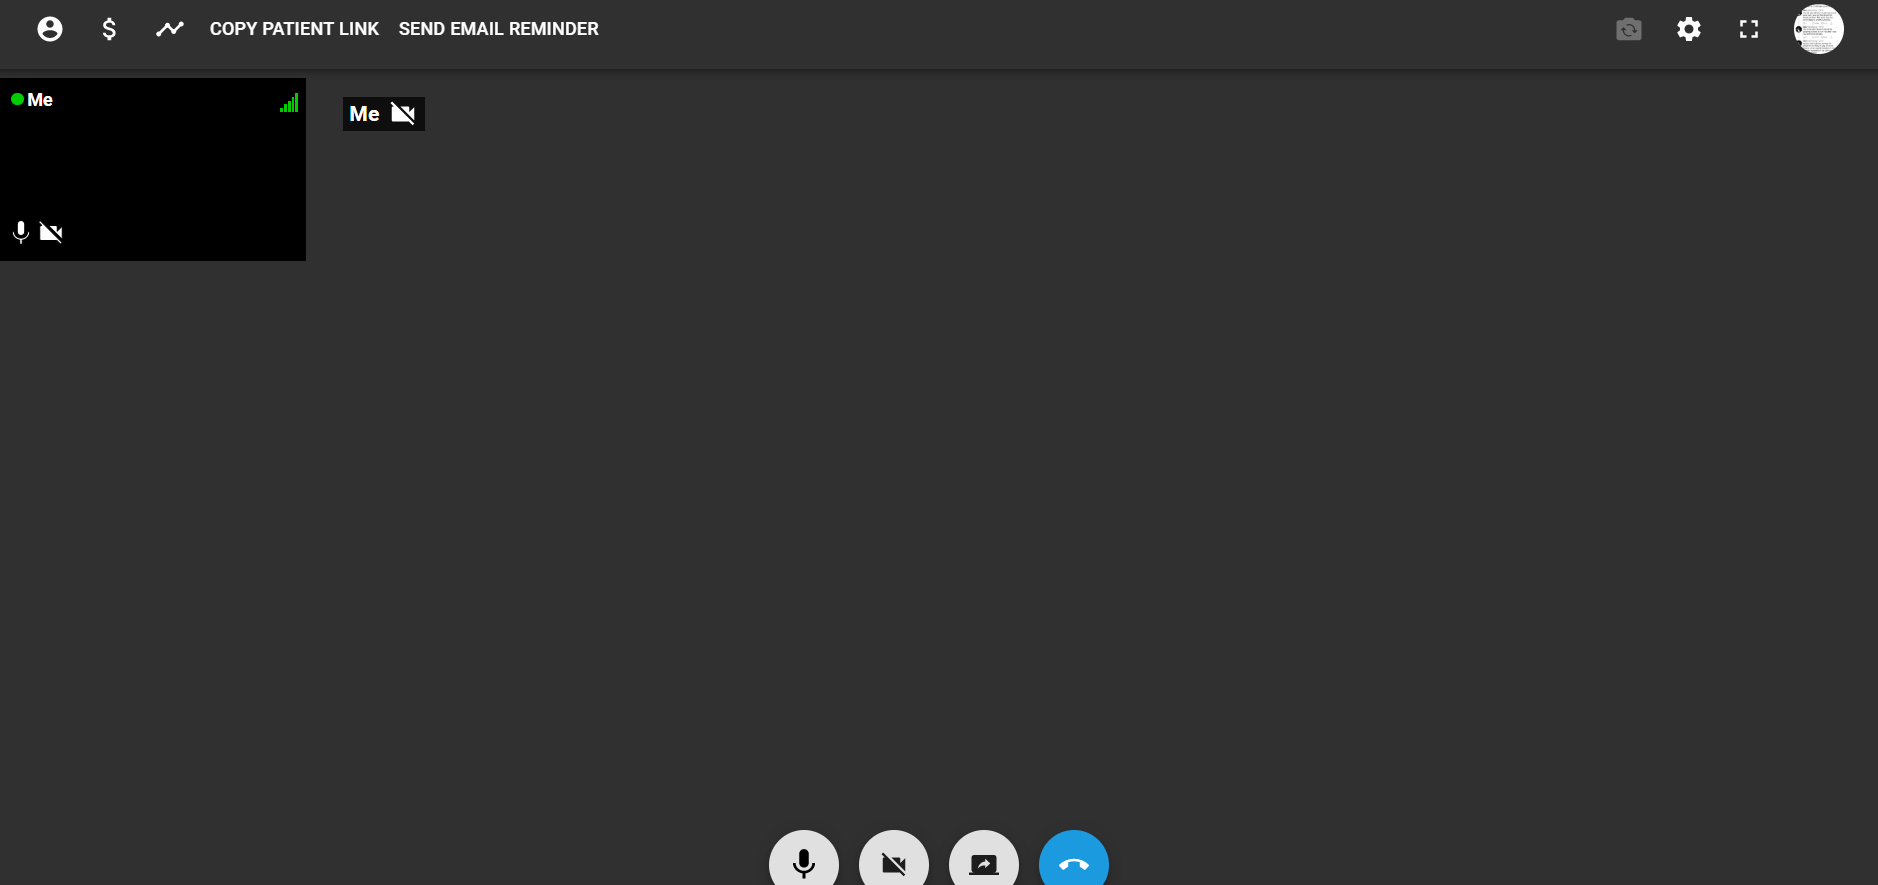
Starting from top-left you have the following options available:
1. Easy and quick access to the contact's card.

2. Quick access to financials, or POS screen.

3. Quick access to the 'Timeline' of the client who is attending the video call.

To remove the Timeline from your screen, simply click again on the 'Timeline' icon.
Once you click on this icon, on the right-hand side the Timeline should open and you should be able to choose the 'Date' as well as the 'Type of Document/Appointment/Invoice/Medical Form' you'd like to have in front of you.
It's a really handy thing to have both the medical form or past appointments in front of you while communicating with your client.
4. 'Copy Patient Link' copies the URL of the conference call. If you click on this option the system automatically copies the link which your client needs in order to access the video conference call (They already received an email with the same link but in case they can't access their email this is a great thing to re-send them one more time.)
Send the link to your client by pasting it into an email or other channel.
5. 'Send Email Reminder' If the client has not yet joined the video call by clicking this option an email reminder is sent to them.

6. On the right, you should be able to check your Video and Audio Inputs.

7. Maximize / Minimize the video conference screen.

8. Your photo setup in Staff Manager.
9. At the very bottom of your screen you have the following icons:
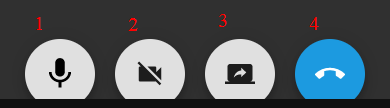
1. Mute/Unmte your mic.
2. Block/Unblock camera access.
3. Share your screen with your client(s) who is/are attending this call.
4. End the video call.
Once the client join the video call, you will see him on the left-hand side.

Great thing with the Video Call Feature is that now more than 1 doctor could access a video call.
What they need to do in order to access it is go in Calendar, find the appointment booked, click on it and click on the 'Video Conference' icon on the left.

CLASS BOOKINGS
If you do have class bookings, all your participants will receive a link to join the Video Call.
The participants who joined the video call will be listed on the left-hand side of your screen (once you join the room) along with their names.
Problems you may encounter with your camera and microphone
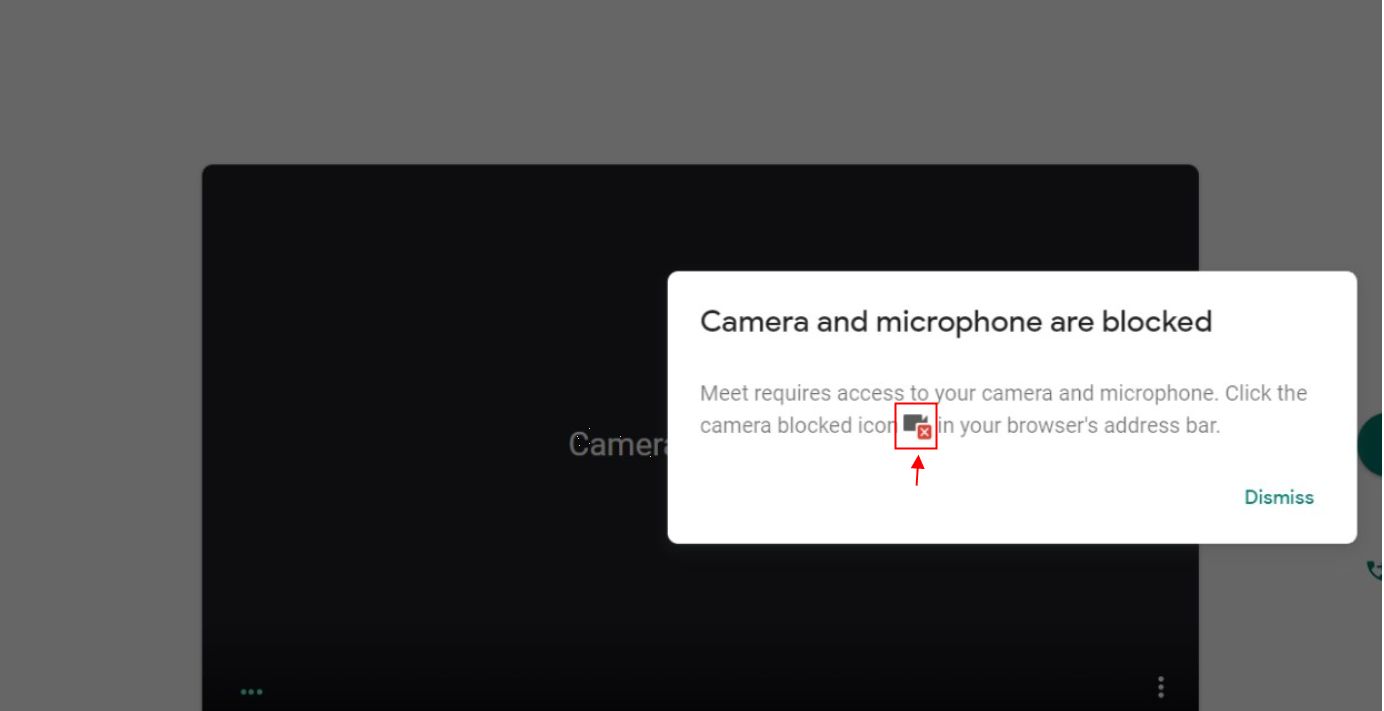
Due to security reasons, some devices are blocking apps from having access to your camera and microphone. If you or your client get this message when you open Video Conferencing, please check the instructions below, as your device has probably blocked access to your camera and/or microphone.
-
Open Chrome and select the Chrome Menu, represented by three vertical dots in the top-right corner of your screen.

-
Select "Settings."
-
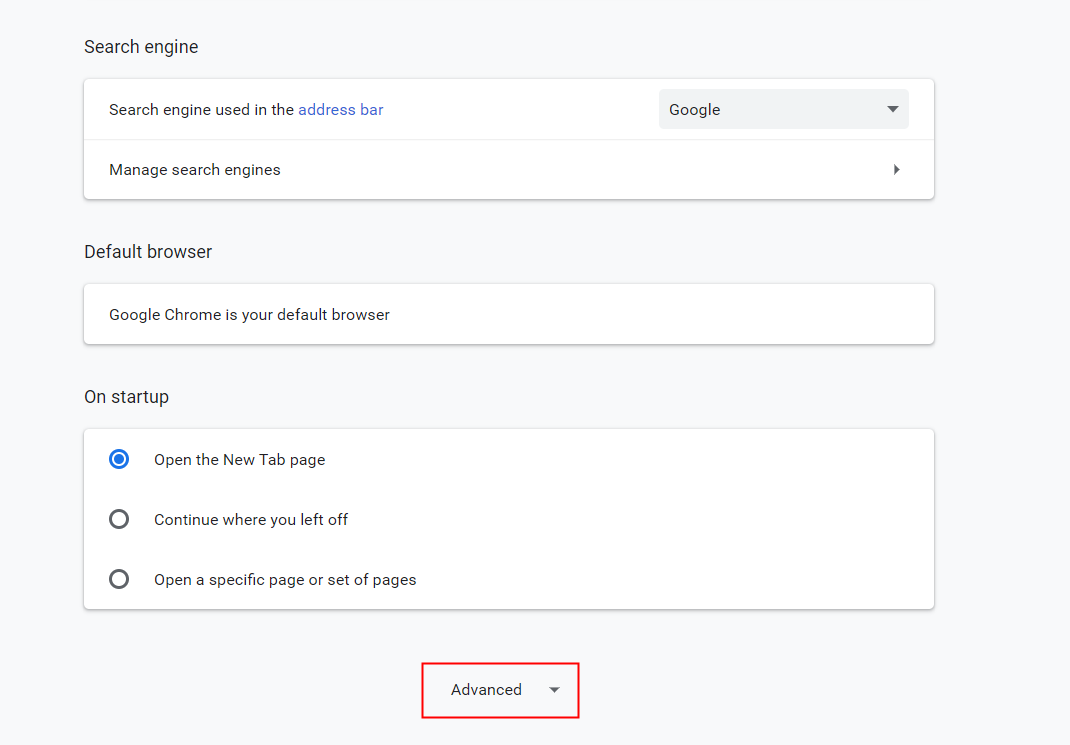
Scroll down and select "Advanced."
-
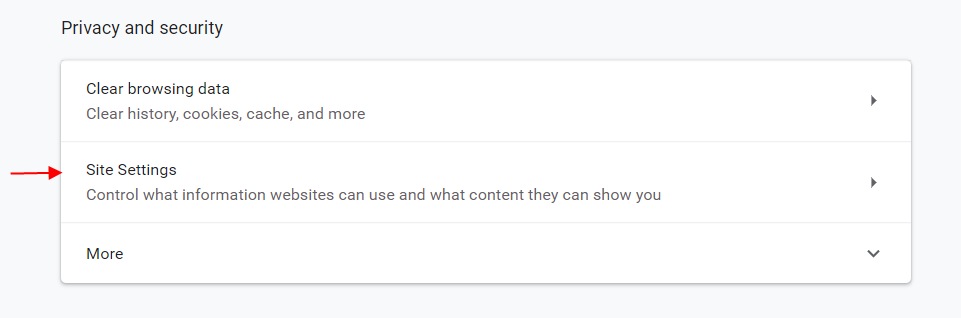
Under the "Privacy and Security" section, select "Site settings."
-
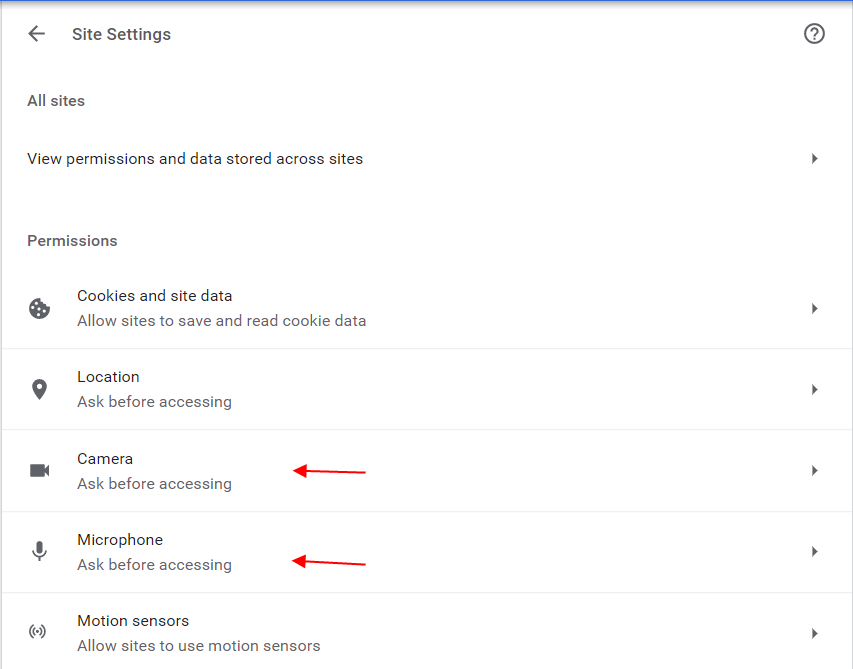
Select either Camera or Microphone to access either setting.
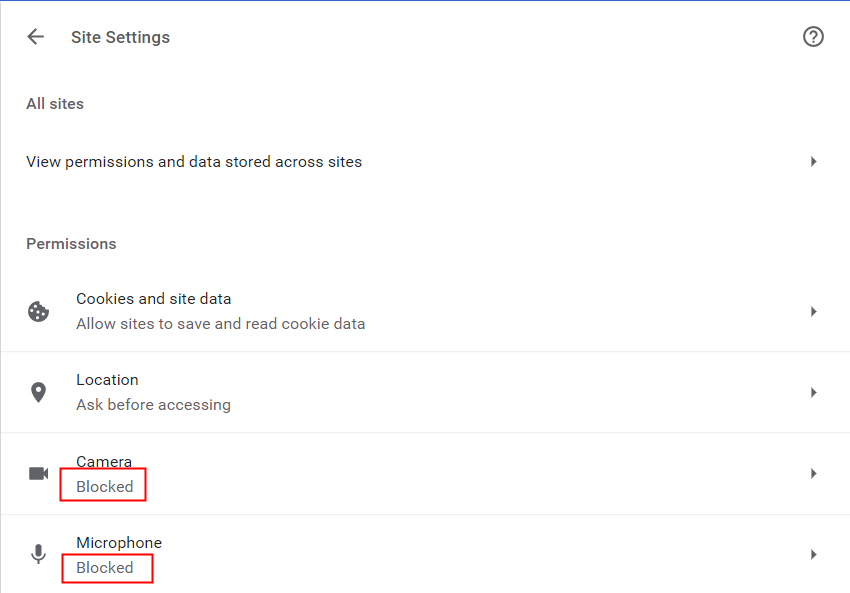
If your camera and microphone are showing as "Blocked", please click on them and change that status into "Ask before accessing" simply by clicking on the "Blocked" part which is pointed out in red on the photo below:
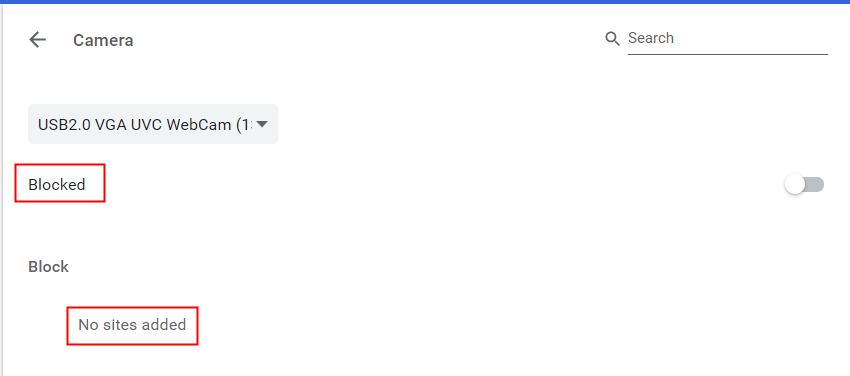
(If you have multiple cameras or microphones you can choose which one to use as the default device for Chrome.
You can manually change camera and microphone access for individual websites, from the dropdown menu above the "Blocked" button.)
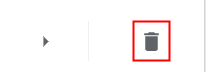
Another thing you should check while in here, is that the "https://connect-pabau.com" site in not on the list of your blocked sites, under the "Block" section.
In case it is, please click on the "Recycle bin" icon to remove it from the list.
Afterwards, please make sure your camera and microphone settings look like this:
Now please return to the Video Conference tab and reload the page by clicking on the "Reload" button in the top-left corner of the screen.

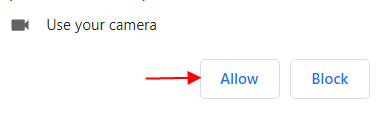
The Video Conference will ask you to use your camera. Please click "Allow."
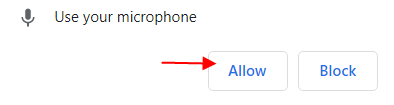
Also, to use your microphone. Please click "Allow" one more time.
If after updating the Chrome settings, you are still unable to use your camera and/or your microphone, please check your Camera/Microphone settings.
If you are using Mac:
-
Choose Apple menu > System Preferences, click Security & Privacy, then click Privacy.
-
Select Camera.
-
Select the checkbox next to an app to allow it to access your camera.
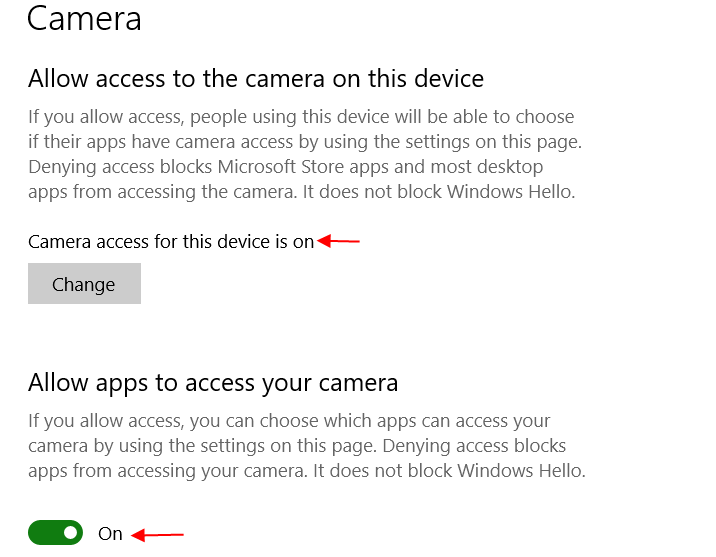
If you are using Windows:
-
Press on the Windows + I shortcut key, or click on the Settings icon from the Start Menu in Windows 10.
-
From the Settings window, click Privacy.
-
Choose Camera in the left pane. You’ll see an option that says “Let apps use my camera“. Slide the toggle to On and select which of the apps underneath can use your camera.
PLEASE NOTE!
The Video Consultations feature is supported on iOS and Android devices as well.
If you can see a client, but not hear them, and they are on iPhone, please tell them to go to iPhone home > Click Settings > Safari > Scroll to Settings for Websites > Microphone (Allow)Reload the Video Consultation link and this should work.