
Social Survey is a really powerful way to connect with your clients and understand just how well you are performing by sending the client a unique SMS or email where they are invited to complete an extremely short survey, rating you from 1-5 with customised questions.
We have a good video here which demos how to use the social surveys:
Social surveys can be turned on as a master setting by accessing:
1. The 'Setup' button.

2. Here select 'Settings'.

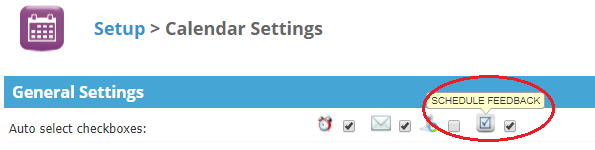
3. Now click on the 'Calendar Settings' button.

4. Now in the Auto Select Check-boxes, tick the 'Schedule Feedback' box.
All of these can also be manually switched on and off when booking appointments directly into the Calendar in the same way.
You will also need to enable the social surveys in the client notifications.
1. Go to 'Setup'.

2. Now click on 'Data'.

3. Select the 'Client Notifications' tab.

4. Here you need do go to 'Social Survey' and Enable the Email/SMS social survey.
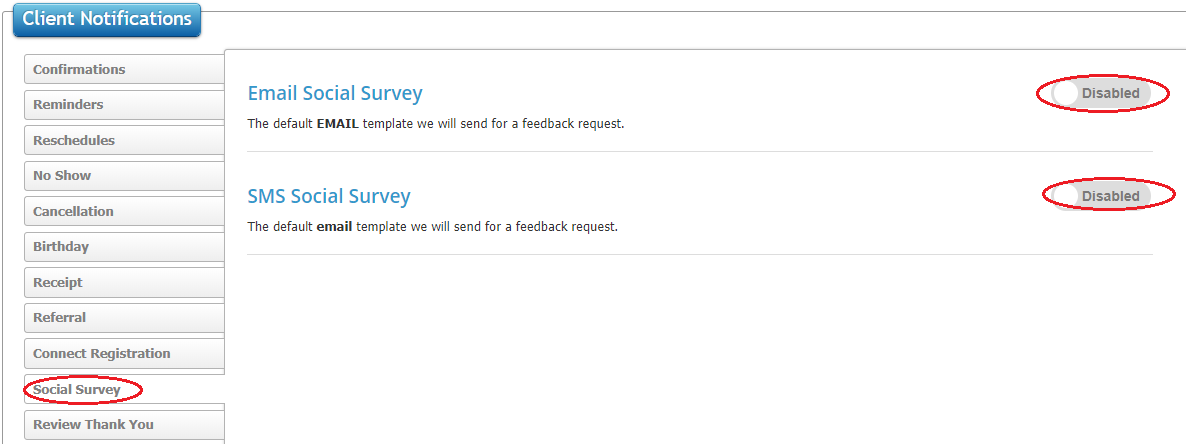
Here you can always edit the content of the email/sms template and it's really important to have the left bracket survey link on the end of every email/sms template.
Edit the content of your Social Survey
1. You can access this in the 'Marketing' tab.

2. Now click the 'Social Survey' button.

3. Here you will see a list of previously created social surveys. Click 'Social Settings' to make changes to the survey.
Survey Settings
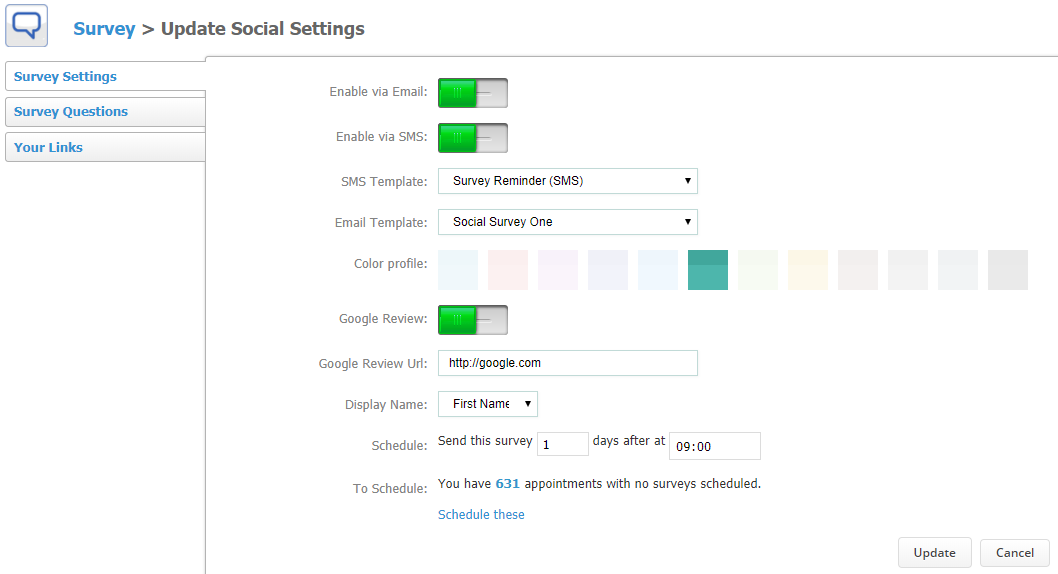
You can choose to enable via email/sms or both. Select the right email/sms Template. To edit these go to Setup > Data > Template Archive.
Choose a colour for you profile and also enable a Google Review. Enter the Display name and when will it come out.
*As an alternative to Google reviews, this will also work with Doctify review links. You can find further details in this article.
Survey Questions

Choose a Survey Header and a Subtitle. Below you can choose which questions will get asked in the survey. You can also Add Questions by clicking the button at the bottom of the page.
Your Links

Here you can find a link to see the preview of the page that your clients receive to submit their review. Also see the link to a page to view all your company public reviews. Can also be embedded in iframe on your website.
Reviews will come through the buzz feed which you can review, you may also publish this to Facebook by clicking 'Share On Facebook' (You will need to login to your FB account).
IMPORTANT: You must setup an SMS template for the survey manager to send our surveys and this must be selected in the Social Settings menu.
To see how to setup templates, then click here.
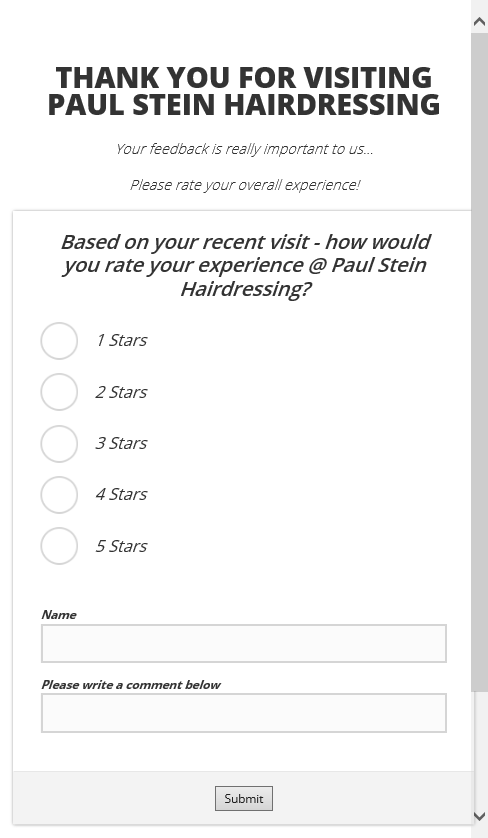
Social Surveys are triggered by payments in the ePOS system. Once a payment is made, the customer will receive a text and/or email dependent on your setup inviting them to complete a short survey on the experience.
When the customer completes this, the score will feed through to the Social Survey app where you can review it, however if the customer scores you a 4 or a 5 out of 5, then the feedback will automatically be posted on any social media accounts that you have linked with Pabau.
An example of this can be seen below.
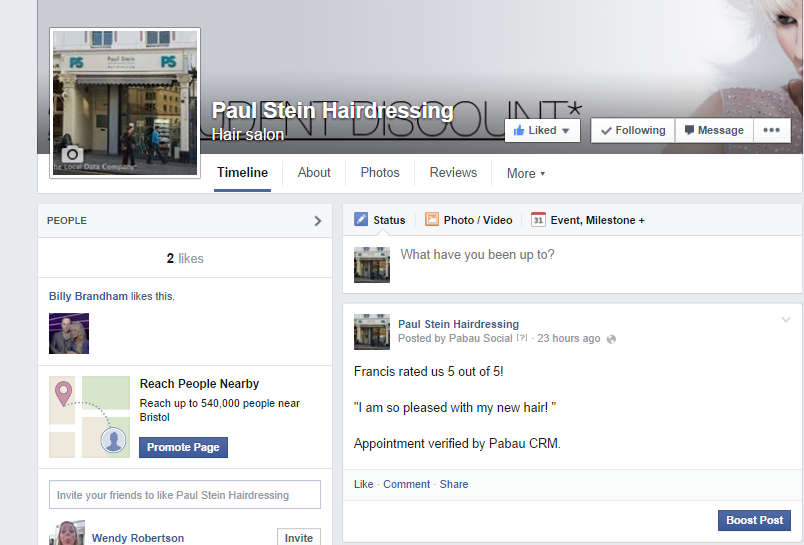
If the customer scores you anything less than a 4, then it will feed into the system, however will not be posted on social media, as this allows you to review it with the person who scored less than a 4 on a 121 basis however you see fit.
You can review this by navigating to the Social Survey app within Marketing and looking on the table that will appear there.
If you enter your google review page link into the review page, after the client has left their Pabau review they will be offered to click to leave a google review. This link will go to the google review link you have entered in the review setting page.
You can get this link by entering in the business details here: https://www.grade.us/home/labs/google-review-link-generator
Please check this link works by inserting into your browser.
Did this answer your question?