
Welcome To Pabau Go!
Thanks for choosing Pabau! Getting started with Pabau Go is easy.
However, you'll really want to personalise your forms & app so that you can get the most out of Pabau Go. In this article, we'll run through a couple of the basic settings that you will need in order to go paperless.
We have a good video here which demos the Journey section of the Pabau Go app:
The Steps & Setup
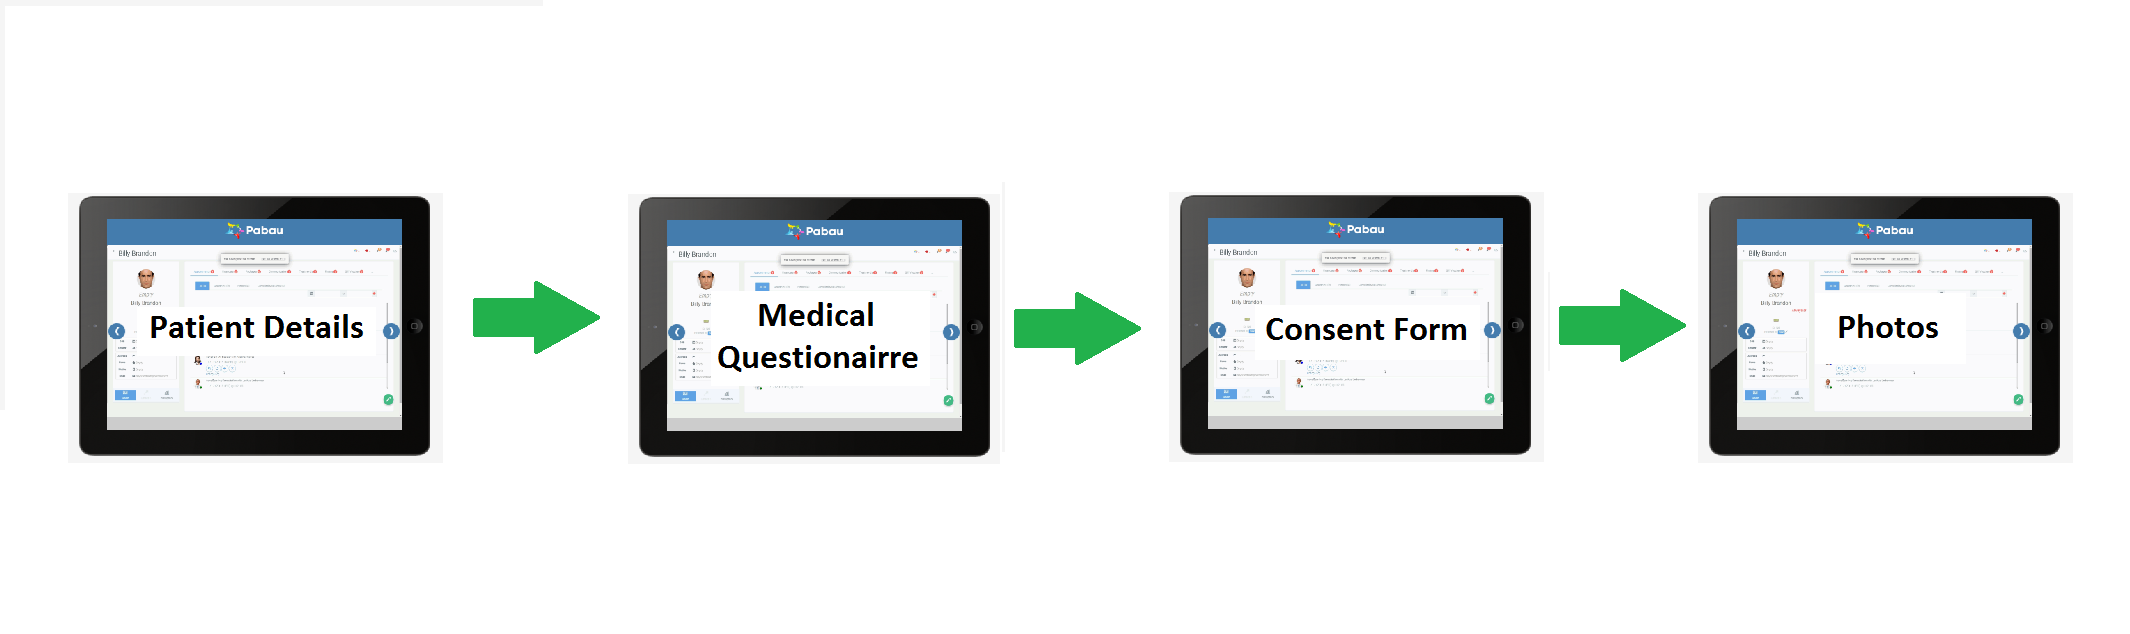
There are 4 steps to the consultation process.
Starting the Consultation
You begin by loading the Journey tab (bottom left-hand side), and selecting the appointment from the app.
Step 1 - Personal Details
You can pass the iPad to the client so that he/she can check and update his personal details. When he/she is done, just click Save on the top right-hand side.
Step 2 - Medical Health Questionnaire
The client will proceed to fill in his/her medical questionnaire. You must ensure a template has been setup, or the screen will appear empty.
*Please ensure you have setup a medical questionnaire.
*You can *Or install a pre-built template here.
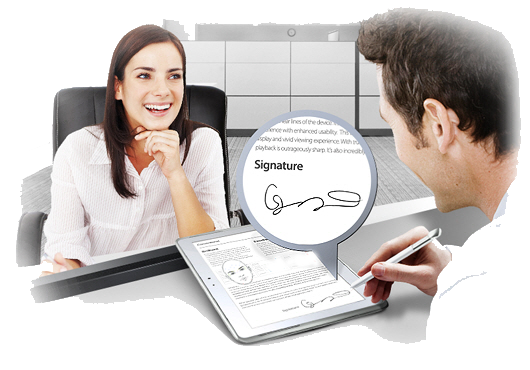
Step 3 - Choose & Sign the Consent Form
Now you need to choose the right consent form for the patient. Next, the client needs to sign the consent form at the bottom of it.
*Please ensure you have setup a consent form.
*You can watch a tutorial here. *Or install a pre-built template here.
Now you need to click Complete. A video will pop-up, and when you click Close it will ask you for the Pabau Pin Code. Enter the code and proceed with the steps.
Step 4 - Take Photos
You can now Take/Choose/Upload Pictures.
Step 5 - Treatment Notes
Here you can fulfil the treatment notes.
At the end of the steps, Pabau will ask you to if you would like to send an aftercare. If Yes, choose the correct one and click on Complete.
You can setup staff pins here