
The appointment statuses can be set through the Data section of your Pabau.
1. First go to 'Setup'.

2. Click on the 'Data' tab.

4. Click on the 'Appointment Statuses' icon

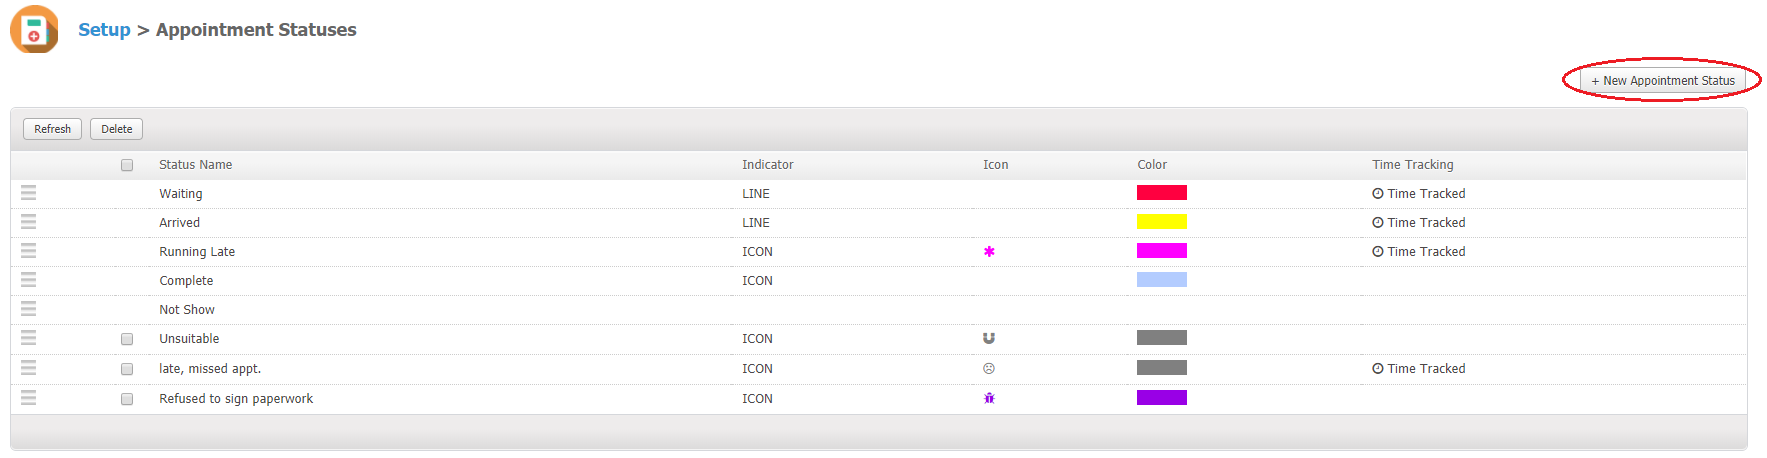
5. Here you can see the previously created appointment statuses, and you can create new ones. To create a new one, click on the '+New Appointment Status' button on the right.
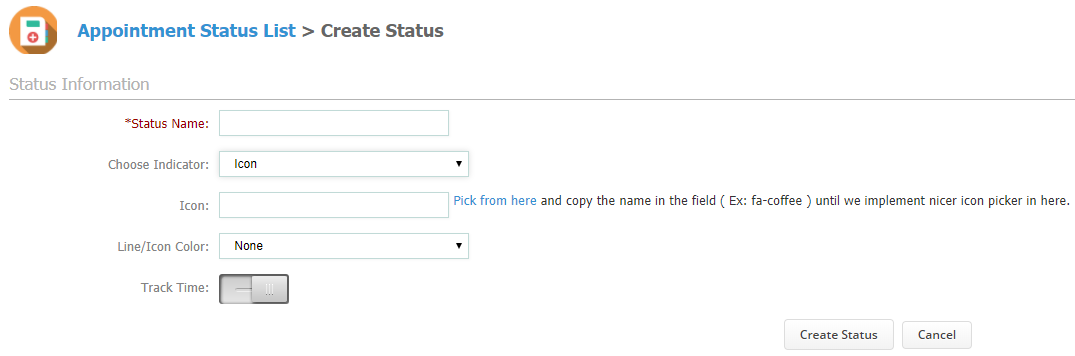
5. Here you need to enter the Status Name of the new appointment status. You can choose if the indicator is going to be an icon or a line, as well as type in the icon code in the 'Icon' field. Also, you can choose the icon/line colour by clicking on the drop-down and selecting the desired one.
After you're finished, hit the 'Create Status' button.
6. You can also edit the already created appointment statuses by clicking on 'Edit' right next to the name on the left.
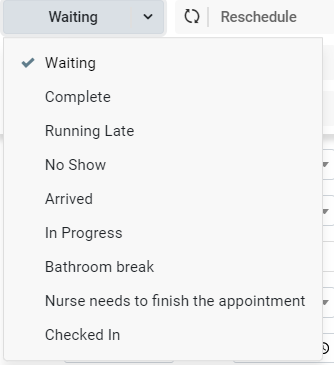
8. Below you can find a sample display of the appointment statuses in the Calendar.
The meaning of each appointment icon can be found in Practice --> Tools --> Legend.
Did this answer your question?