
- Knowledge Base
- Using Pabau
-
Pabau Settings
-
Marketing Features
-
Calendar & Appointments
-
Reports
-
FAQ & Tips
-
Payments
-
Using Pabau
-
API Documentation
-
System Security
-
Medical Forms & Templates
-
Stock
-
Updates
-
Integrations
-
Labs
-
Client Card
-
Trainings & Webinars
-
Online Bookings
-
Video Consultations
-
Leads Manager
-
Pabau for iPad
-
System Requirements & Bespoke Manuals
-
Bespoke Manuals
-
Webhooks
-
Packages
Creating your Custom Labels
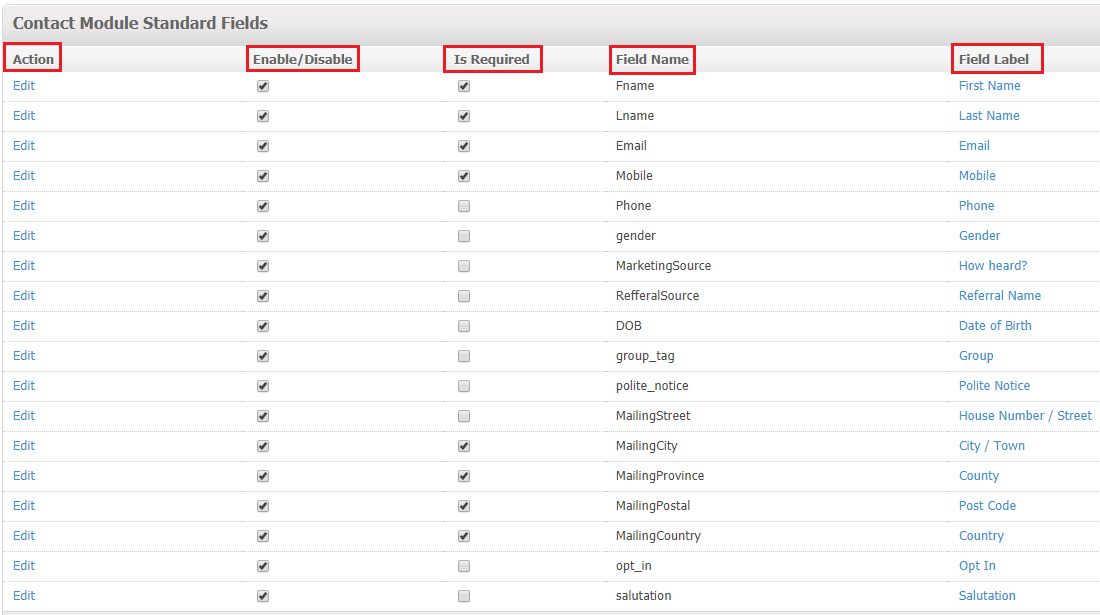
This section allows you to set your specified fields to be mandatory, whilst also disabling the fields you do not required.
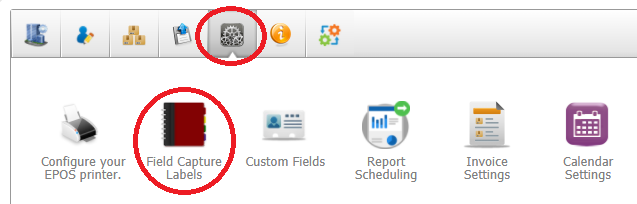
1. To add a Custom Label first go to 'Setup':

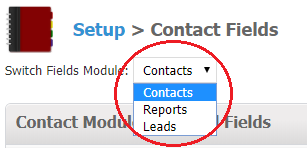
2. Now select 'Settings', and choose 'Field Capture Labels' tab.
First, in the Switch Fields Module drop-down menu, select the module (Contacts/Reports/Leads) so that all the fields from that module will be listed.
You will then be able to set the status of your input fields by ticking the desired ones.
 Did this answer your question?