
This guide is going to show you the three ways of creating a client.
How to quickly create a contact via the Create button
-
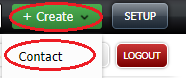
In the top right corner, click 'Create' and then select 'Contact'.
How to create a contact via the Calendar
-
Click 'Calendar' in the top menu.

-
In your Calendar, create a new appointment.
-
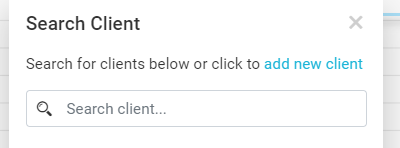
On the left, click on 'Add new client'.
-
Here you can add all the relevant data for the patient, also referral information (How heard?), as well as opt-in information about including him/her in email/sms/letter campaign.
-
After you're finished, click on 'Create Client' or 'Create & Book' in order to save the data.
How to create a contact via the Contacts Application
-
Click 'Contact' in the top menu.

-
Click 'Contact Manager' on the left.

-
Click on the right on 'New contact'.

Enter the contact information data and click on 'Save'.
Did this answer your question?