
To Generate this report go to:
Reports>Contact Reports>Show More>CO146 - Treatment Missing Data

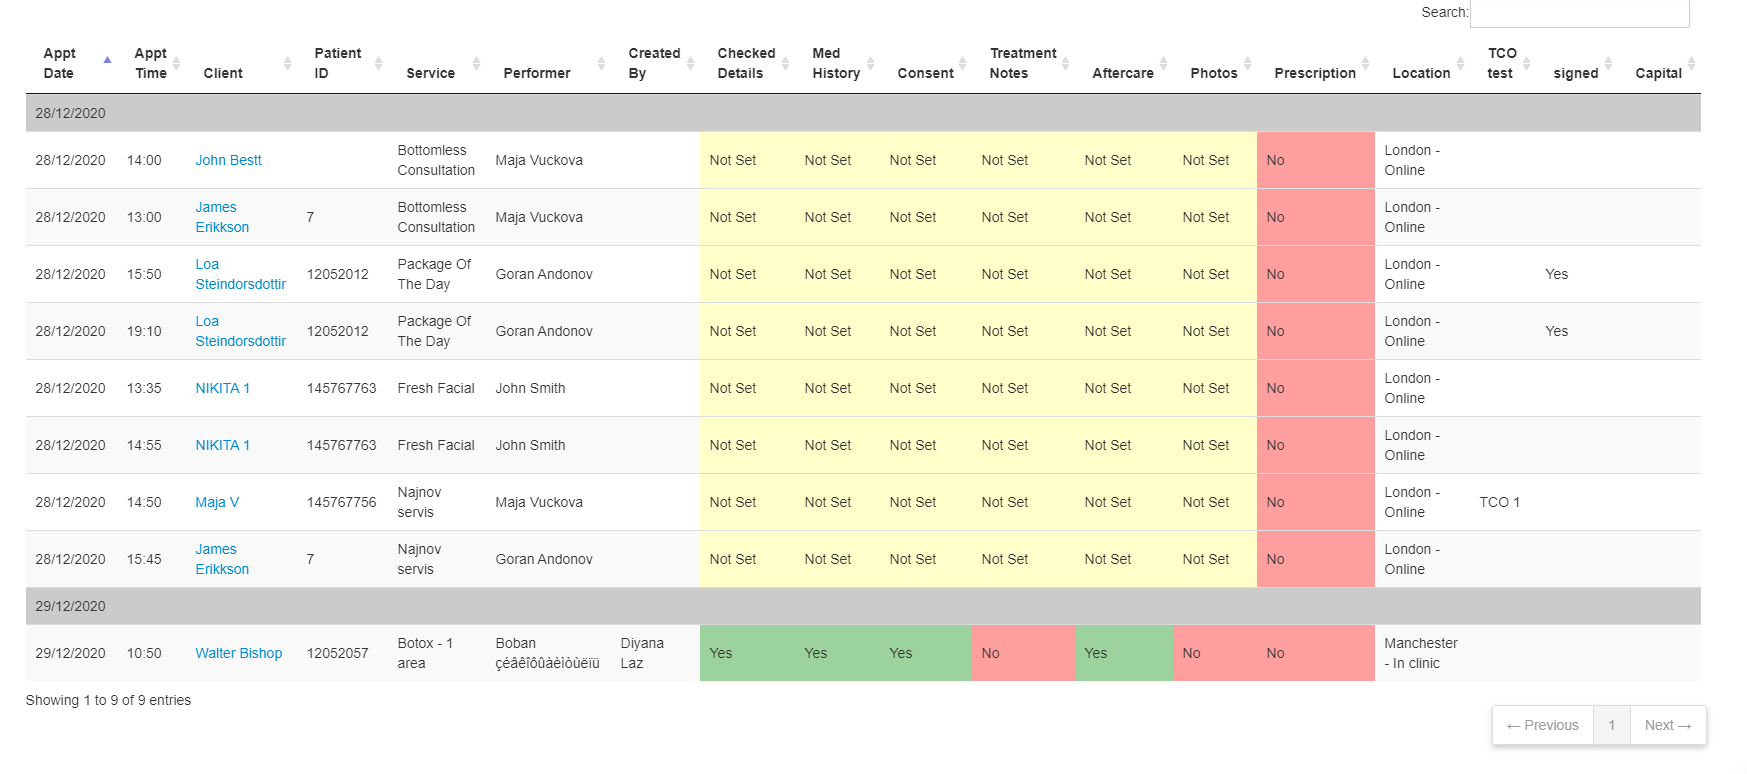
This report will give you a list of all appointments with each step of the Client Journey and the status of that step
-
Yes- This step has been
-
No- This step hasn't been added
-
Not Set- This step has yet to be even opened
Additionally, you will have information such as: appointment date, appointment time, patient name, patient ID, service, from which employee it is created, checked details, medical history, consents, treatment notes, aftercare, prescription and location.
With this report you will have information about your clients that posses or not posses all of the mentioned above.
1) Dates
Here you can choose the start & end dates for the report to be run through.
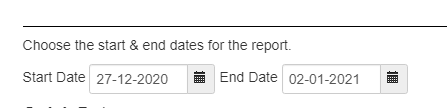
-
Start Date: enter the start date
-
End Date: enter the end date
Quick Dates
Here you can press one of the following buttons to quickly choose a date.
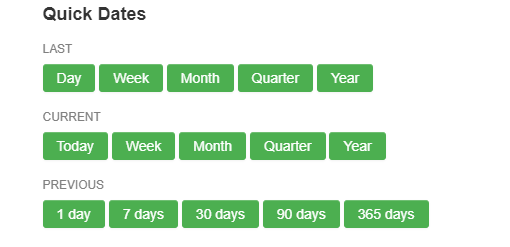
For e.g you want to have a report for the previous month, just click the 'Month' button and this will automatically enter the date for you.
Same steps apply for the remaining buttons.
2) Filter
In this section you can select which Service, Location and Employee you would like to show on the report.
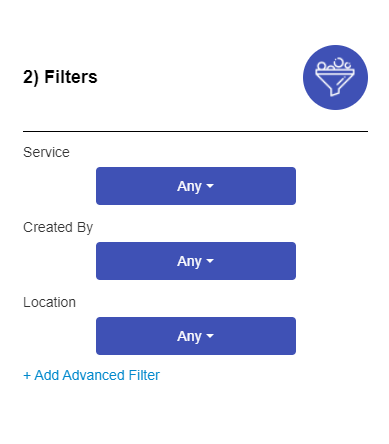
By clicking 'Add Advance Filters' you can modify the report.
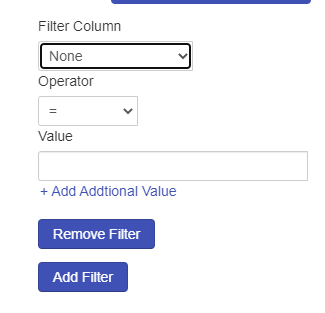
Here in the 'Filter Column' you can easily filter the report by: appointment date, appointment time, patient name, patient ID, service, created by, checked details, medical history, consent, treatment note, aftercare, prescription and location.
In the 'Operator' field you can choose one of the given for a specific filter such as: Contains, Doesn't Contain, Equal, (>), (<), = etc.
In the 'Value Field' you can write keywords that you want to filter.
You can also add additional filter by pressing the '+Add Additional Value' which in this case it will display client that both have those keyword/value or a client that has one of those keyword/value.
3) Preview
In this section you can choose how would you like the report to be previewed.
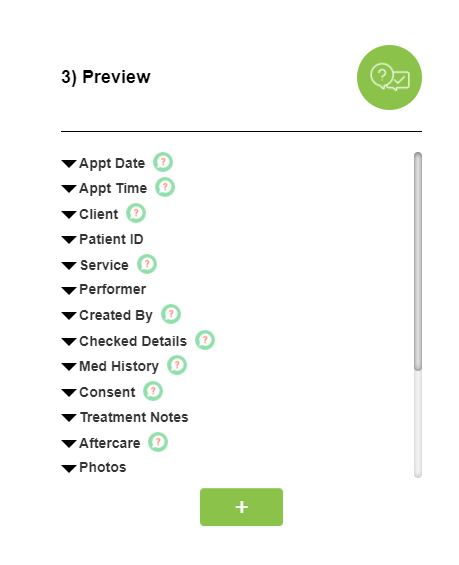
By clicking on the arrow on the left you can choose between 'Sort Ascending', 'Sort Descending' and 'Group by this Field' on the following:
-
Appointment Date - This is the date the appointment will take place on.
-
Appointment Time - The time in which the appointment starts at.
-
Patient ID - The unique ID given to this patient.
-
Service - This is the name of the service item.
-
Created By - Who the item was created by.
-
Location - The location related to this item.
By clicking the green + button you can choose any of the given additional fields that you want to include or filter in your report.
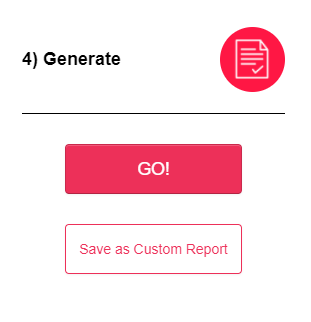
4) Generate
This is the final step towards making a report.
-
Clicking the 'Go' button will run the report.
-
You can also save it as a custom report by clicking the 'Save as Custom Report' button.
Tip: Once your report is complete scroll down right to the bottom to see the amount of entries the report has given.
Here is an example of what the report will look like
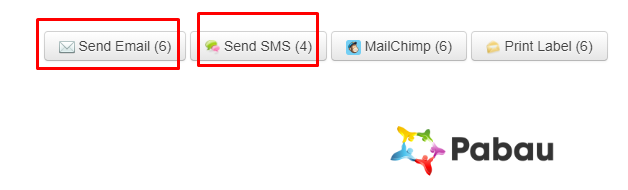
Additional Information
-
Once your report is complete you will have the option to email or SMS the clients from the list.
-
You can export it by clicking the buttons in the picture bellow.
 Did this answer your question?